
The Importance of Regular Washing Machine Maintenance
Regular maintenance keeps washing machines working well. It helps to prevent malfunctions and extends the appliance’s life. A clean washing machine saves energy and water. It also ensures clothes come out clean and fresh. Over time, dirt, soap scum, and minerals can build up. This buildup can cause odors, mold, and mechanical issues. For health and efficiency, it’s essential to understand how to clean your washing machine. Regular cleaning avoids costly repairs and protects your clothes. Learn more in the next sections about cleaning agents and natural solutions. Stay ahead of mold, mildew, and other challenges to keep your machine in top shape.
Step-by-Step Guide to Cleaning Your Washing Machine
Keeping your washing machine in top condition requires thorough cleaning. This step-by-step guide will show you how to clean your washing machine effectively. Remember, adhering to this process not only prolongs the life of your machine but also ensures your laundry is consistently fresh and free of unwanted residues.
- Empty the Washing Machine: Make sure the washer is empty. Remove any clothes and debris.
- Run a Hot Water Cycle: Start by running the longest and hottest water cycle. No detergent or clothes, only water.
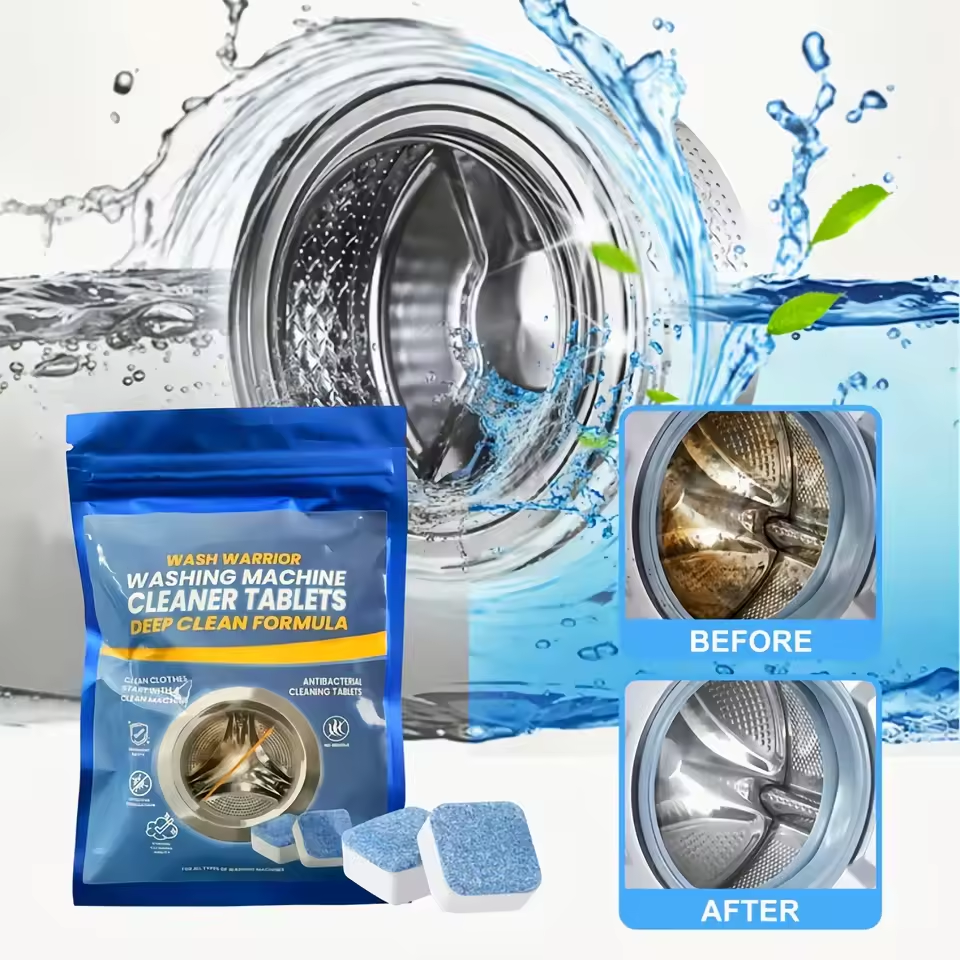
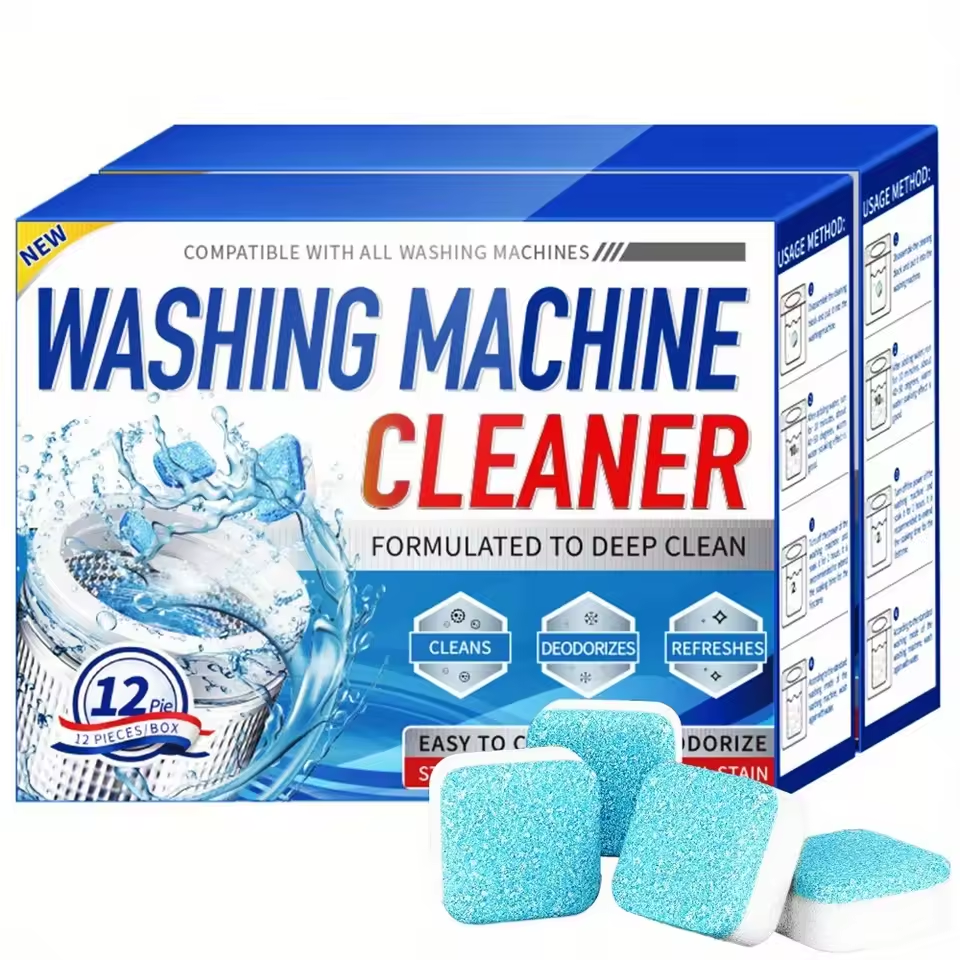
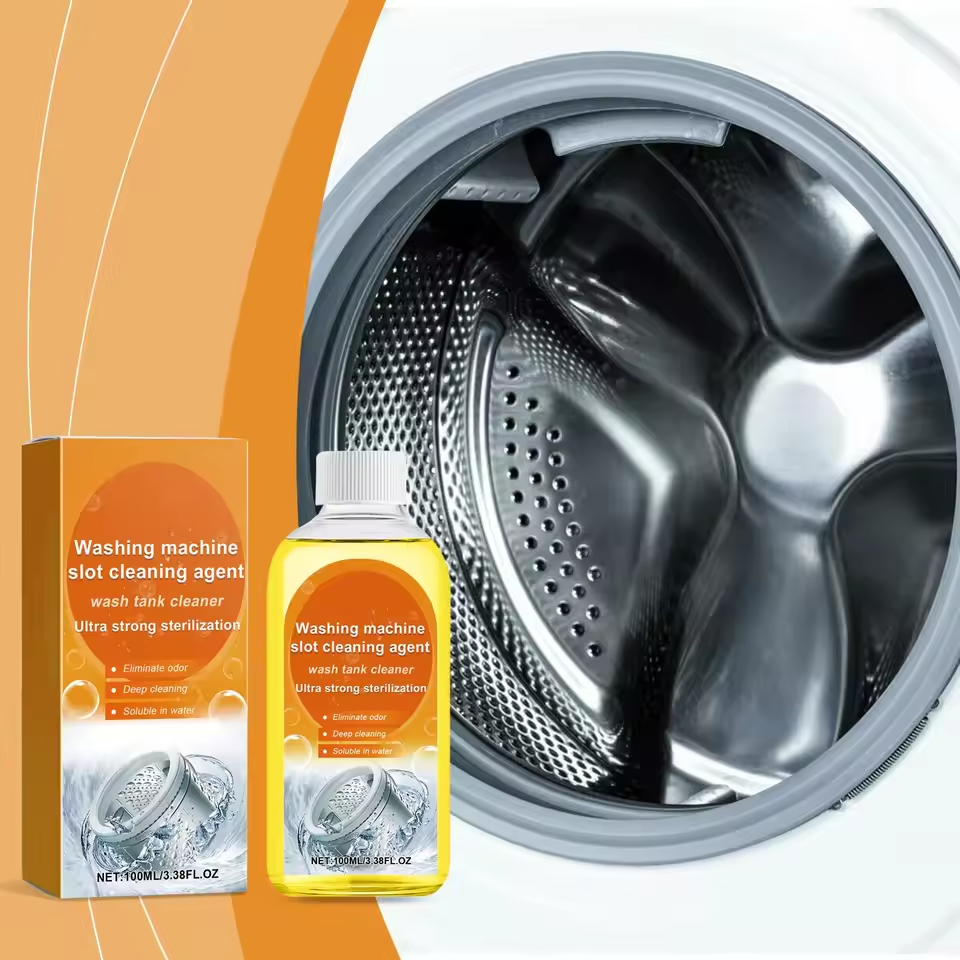
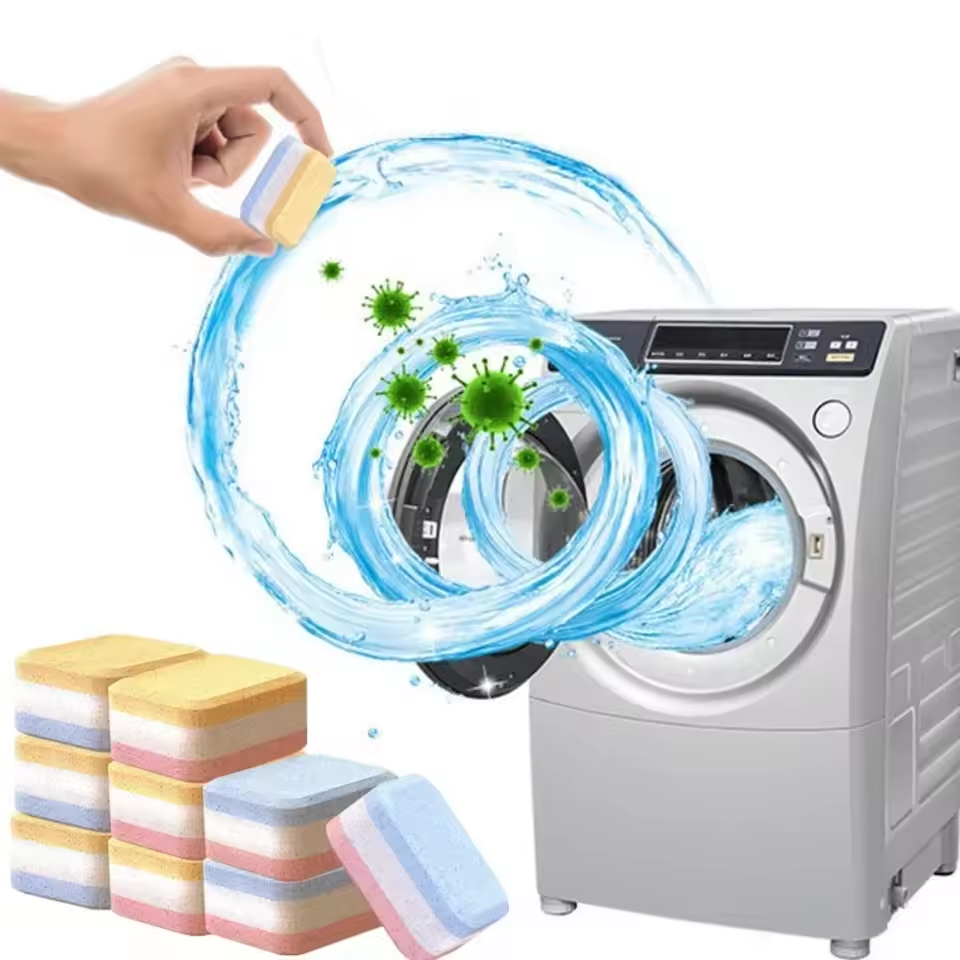
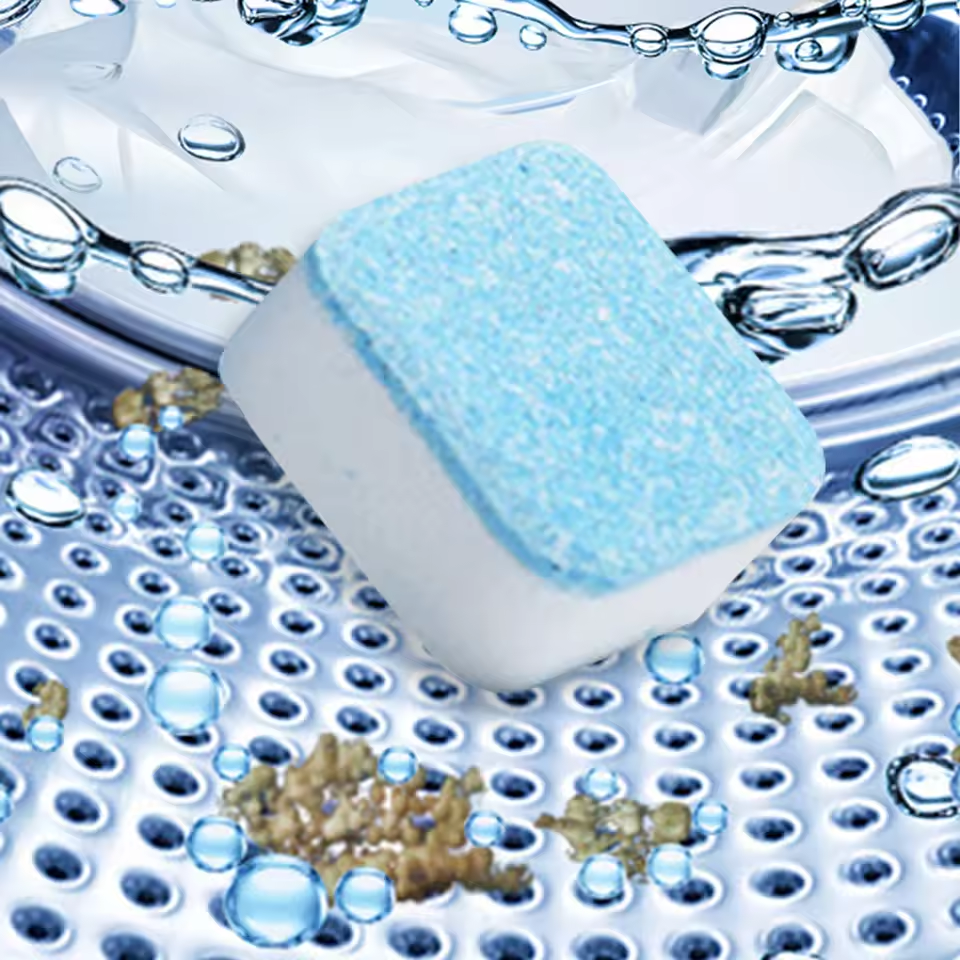
- Add Cleaning Agent: Once the cycle starts, add a suitable cleaning agent. You can use either a store-bought cleaner or a DIY solution.
- Pause Mid-Cycle: To allow the cleaning agent to work, pause the cycle midway for about an hour.
- Complete the Cycle: After the soak time, resume and complete the wash cycle. Wait till it drains fully.
- Clean Rubber Gaskets: Wipe down the rubber seals with soapy water to remove any mold or build-up.
- Scrub Dispensers: Remove and scrub the dispensers to remove the leftover detergent or softeners.
- Run Another Cycle: Run an additional rinse cycle with just water to remove any remaining cleaning agent.
- Dry the Interior: Once finished, dry the drum, the door, and the gaskets with a clean microfiber cloth.
- Leave the Door Open: Let the washing machine door stay open for a few hours. It allows air to circulate and prevents mold growth.
Each step is crucial for removing grime, preventing odors, and stopping the buildup of deposits. Your washing machine is now ready for use and is likely to operate more efficiently than before. Continue reading to explore the details of choosing the right cleaning agents that can make this process even more effective.
 Choosing the Right Cleaning Agents
Selecting the right cleaning agents is vital for an effective wash. It ensures the removal of all deposits and prevents any damage to the machine. Here’s how to choose the best cleaner for your washing machine:
- Check Manufacturer Recommendations: Refer to your machine’s manual for suggested products. Use only those safe for your model.
- Opt for High-Efficiency Cleaners: If you own a high-efficiency washer, choose compatible products. These prevent residue and maintain performance.
- Consider Multipurpose Cleaners: Some cleaners work on various appliances. A multipurpose option saves time and money.
- Look for Machine Cleaners: Specific washing machine cleaners target buildup. They are formulated to tackle soap scum and mineral deposits.
- Read Reviews: Customer feedback can guide your choice. Look for products with positive reviews for cleaning efficiency.
- Evaluate Ingredients: Choose products with clear labels. Avoid harsh chemicals that harm fabrics or the environment.
- Test for Sensitive Skin: If skin allergies are a concern, select a hypoallergenic cleaner. It should be free of dyes and fragrances.
Incorporating these tips will help you pinpoint the ideal cleaning agent. The ‘how to clean washing machine’ task becomes simpler with a cleaner that matches your machine’s needs.
 DIY Natural Cleaning Solutions for Washing Machines
Turning to DIY natural cleaning solutions can be both cost-effective and gentle on the machine. Here are some of the best natural cleaners to use:
- Baking Soda: Sprinkle half a cup inside the drum. It targets bad odors and dissolves grime.
- White Vinegar: Pour two cups into the detergent drawer. Vinegar is great for breaking down soap scum and mineral deposits.
- Lemon Juice: A natural disinfectant, lemon juice can freshen up the machine. Add it to the vinegar solution for extra cleaning power.
- Hydrogen Peroxide: Pour one cup into the drum. It’s a non-toxic bleach alternative that helps to sanitize.
- Tea Tree Oil: Just a few drops in with your cleaning solution, and you’ve got a mold-fighting machine. Remember, a little goes a long way.
Using these natural products not only helps in how to clean washing machines, but also benefits the environment. They are easy to find and often already in your home. Pair them with the step-by-step guide for an eco-friendly, sparkling clean machine.
Preventing Mold and Mildew in Your Washing Machine
Keeping your washing machine mold-free is important for your health and machine efficiency. Monitor humidity levels around the appliance as mold thrives in damp conditions. Ensure proper air circulation by leaving the door open after use. This allows the interior to dry fully.
Wipe down the drum, gaskets, and door seals regularly to prevent moisture buildup. Use a clean cloth and mild detergent solution for wiping. Always remove wet clothes immediately after the wash cycle ends. Do not let damp garments sit in the machine. This can lead to mildew growth.
Run monthly maintenance cycles with hot water and a cleaning agent. This process kills any lingering mold or bacteria. Opt for natural alternatives like vinegar to avoid harsh chemicals. They are less likely to contribute to mold growth.
Check for leaks and address them promptly. Leaks can create a wet environment that’s ideal for mold. Employing these strategies will help maintain a clean and healthy washing machine. A routine check is vital to nip mold problems in the bud. Preventative steps taken today can save significant time and expense down the road.
 Troubleshooting Common Cleaning Challenges
When cleaning your washing machine, you may encounter some challenges. Here’s how to tackle common issues in cleaning:
- Persistent Odors: Use a mixture of hot water and vinegar. Run a full cycle to help eliminate tough smells.
- Hard Water Deposits: If hard water is an issue, softening agents can help. They assist in dissolving mineral buildup.
- Mold and Mildew Stains: Scrub the stained areas with a paste of baking soda and water. This will aid in removing dark spots.
- Detergent Residue: Run an extra rinse cycle if you see soap leftover. Use less detergent in future washes.
- Lint Buildup: Clear the lint trap regularly. Doing this after each wash will help maintain cleanliness.
- Washing Machine Won’t Drain: Check for blockages in the drain hose. Clear any debris found.
- Noisy or Shaky Machine: Ensure that the machine is level. Adjust the legs to stabilize it if needed.
By addressing these cleaning challenges, you maintain a fresh and efficient washing machine. Use the ‘how to clean washing machine’ guide to handle any issues quickly.
Tips for Maintaining a Clean Washing Machine After Cleaning
After learning how to clean washing machines, maintaining cleanliness is crucial. Here’s how to keep it sparkling:
- Wipe Down After Each Use: Quickly wipe the drum and door after every wash. This removes moisture that can lead to mold.
- Leave the Door Ajar: Don’t close the door tight after washing. Leave it slightly open to let air circulate and dry out any dampness.
- Use the Right Amount of Detergent: Too much soap creates residue. Follow the recommended amount to avoid build-up.
- Monthly Cleans: Set a monthly reminder to clean your machine. This routine prevents long-term issues from developing.
- Check for Objects: Before washing, check for items like coins. They can damage the drum and cause leaks.
- Clean Dispensers Regularly: Don’t overlook detergent drawers. Clean them often to prevent clogs and ensure smooth operation.
- Run a Cleaning Cycle: If your machine has this feature, use it. It helps to keep the internals of the washer in good condition.
- Inspect Hoses: Look at the water hoses occasionally. Watch for kinks or wear that might cause leaks.
Maintain these habits and your washing machine will consistently perform well. Regular care after cleaning saves time and keeps your machine running smoothly. Remember, small steps can prevent bigger problems. Now, let’s look into when it might be time to call in a professional.
 When to Call a Professional for Washing Machine Care
Despite your best efforts in maintaining your washing machine, some issues require professional attention. Recognizing when to seek help can save you time and avoid more extensive damage. Here are indicators that it might be time to call a professional:
- Strange Noises: If your machine makes loud or unusual sounds, it could signal an internal problem. A professional can diagnose the cause.
- Water Leaks: Major leaks or consistent dripping from your washing machine are a sign. Experts can find and fix the source.
- Electrical Issues: If your washer won’t turn on or has electrical troubles, don’t try to fix it yourself. Electrical repairs need a qualified technician.
- Error Messages: Modern washers display error codes for various issues. A technician can understand these codes and repair the fault.
- Ineffective Cleaning: When clothes remain dirty after washing, something might be wrong. A professional can check if the machine is functioning correctly.
- Drainage Problems: If the water doesn’t drain or drains slowly, there might be a clog. A service technician can clear blockages effectively.
Remember, it’s always best to consult the user manual first and contact customer support before calling a technician. They can often help with basic troubleshooting issues over the phone.
By acknowledging when professional help is needed for ‘how to clean washing machine’ challenges, you ensure your appliance operates safely and efficiently. Don’t hesitate to call in an expert when the situation is beyond simple home solutions.

 How to Calculate Dehumidifier Capacity
 Different Drainage Options
 Energy Efficiency and Energy Star Ratings
 Creating a Decision Tree for Model Selection
 Benefits of Installing an Dehumidifier for Attic
 Popular Dehumidifier for Attic Brands and Models
 Making the Right Choice Based on Your Needs
 Tips for Prolonging Dehumidifier Lifespan
 Bedrooms: Managing Humidity and Allergens
 Basements: Battling Dampness
 Living Rooms: Balancing Comfort and Clean Air
 How Air Purifiers Work
 The Importance of Humidity Control
 Choosing the Right Dehumidifier
 The Connection Between Dehumidifiers and Sustainable Living
 Frequently Asked Questions
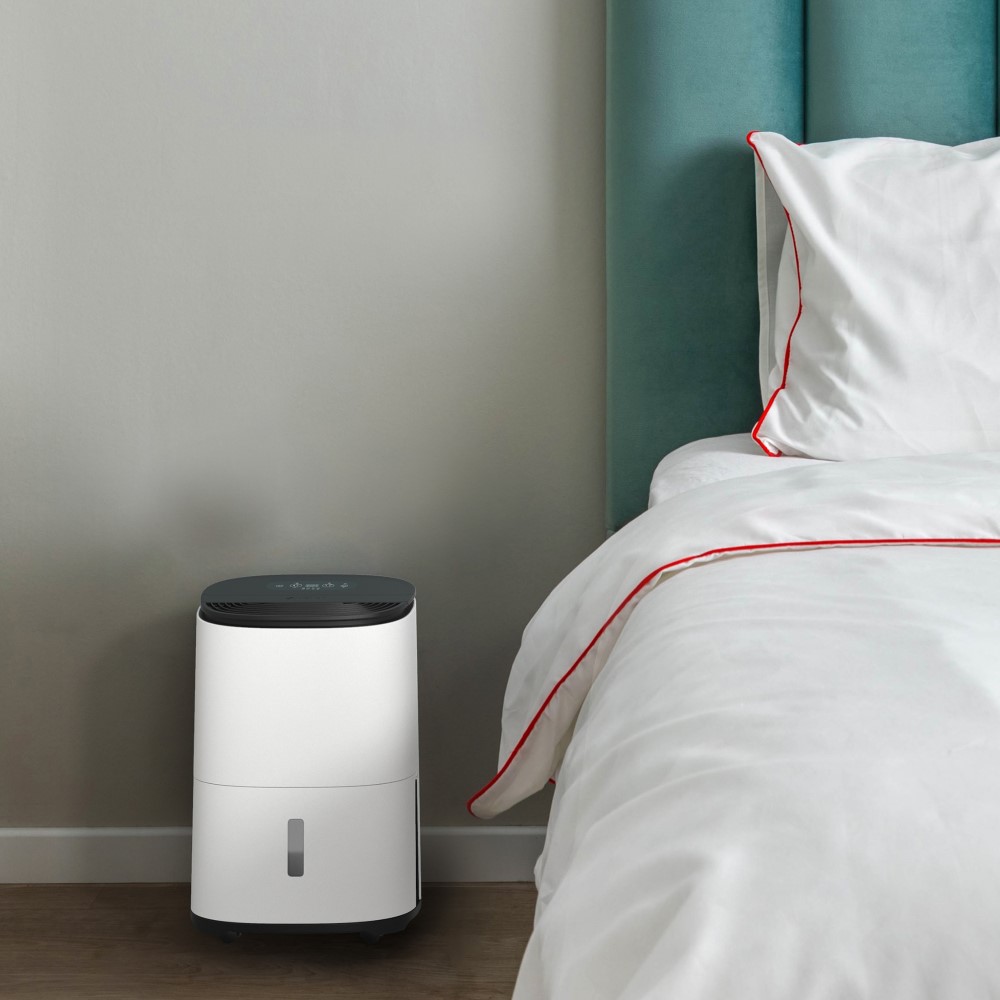
 The Functionality of Dehumidifiers
 Does a Dehumidifier Cool a Room?
 Benefits of Dehumidifiers in Cooling
 Combining Dehumidifiers with Other Cooling Solutions
 Benefits of Using a Dehumidifier with a Drain Hose
 Tools and Materials You’ll Need
 Step 2: Setting Up the Drain Hose
 Step 5: Maintaining Your Dehumidifier
 Benefits of Using a Dehumidifier for Room Comfort
 How to Choose the Right Dehumidifier for Your Room
 Smart Features and Connectivity
 Installation and Setup Tips
 Understanding Air Purifiers and Dehumidifiers
 Choosing the Right Air Purifier and Dehumidifier for Your Home
 Common Uses and Applications
 Troubleshooting Common Issues