Air quality has become a significant concern in recent years, especially with increasing pollution levels and allergens. Therefore, air purifiers have gained popularity as essential household devices. Among the various brands available, Bionaire stands out for its advanced technology and reliable performance. In this comprehensive guide, we will review some of the most popular Bionaire air purifier models. These reviews will help you make an informed decision when selecting the perfect air purifier for your home. By exploring the features, benefits, and drawbacks of each model, you can find the ideal fit for your needs.
Key Features of Bionaire Air Purifiers
Bionaire air purifiers are known for their innovative features and advanced filtration systems, designed to improve indoor air quality. Therefore, understanding these key features is crucial when considering a Bionaire air purifier.
HEPA Filtration
One of the standout features of Bionaire air purifiers is the inclusion of HEPA filters. HEPA (High-Efficiency Particulate Air) filters are renowned for their ability to capture 99.97% of airborne particles as small as 0.3 microns. This means they effectively remove dust, pollen, pet dander, and even some bacteria and viruses from the air. As a result, you can breathe easier and enjoy a cleaner indoor environment. Therefore, the HEPA filtration system is a significant advantage of Bionaire air purifiers.
Multiple Speeds and Settings
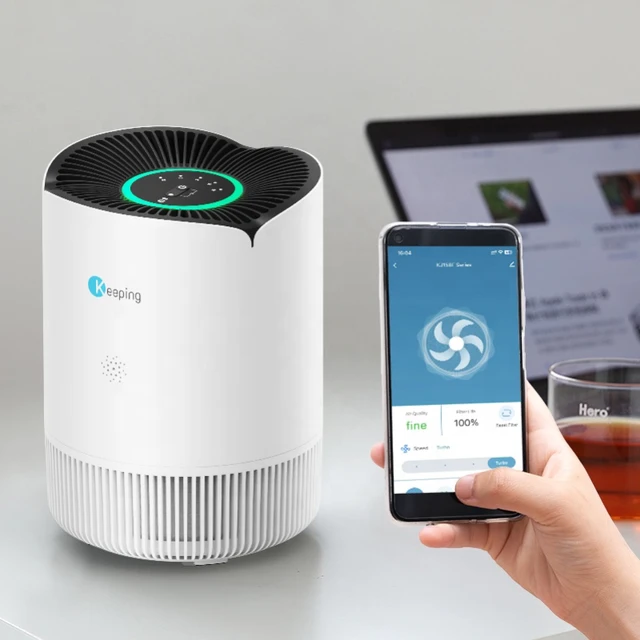
Another key feature of Bionaire air purifiers is the multiple fan speeds and settings. These options allow users to customize the air purification process according to their needs. For instance, during allergy season, you might prefer a higher fan speed for more efficient filtration. Conversely, the lower settings provide a quieter operation, ideal for nighttime use. Therefore, the flexibility offered by multiple speeds and settings enhances the user experience and efficiency of Bionaire air purifiers.
Popular Bionaire Air Purifier Models
Bionaire offers a range of air purifiers catering to different needs and preferences. Therefore, exploring some of the popular models helps you identify the right one for you.
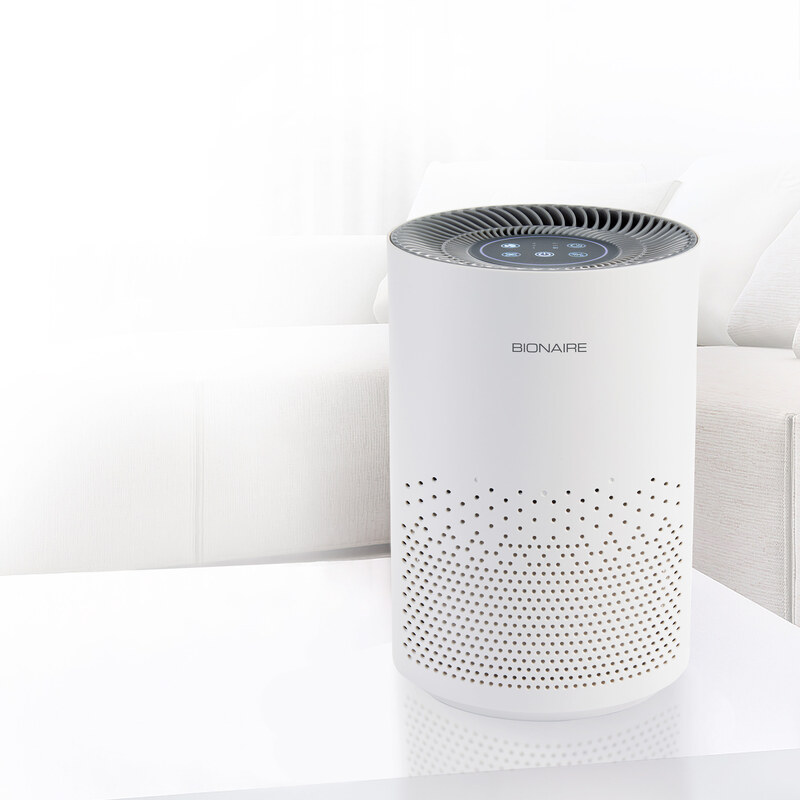
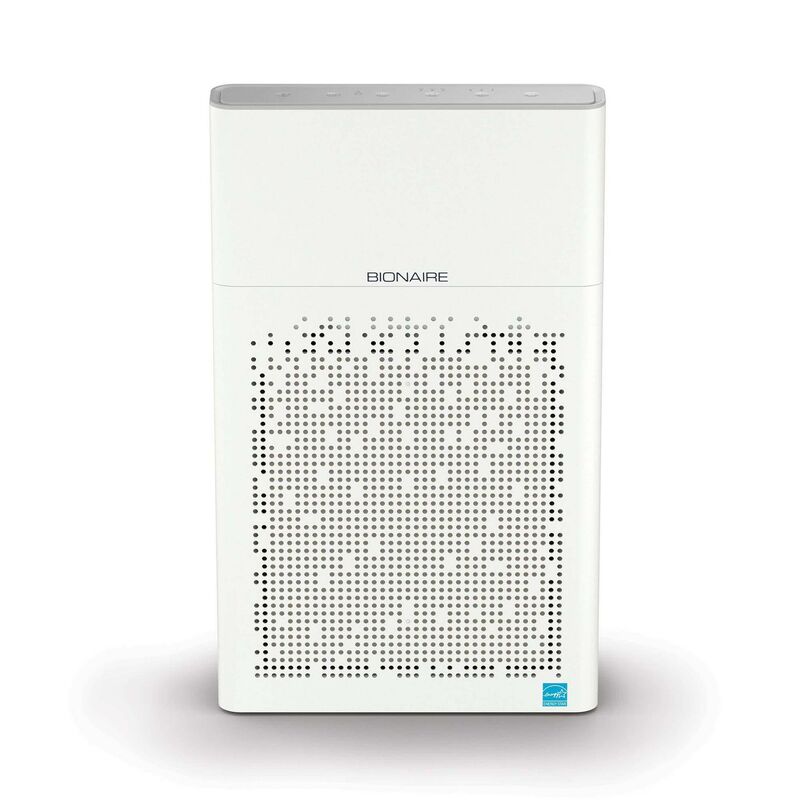
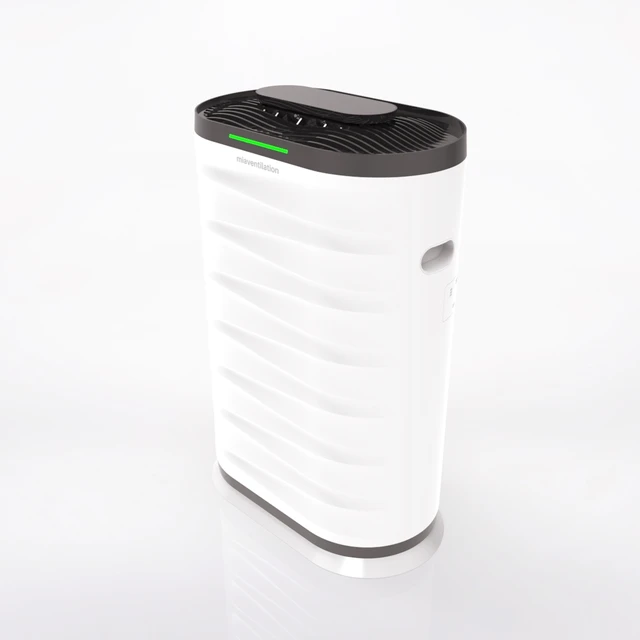
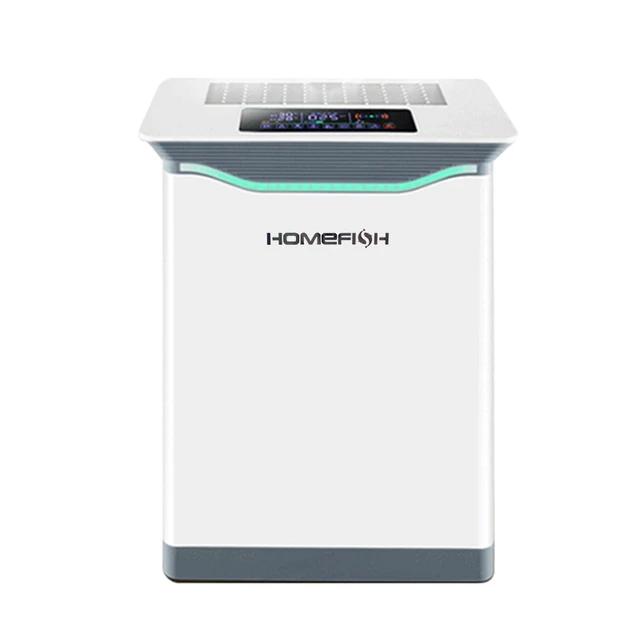
Bionaire True HEPA 360° UV Air Purifier
The Bionaire True HEPA 360° UV Air Purifier is a top-tier model in the Bionaire lineup. It combines advanced HEPA filtration with UV-C light technology to deliver superior air purification. The 360° air intake ensures that air is drawn in from all directions, maximizing the purifier’s efficiency. Additionally, the UV-C light helps eliminate germs and bacteria, providing an extra layer of protection. With multiple fan speeds and a sleek design, this model is perfect for medium to large rooms. Therefore, the Bionaire True HEPA 360° UV Air Purifier stands out for its comprehensive air purification capabilities.
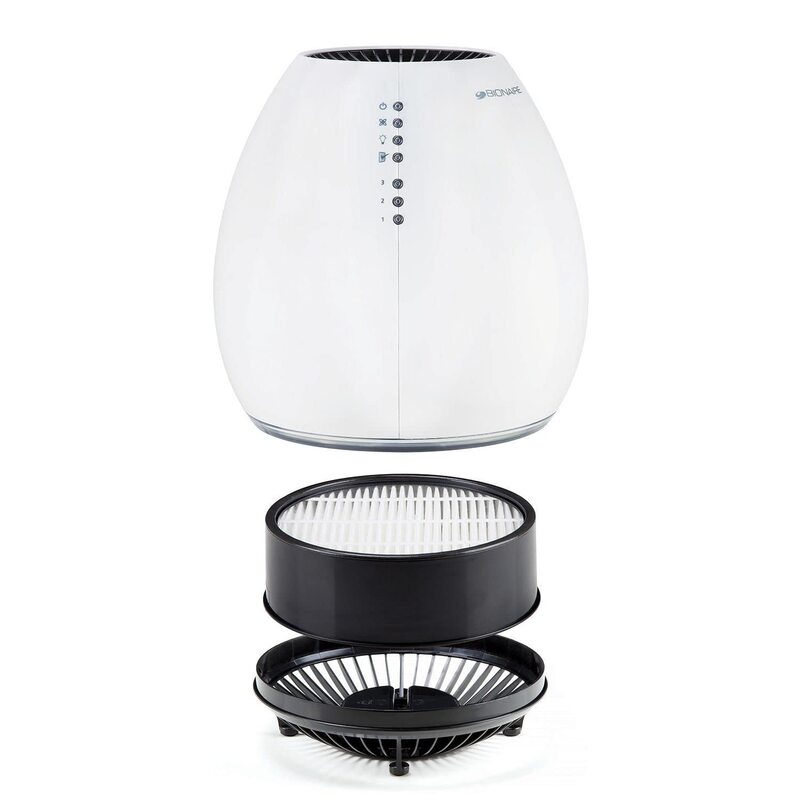
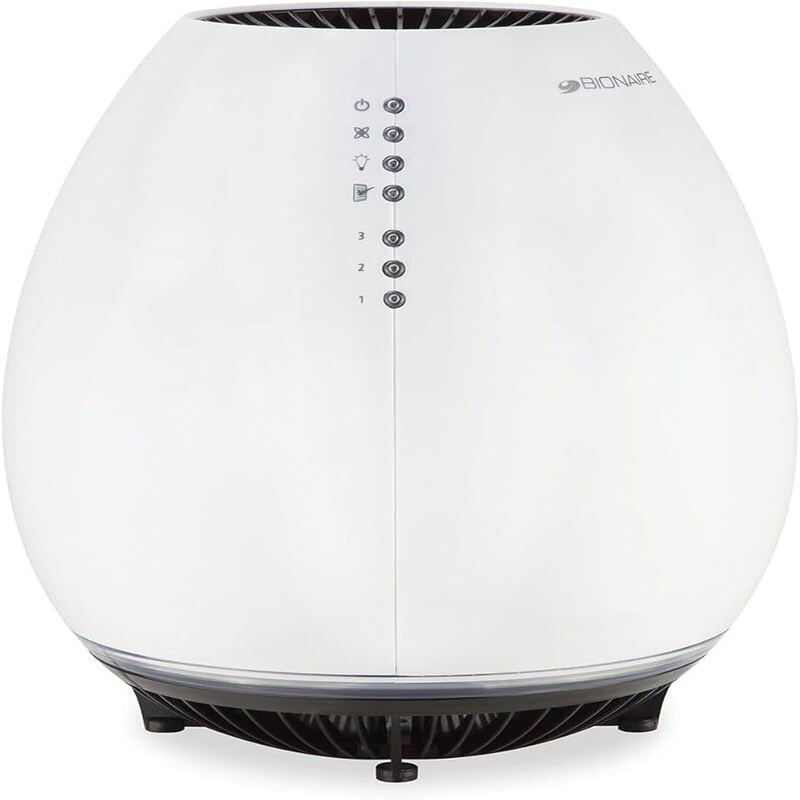
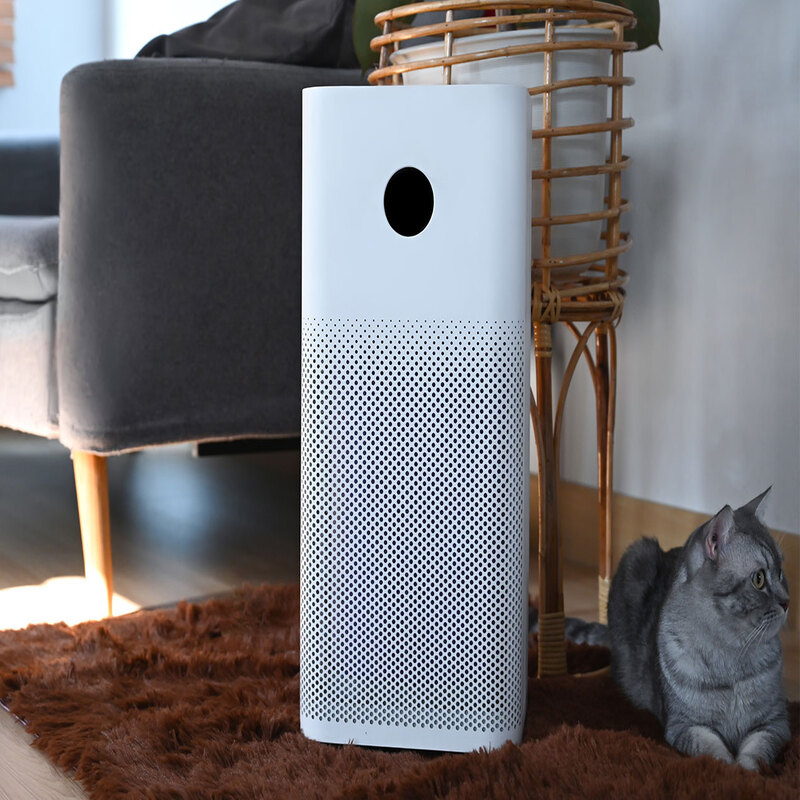
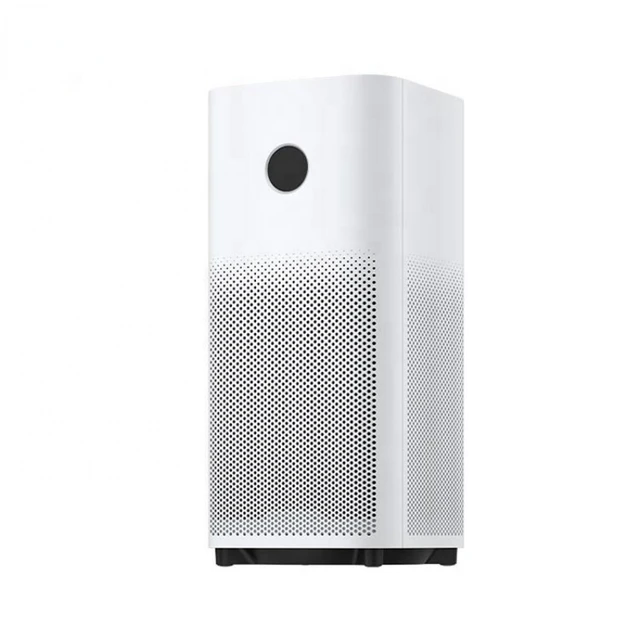
Bionaire HEPA Tower Air Purifier with Permanent Filter
Another popular model is the Bionaire HEPA Tower Air Purifier with a permanent filter. This model features a permanent HEPA-type filter, eliminating the need for regular filter replacements. The slim tower design makes it ideal for smaller spaces, such as bedrooms or home offices. Additionally, the purifier includes a built-in ionizer that further enhances air quality by capturing smaller particles. With three cleaning levels and an easy-to-use control panel, this model offers a user-friendly experience. Therefore, the Bionaire HEPA Tower Air Purifier stands out for its convenience and compact design.
Benefits of Using Bionaire Air Purifiers
Using a Bionaire air purifier comes with numerous benefits, from improving air quality to enhancing overall well-being. Therefore, understanding these benefits is essential when considering a Bionaire air purifier.
Improved Air Quality
The primary benefit of using a Bionaire air purifier is the significant improvement in indoor air quality. The advanced filtration systems capture allergens, dust, and pollutants, reducing their presence in the air. This can be especially beneficial for individuals with allergies, asthma, or other respiratory conditions. Additionally, cleaner air contributes to a healthier living environment, potentially reducing the risk of illness. Therefore, improved air quality is a major advantage of Bionaire air purifiers.
Enhanced Sleep Quality
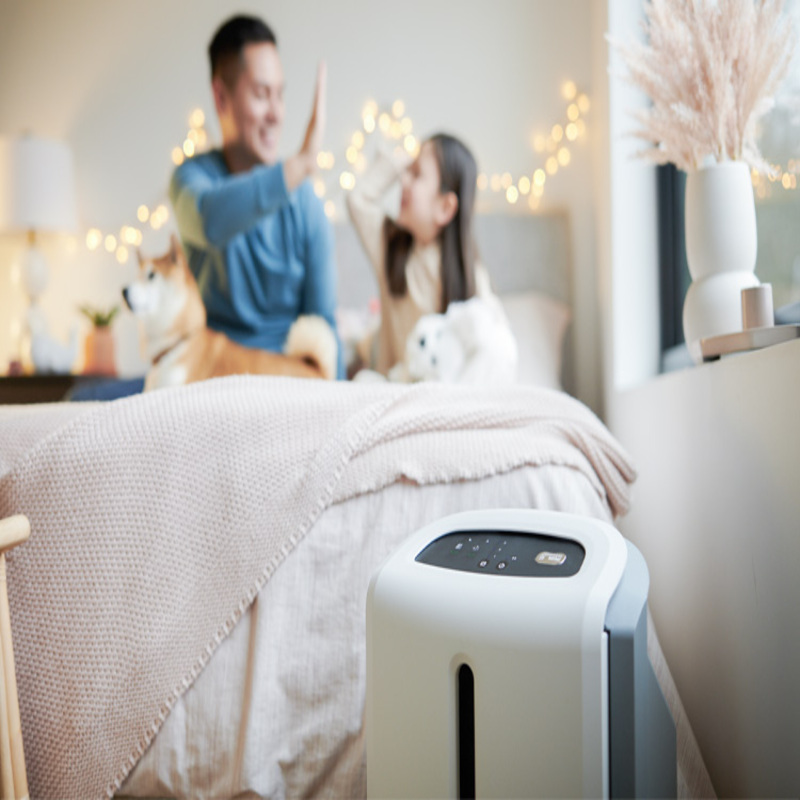
Another notable benefit of Bionaire air purifiers is the enhancement of sleep quality. Poor air quality can lead to disturbed sleep due to allergens and pollution. By removing these irritants, Bionaire air purifiers create a cleaner and calmer environment, promoting better rest. The quieter settings on Bionaire models also ensure that the purifier operates silently, without disrupting sleep. Therefore, for those struggling with sleep issues, a Bionaire air purifier can be a valuable addition to the bedroom.
Drawbacks of Bionaire Air Purifiers
While Bionaire air purifiers offer numerous benefits, they also have some drawbacks that potential buyers should consider. Therefore, understanding these limitations can help you make an informed decision.
Maintenance Requirements
One of the main drawbacks of Bionaire air purifiers is the maintenance they require. HEPA filters need regular replacement to maintain their efficiency, which can be an ongoing expense. Even models with permanent filters need periodic cleaning to function optimally. Neglecting these maintenance tasks can reduce the effectiveness of the purifier. Therefore, potential buyers should consider the time and cost associated with maintaining a Bionaire air purifier.
Noise Levels
Another potential drawback is the noise levels produced by Bionaire air purifiers, especially at higher fan speeds. While lower settings are relatively quiet, higher speeds can produce noticeable noise that might be disruptive. This can be an issue for individuals who prefer a completely silent environment, particularly during sleep or concentration. Therefore, it’s important to consider the noise levels when choosing a Bionaire air purifier.
User Reviews and Feedback
Gathering user reviews and feedback is an excellent way to gain insights into the performance and reliability of Bionaire air purifiers. Therefore, analyzing these reviews can provide a well-rounded perspective.
Positive Reviews
Many users praise Bionaire air purifiers for their effectiveness in improving air quality. Customers frequently mention the noticeable difference in allergy symptoms and overall air freshness. The multi-speed settings and user-friendly controls also receive positive feedback for their convenience. Additionally, the sleek and modern design of Bionaire models often garners appreciation for blending seamlessly with home décor. Therefore, the positive reviews highlight the practicality and efficiency of Bionaire air purifiers.
Negative Reviews
However, some users have expressed concerns about the noise levels at higher settings and the cost of replacement filters. Maintenance requirements and the frequency of filter replacements are also common points of criticism. Additionally, a few users have reported issues with the longevity of specific models, noting that performance can decline over time. Therefore, it’s crucial to weigh these negative reviews alongside the positives when making a decision.
Conclusion
Bionaire air purifiers offer a range of advanced features and benefits, making them a valuable addition to any home. From HEPA filtration to multiple speed settings, these purifiers are designed to improve indoor air quality effectively. However, they do come with some drawbacks, such as maintenance requirements and noise levels. User reviews and feedback provide a balanced view of these devices, highlighting both their strengths and limitations. Therefore, by considering all these factors, you can make an informed decision and choose the Bionaire air purifier that best suits your needs. Investing in a Bionaire air purifier can significantly enhance the air quality in your home, ensuring a healthier and more comfortable living environment.
Além das características destacadas e dos feedbacks de usuários, é importante considerar o ambiente onde o purificador será usado ao decidir por um modelo Bionaire. Se você planeja usar o purificador em um quarto, escritório ou sala de estar, cada espaço pode ter necessidades diferentes em termos de cobertura de área e configuração de velocidades. Adaptar o modelo certo para cada ambiente maximiza a eficiência do aparelho. Pesquisar bem e ler avaliações adicionais pode ajudar a garantir que você faça uma escolha bem-informada e que atenda especificamente às suas necessidades. Portanto, um Bionaire bem escolhido pode transformar significativamente a qualidade do ar e a saúde do seu espaço.

 Does air purifiers help with smell? Unpleasant odors in your living space can significantly affect your quality of life. Whether they stem from cooking, pets, smoke, or other sources, eliminating these smells can be challenging. Consequently, many people turn to air purifiers as a solution. But do air purifiers help with smells? Therefore, this comprehensive guide explores how air purifiers function, their effectiveness in combating odors, and tips on choosing the right model. By understanding these aspects, you can make informed decisions and enjoy fresher,
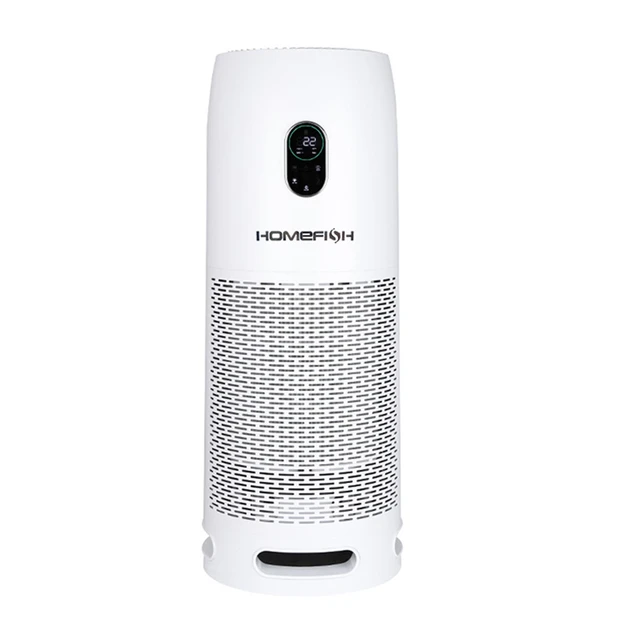

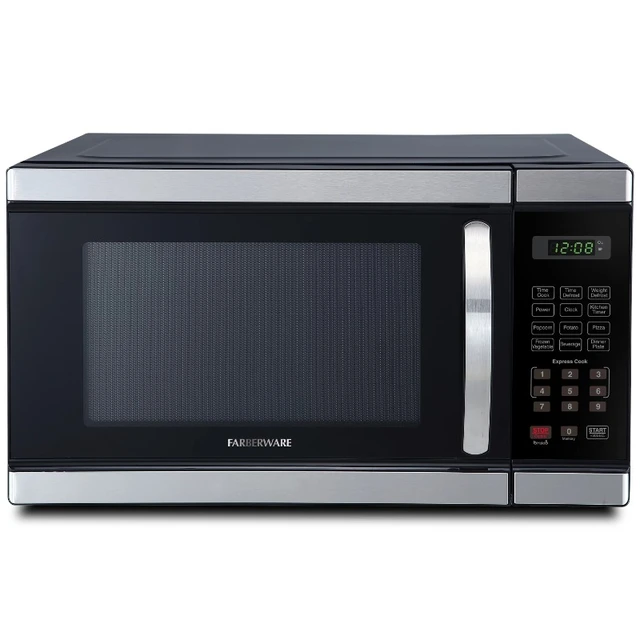
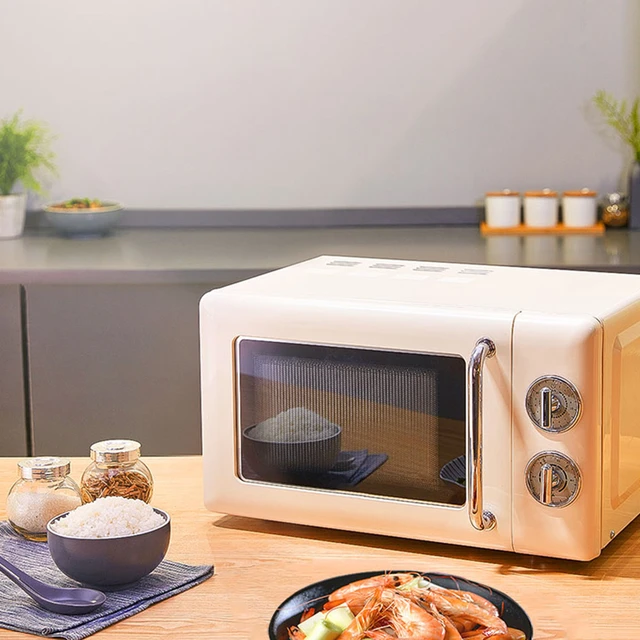 Who invented microwaves? The Origins of the Microwave Oven
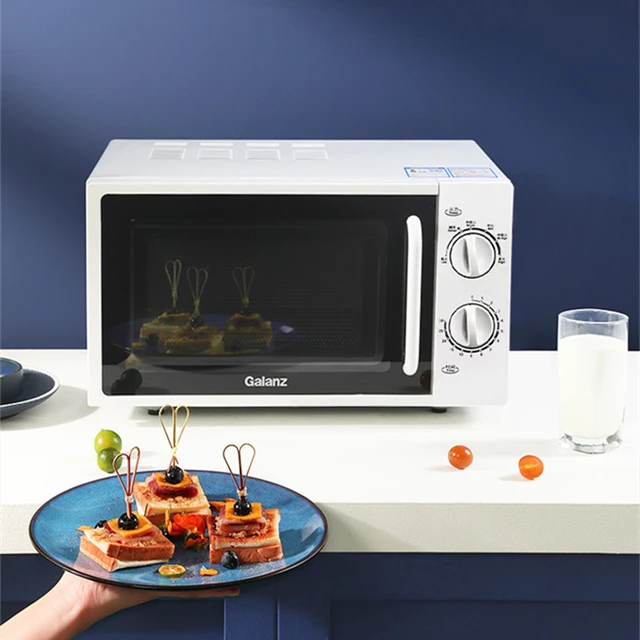
 Ammonia to clean oven:


 Introduction: