Identifying Iron Stains on Fabric
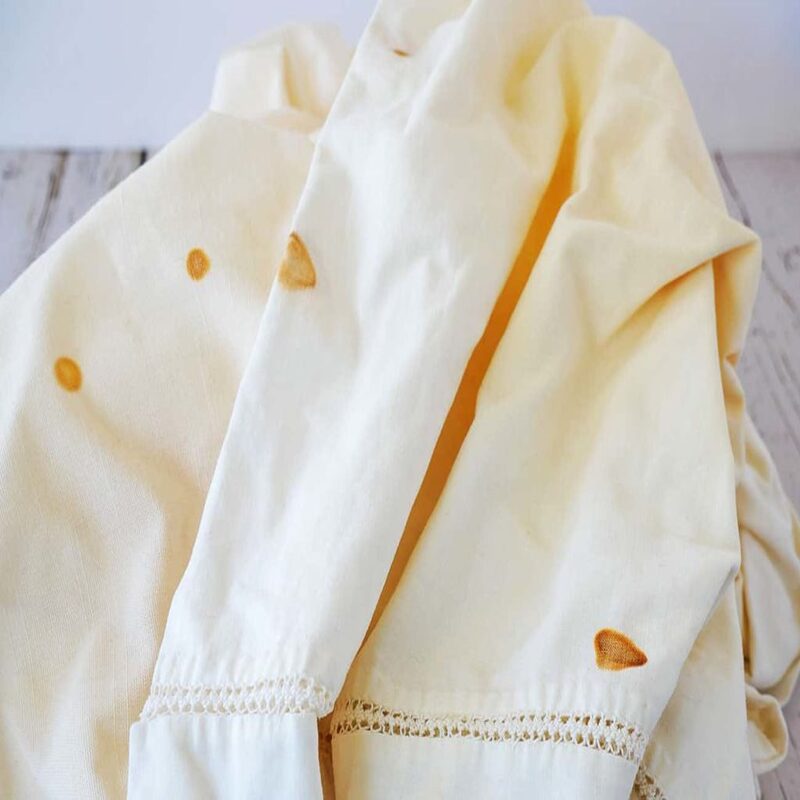
Learning to identify iron stains on your garments is the first step toward removal. Iron stains can look different depending on the fabric. They often appear as yellow, brown, or rusty spots. Unlike other marks, these stains may have a distinct metallic scent. This is because the iron reacts with the fabric fibers, causing discoloration.
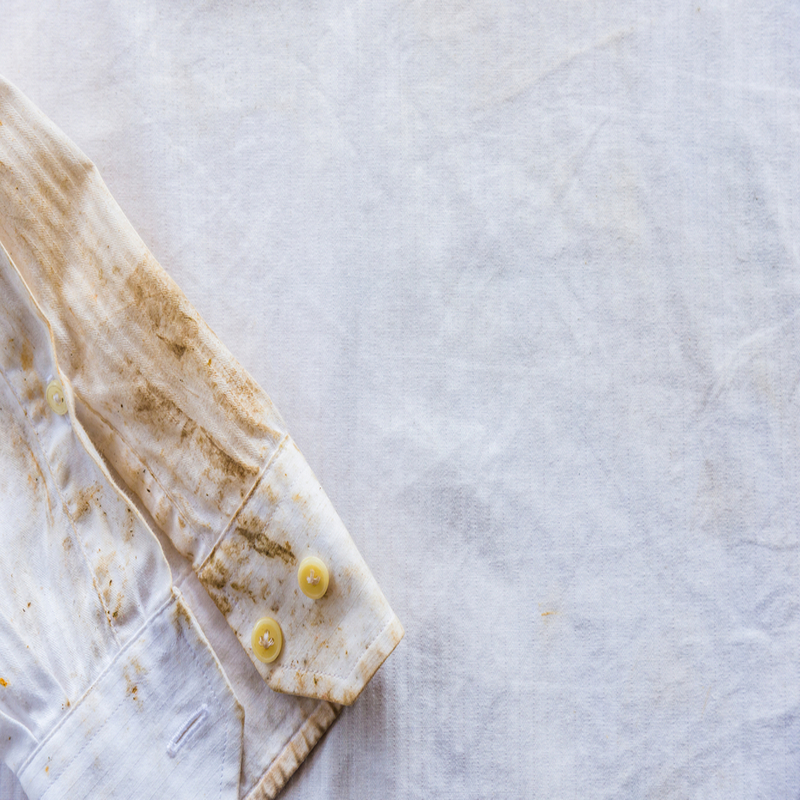
To spot iron stains, look for patches that stand out against the color of your clothing. High-iron water often causes stains after washing. If you find a stain post-laundry, iron could be the culprit. Check areas often in contact with water, like cuffs and hems. These are likely spots for iron stains to show.
Sometimes, iron stains are faint and could be missed. Inspect your clothes in good light to catch any subtle discolorations. Touch the area to feel for any hard or crusty surfaces. This roughness can signal an iron stain setting into the fabric.
Remember these tips when checking for iron stains:
- Examine the stain’s color; yellow, brown, or rusty tones are common.
- Smell the stain for a metallic odor, indicating iron.
- Inspect your clothes post-wash for any new stains.
- Look at high-contact water areas like cuffs and hems.
- Use bright light to notice faint stains.
By correctly identifying iron stains, you’re on your way to effectively removing iron stains from clothes.
The Science Behind Iron Stains and Fabric
Understanding the science helps in removing iron stains from clothes effectively. Iron stains occur when iron particles, often from hard water, cling to fabric. Over time, these particles can react with the air and oxidize. This oxidation process creates the typical rust color that we see as a stain.
Two elements are usually at play in the formation of iron stains on fabric:
- Iron Particles: These come from iron-rich water sources and can deposit on clothes during washing.
- Oxidation: Exposure to oxygen in the air can convert iron to rust, leaving a stain.
The fabric type also influences how the stain appears and how tough it is to remove. Natural fibers like cotton and linen absorb iron quickly, making stains more noticeable. Synthetics may resist staining better but can still suffer from discolored patches.
The key to removing iron stains is to act fast. The longer the iron sits on the fabric, the more it bonds with the fibers. This makes the stain harder to remove. Also, high heat can set the stain, so avoid using a hot iron or dryer until the stain is gone.
With the right understanding and methods, you can tackle iron stains successfully. The next section will guide you through the pre-treatment tips for iron-stained clothing.
Pre-Treatment Tips for Iron-Stained Clothing
Before attempting to remove iron stains from clothes, pre-treat the fabric to loosen the iron particles. This initial step can greatly enhance the success of stain removal. Here are some essential pre-treatment tips:
- Act Quickly: Deal with the stain as soon as possible to prevent the iron from bonding strongly with the fabric.
- Do Not Apply Heat: Keep the garment away from hot irons and dryers. Heat can set the stain, making it more difficult to remove.
- Rinse with Cold Water: Flush out as much of the stain as you can by rinsing the affected area thoroughly with cold water.
- Test Fabric Compatibility: Before you apply any stain removal solution, test it on a small, inconspicuous area of the fabric to ensure it won’t cause damage.
- Gentle Rubbing: If the fabric allows, gently rub the stained area between your fingers to break up the iron particles.
- Avoid Bleach: Bleaching agents can react with iron and worsen the stain, so steer clear of bleach when dealing with iron stains.
By carefully pre-treating the garment, you pave the way for easier and more effective methods of removing iron stains from clothes.
Home Remedies for Removing Iron Stains
After pre-treating your iron-stained clothing, you can try various home remedies to remove the stains. Here are some effective, easy-to-prepare solutions you can use:
- Lemon Juice and Salt: Squeeze fresh lemon juice onto the stain, sprinkle with table salt, and place the garment in sunlight. The acid in the lemon juice can break down the iron, while the sun helps to lift the stain from the fabric.
- White Vinegar: Apply white vinegar directly to the stain and gently rub it in. Let it sit for a few minutes before rinsing thoroughly. Vinegar’s acidic properties can dissolve iron particles.
- Baking Soda Paste: Mix baking soda with a little water to form a paste. Spread this over the stain and lightly rub. After letting it sit for an hour, rinse off the baking soda. It’s known to be gentle yet effective in removing stains.
- Cream of Tartar: Boil the stained part of the fabric in a solution of cream of tartar and water. The cream of tartar has a mild acid that can help in removing the iron stain.
Always remember to rinse the area well with cold water after any treatment and repeat the process if necessary. For tougher stains, you might need to consider stronger commercial products or seek professional advice.
Trying these home remedies for removing iron stains from clothes could save your favorite outfits from being ruined by unsightly marks. Each method is simple and uses products commonly found in many households.
Commercial Products to Treat Iron Stains
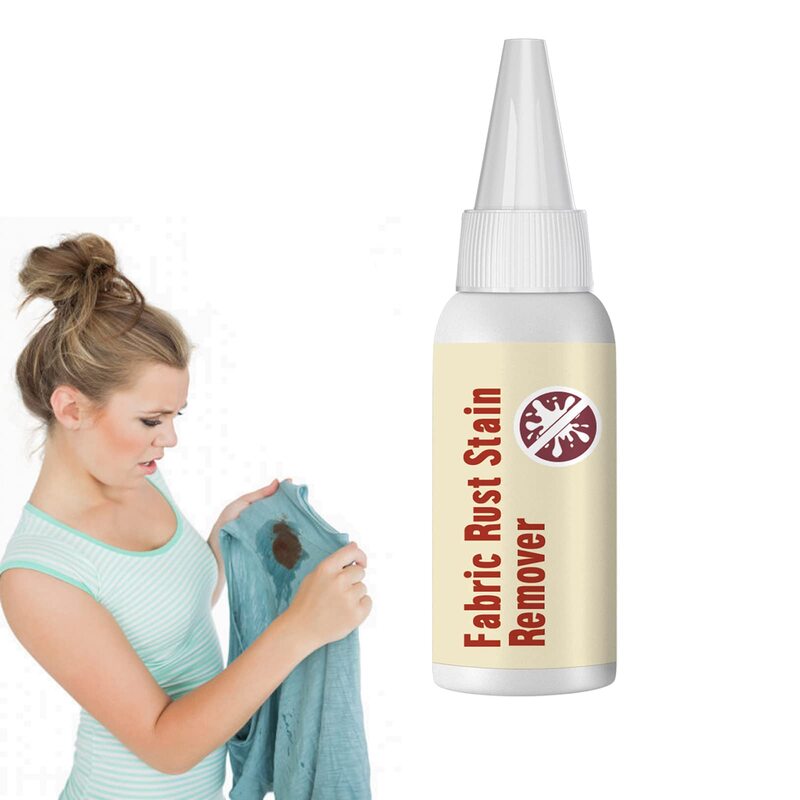
For persistent or severe iron stains, commercial products can be effective. These products are formulated to combat tough stains, including those caused by iron. When choosing a commercial stain remover, look for options specifically designed for iron stains. They typically contain ingredients that react with iron to dissolve and lift it from the fabric.
Start by reading the instructions carefully. Different products may have different application methods. Some require you to apply the product directly to the stain, while others may instruct you to add it to your wash. Always follow the guidelines for the best results.
Here are a few types of commercial products that can aid in removing iron stains from clothes:
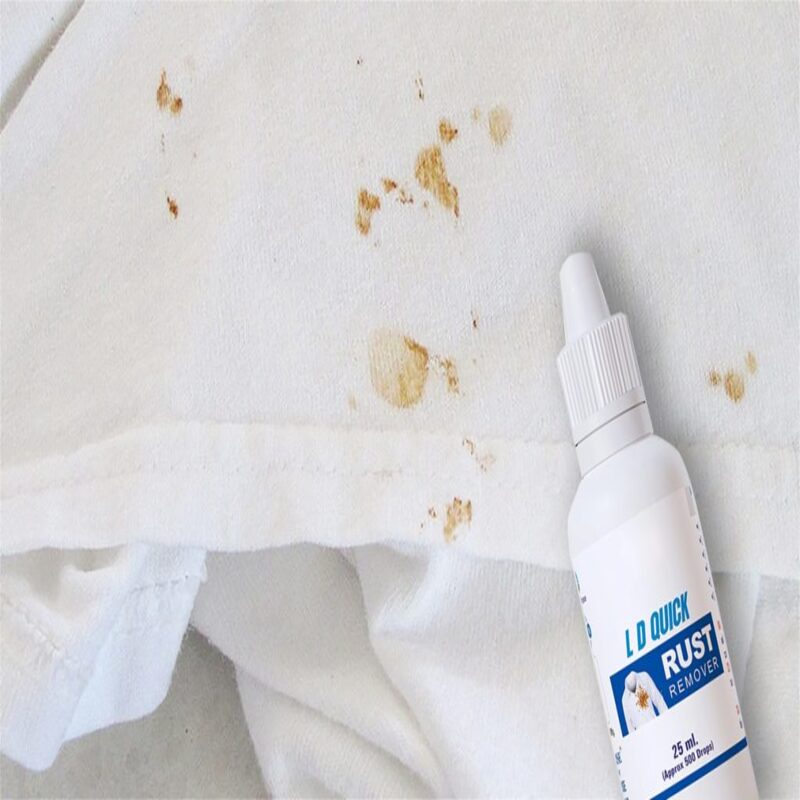
- Stain Remover Sprays: Spray directly onto the stain, let it sit for a few minutes, then wash as usual.
- Rust Removers: These are formulated to target rust and may be more potent. Use them with care.
- Laundry Boosters: Add these to your laundry to help break down iron particles during the wash cycle.
- Pre-Soak Treatments: Soak the stained garment in these solutions before washing to loosen the iron stains.
Always test any product on an inconspicuous area first to ensure it does not damage the fabric. Avoid using chlorine bleach as it can react with iron, worsening the stain. Opt for oxygen-based bleaches if a bleaching agent is needed.
Be patient; some stains may need multiple treatments. If a stain persists after using commercial products, you may need to seek professional cleaning assistance.
Selecting the right commercial product and following the application instructions can help you restore your clothes to their former glory, free from iron stains.
Step-by-Step Guide to Removing Iron Stains
Removing iron stains from clothes requires a careful approach. Here’s a simple guide to follow:
- Pre-Treat the Fabric: Quickly act on the stain by rinsing it with cold water. Avoid heat as it sets the stain.
- Apply a Home Remedy: Use lemon juice and salt, white vinegar, baking soda paste, or cream of tartar. These substances break down the iron.
- Expose to Sunlight: If you’ve used lemon juice and salt, lay the garment in the sun. Sunlight aids the stain removal process.
- Rinse Well: After treatment, rinse the fabric thoroughly with cold water to remove any residue of the cleaning agents.
- Repeat if Needed: Some stains may need a second or third treatment. Check and treat again if the stain remains.
- Use a Commercial Product: For tough stains, apply a commercial stain remover designed for iron stains. Follow the product’s instructions.
- Laundry Time: Wash the garment as usual, but avoid using chlorine bleach. Consider oxygen-based bleach if needed.
- Check Before Drying: Before putting the garment in the dryer, ensure the stain is gone. Heat can set any remaining stain.
- Test Fabric First: Always try the remedy on a small part of the fabric first. This is to avoid damage to the fabric.
Remember, patience is key. Some stains take time to lift, and following these steps can save your clothes from iron stains.
Preventing Future Iron Stains on Clothes
Preventing iron stains on your clothes can save you time and protect your garments. Here are some steps to help avoid future iron stains:
- Use Distilled Water: If hard water is the issue, switch to distilled water for laundry. It can prevent iron deposits.
- Install a Water Softener: A water softener reduces iron in your water supply. This can stop stains before they start.
- Separate Whites and Colors: Wash white garments separately. This guards against iron stains transferring during the wash.
- Regularly Clean Your Iron: Keep your iron free of rust by cleaning it often. A dirty iron can cause stains.
- Check for Leaks: Inspect pipes and taps for leaks that can leave iron-rich water on clothes.
- Dry Clothes Immediately: Don’t leave wet clothes sitting. Dry them right away to avoid rust marks from metal hangers.
- Use Rust Stain Prevention Products: Add these to your wash to help protect clothes from iron stains.
By following these tips, you can reduce the risk of iron stains on your clothes. This makes your laundry routine easier and keeps your clothes looking their best.
When to Seek Professional Cleaning Assistance
Even with home remedies and commercial products, some iron stains won’t come out. This is when you might need professional help. Look for these signs that it’s time to seek a professional cleaner:
- Stain Remains After Multiple Treatments: If a stain doesn’t fade after several attempts, professionals may have stronger tools at hand.
- Delicate Fabrics: Materials like silk or wool might need expert care to avoid damage.
- Large or Spread-out Stains: Professionals can handle big stains or those that have spread over a large area.
- You’re Unsure: If you don’t know how to handle the stain, a professional can offer the right solution.
- Value and Sentiment: For clothes that are expensive or have sentimental value, taking risks isn’t worth it. Trust them to the experts instead.
Cleaners with specialist knowledge in removing iron stains from clothes have access to industrial-grade solutions. They understand fabric types and how to treat them without causing harm. Their experience means they can remove stains that seem stubborn at home. Getting their help can extend the life of your clothes and save you time. Remember, always check the cleaner’s credentials and reviews before handing over your clothes.