Introduction to Oven Cleaning with Ammonia
For many, the thought of cleaning an oven can be daunting. However, using ammonia to clean your oven is a tried-and-true approach that not only simplifies the job but also produces excellent results. This potent, no-nonsense cleaner tackles even the grimiest of ovens, cutting through the toughest baked-on residue with ease. In this introduction, we’ll offer insight on why ammonia is a handy ally in oven cleaning, and guide you through the process to rejuvenate your kitchen staple. Let’s embark on the journey to a cleaner, more efficient oven with the help of ammonia.

The Science Behind Ammonia as a Cleaning Agent
Ammonia’s power in cleaning comes from its unique properties. It is a strong alkaline substance that cuts through grease with ease. In water, it forms a potent solution that can tackle even the most stubborn oven stains. When heated, ammonia turns into a gas that helps in loosening dirt and grime. Not only does it clean, but it also neutralizes unpleasant odors, leaving your oven fresh.
Benefits of Ammonia for Oven Maintenance
Using ammonia to clean your oven offers several benefits:
- It effectively breaks down oily residues and burnt-on food, making cleaning less labor-intensive.
- It is more affordable than many commercial cleaners while providing comparable, or even better, results.
- Ammonia is versatile and can safely be used on different types of ovens, such as gas or electric.
By understanding how ammonia works and using it correctly, you can maintain a clean oven without excessive scrubbing or spending.
Preparing Your Oven for Cleaning with Ammonia
Before you start cleaning your oven with ammonia, proper preparation is key. Doing so will not only make the cleaning process smoother but will also help you achieve the best results. Here’s how to get your oven ready for its ammonia cleaning session:
- Remove everything from inside: Start by taking out the oven racks and any other items that are inside. These can be cleaned separately, making sure every corner of your oven gets attention.
- Wipe out large debris: Next, clear away any large pieces of burnt food or chunks of debris. A spatula can help pry off larger bits that are stuck to the oven surface.
- Cool down: Ensure that your oven is completely cool. Ammonia reacts with heat, so it’s vital to use it in a cooled environment for safety and effectiveness.
- Ventilate the area: Open your windows or turn on the extractor fan. Good ventilation is crucial to safely disperse the ammonia fumes during the cleaning process.
- Protect yourself: Safety comes first. Wear rubber gloves to avoid skin contact and consider goggles to protect your eyes from any splashes.
By following these preparatory steps, you’re setting the stage for a trouble-free cleaning experience with ammonia.

Homemade Ammonia Oven Cleaning Solution
Creating your own ammonia oven cleaning solution is straightforward and cost-effective. Here’s how to craft your powerful homemade cleaner.
Necessary Ingredients and Mixing Instructions
For this DIY solution, you’ll need a few basic household items. Gather one cup of ammonia, one cup of water, a tablespoon of baking soda, and a few drops of dish soap. To mix, follow these steps:
- In a spray bottle or bowl, combine the ammonia with water.
- Add the baking soda and dish soap.
- Shake or stir the mixture until everything is well-blended.
With these simple ingredients and instructions, you’ll create a strong cleaning agent that cuts through oven grime efficiently. Always remember to use this mixture in a well-ventilated area and wear protective gloves. Start rejuvenating your oven’s interior with this homemade solution.
Step-by-Step Guide to Cleaning Your Oven with Ammonia
Cleaning Oven Interior and Racks
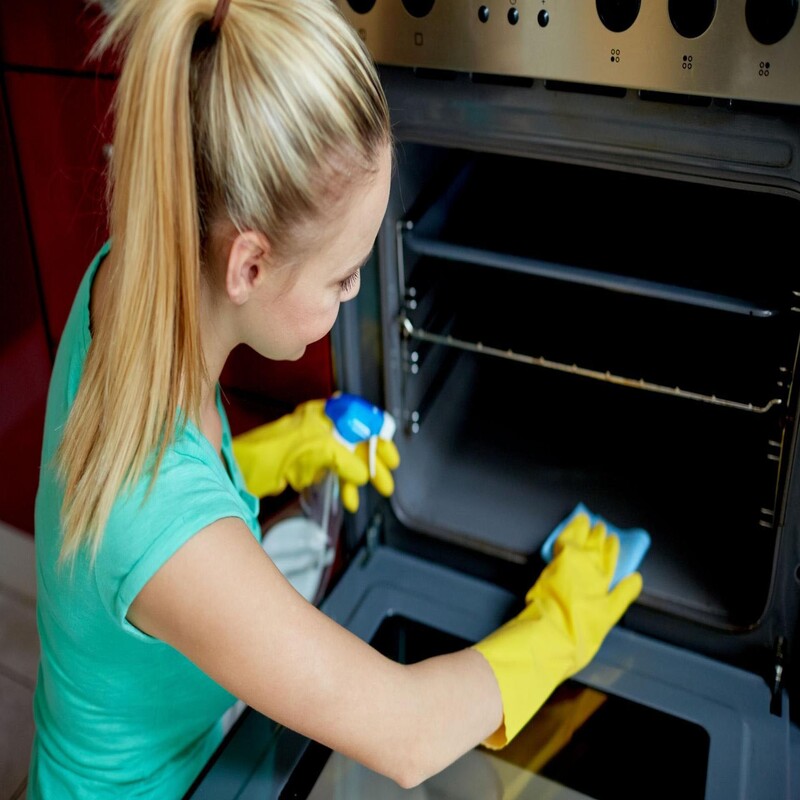
Properly cleaning your oven with ammonia takes a few simple steps. Start by warming up your oven slightly and then turning it off; this will make the ammonia more effective. With gloves on, pour half a cup of ammonia into a heat-proof bowl. Next, place this bowl on the top oven rack. If you have removable racks, take them out and clean them separately with more ammonia. Keep the oven door closed and let the ammonia work overnight. In the morning, open the oven and remove the bowl and racks. You’ll find the grime wipes off much easier now. For heavy residue, you might need a sponge or cloth to scrub gently. Once done, boil some water and place it in the oven to help remove any leftover ammonia smell. Finish by wiping the interior with clean water to remove all traces of ammonia.
Addressing the Oven Door and Glass
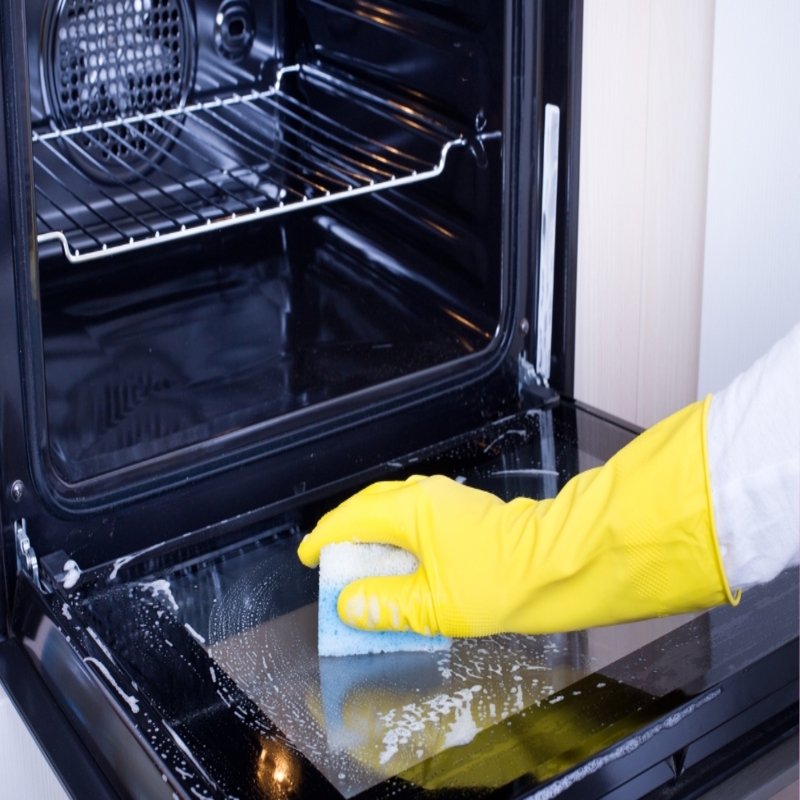
The oven door and glass can collect smudges and stains too. To clean, mix a weaker ammonia solution in a spray bottle. Spray the oven door, let it sit briefly, and then use a soft cloth to wipe clean. Rinse with warm water and dry with a lint-free towel for a streak-free look. Regular cleaning of the door prevents hard-to-remove stains from building up and keeps your oven looking new.
Safety Measures When Using Ammonia
When handling ammonia, it’s essential to follow safety guidelines to prevent risks and ensure a safe cleaning experience. Below are crucial safety measures to bear in mind:
- Ventilate the space: Always keep your kitchen well-ventilated. Open windows and use fans to circulate air and lessen ammonia fumes.
- Wear protective gear: Don gloves and safety goggles. This shields your skin and eyes from potential splashes of ammonia.
- Avoid heat sources: Never mix ammonia with heat. Start with a cool oven to reduce fume intensity and improve safety.
- Use separate containers: Store ammonia in its original bottle or a well-labeled container. This avoids any mix-ups with other cleaning products.
- Never mix chemicals: Combining ammonia with bleach or acids releases toxic gases. Keep it separate to prevent dangerous reactions.
- Store safely: Keep ammonia out of reach of children and pets. A high, secure cupboard is ideal.
Following these safety measures will protect you and your family while using ammonia to clean your oven.

Additional Tips for Effective Oven Cleaning
To enhance your oven cleaning routine with ammonia, consider these extra tips for efficacy:
- Preheat the Oven: Gently warming your oven before cleaning helps activate the ammonia for a deeper clean. Keep the temperature low and avoid overheating.
- Regular Maintenance: Clean spills and splatters as they happen to avoid hard-to-clean, baked-on messes. Frequent light cleaning can make the task less daunting.
- Use Non-abrasive Tools: To avoid scratches, opt for soft sponges or cloths rather than harsh scouring pads when scrubbing.
- Apply Directly on Tough Spots: For persistent stains, apply the ammonia solution directly and allow it to sit before scrubbing.
- Manage Time Efficiently: Let the ammonia work for you by letting it sit overnight, especially if the grime is extensive.
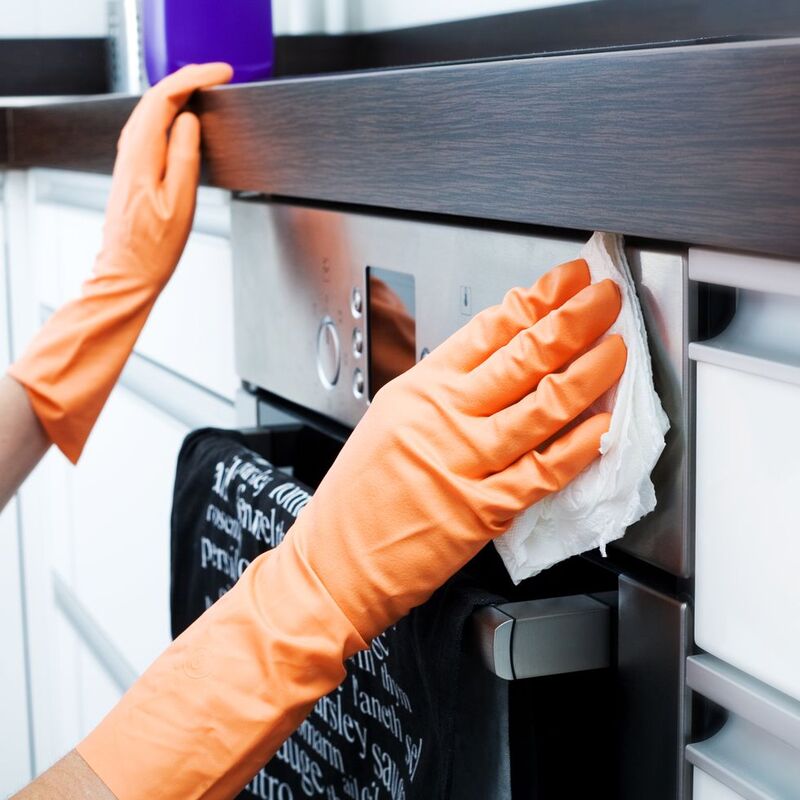
- Protect Oven’s Exterior: While cleaning, cover the oven’s exterior and control panels to prevent ammonia solution from affecting the finish or function.
By following these additional tips, coupled with regular care, you can keep your oven consistently clean and ready for use.
Maintaining a Sparkling Oven Post-Cleaning
Keeping your oven clean after using ammonia is simple. Follow these steps to keep it sparkling:
- Wipe Spills Immediately: Clean any spills as soon as they occur to prevent hardening.
- Regular Quick Cleans: Perform light cleaning regularly, so deep cleans are less frequent.
- Avoid Harsh Chemicals: Keep to mild detergents or your homemade ammonia solution for upkeep.
- Use Oven Liners: Consider liners to catch spills; they’re easy to remove and clean.
- Rinse After Cleaning: Always rinse the oven’s interior with water after any cleaning.
- Schedule Cleaning Sessions: Set regular intervals for oven cleaning to maintain its condition.
- Check Seals and Elements: Inspect for wear and tear and maintain parts to prevent grime buildup.
By sticking to these maintenance tips, you ensure your oven remains in top shape. Making this a habit means less work later and a kitchen that’s always ready for cooking. Happy baking!

