
Excess humidity in your home can lead to mold growth, musty odors, and discomfort. DIY dehumidifier projects offer an affordable and customizable solution to manage indoor moisture levels effectively. But what are the best DIY dehumidifier options available? In this comprehensive guide, we explore various methods to create your own dehumidifier, their effectiveness, necessary materials, and practical tips to ensure your homemade solution works efficiently.
 Why Choose a DIY Dehumidifier?
Choosing to build a DIY dehumidifier comes with several benefits. Firstly, it can be significantly more cost-effective than purchasing a commercial unit. Additionally, DIY projects allow you to tailor the dehumidifier to fit your specific needs and space requirements. Moreover, using natural and reusable materials in your homemade dehumidifier can be more eco-friendly, reducing your environmental impact.
Cost Savings
DIY dehumidifiers typically involve minimal investment, using common household items. By repurposing materials you already have at home, like silica gel, rock salt, or charcoal, you can save money while effectively controlling indoor humidity.
Customization and Flexibility
With a DIY approach, you have the flexibility to design the dehumidifier according to your preferences. You can decide on the size, capacity, and materials based on the specific areas of your home that require moisture control.
Essential Materials for Dehumidifiers DIY
Before starting your project, gather the necessary materials. Having everything ready ensures a smooth and efficient construction process. Here are common materials used in DIY dehumidifier options:
Silica Gel Packets
Silica gel is highly effective at absorbing moisture. These packets are often found in packaging and can be reused after drying.
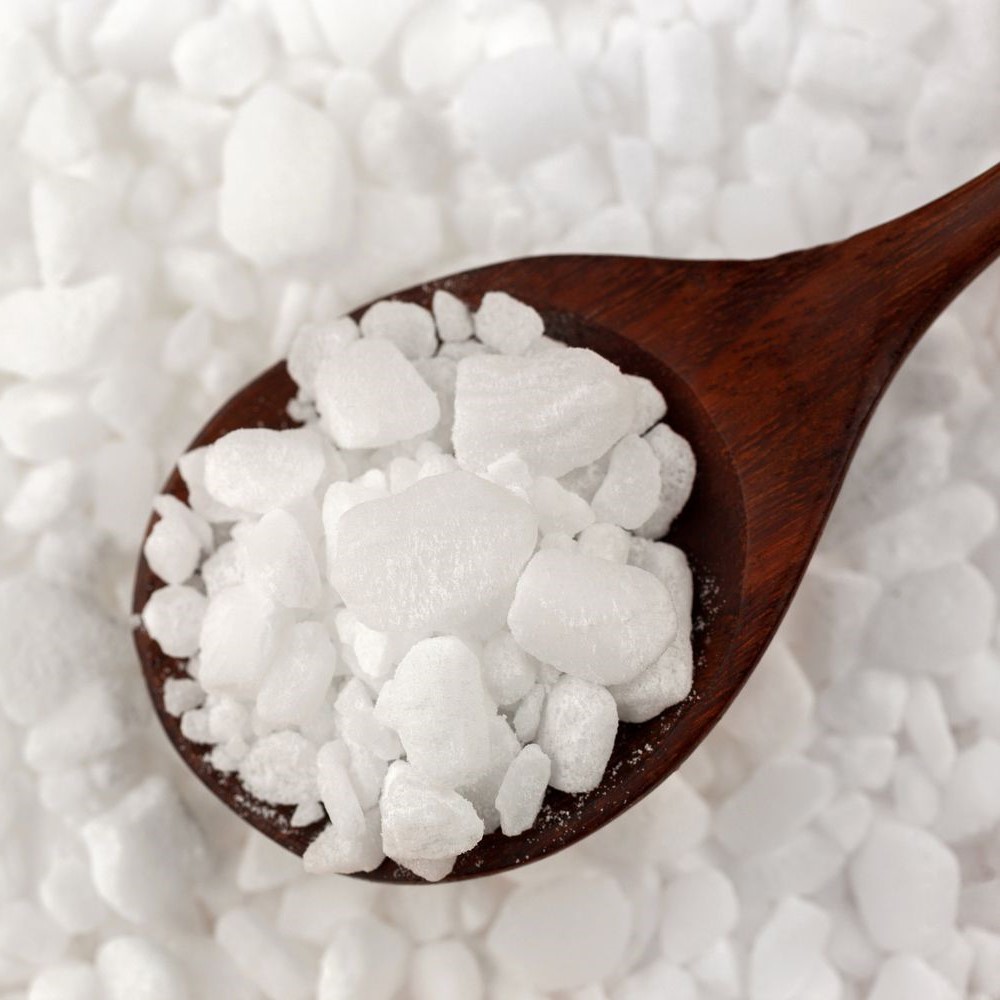
Rock Salt
Rock salt is another excellent moisture absorber. Its natural hygroscopic properties make it ideal for reducing humidity.
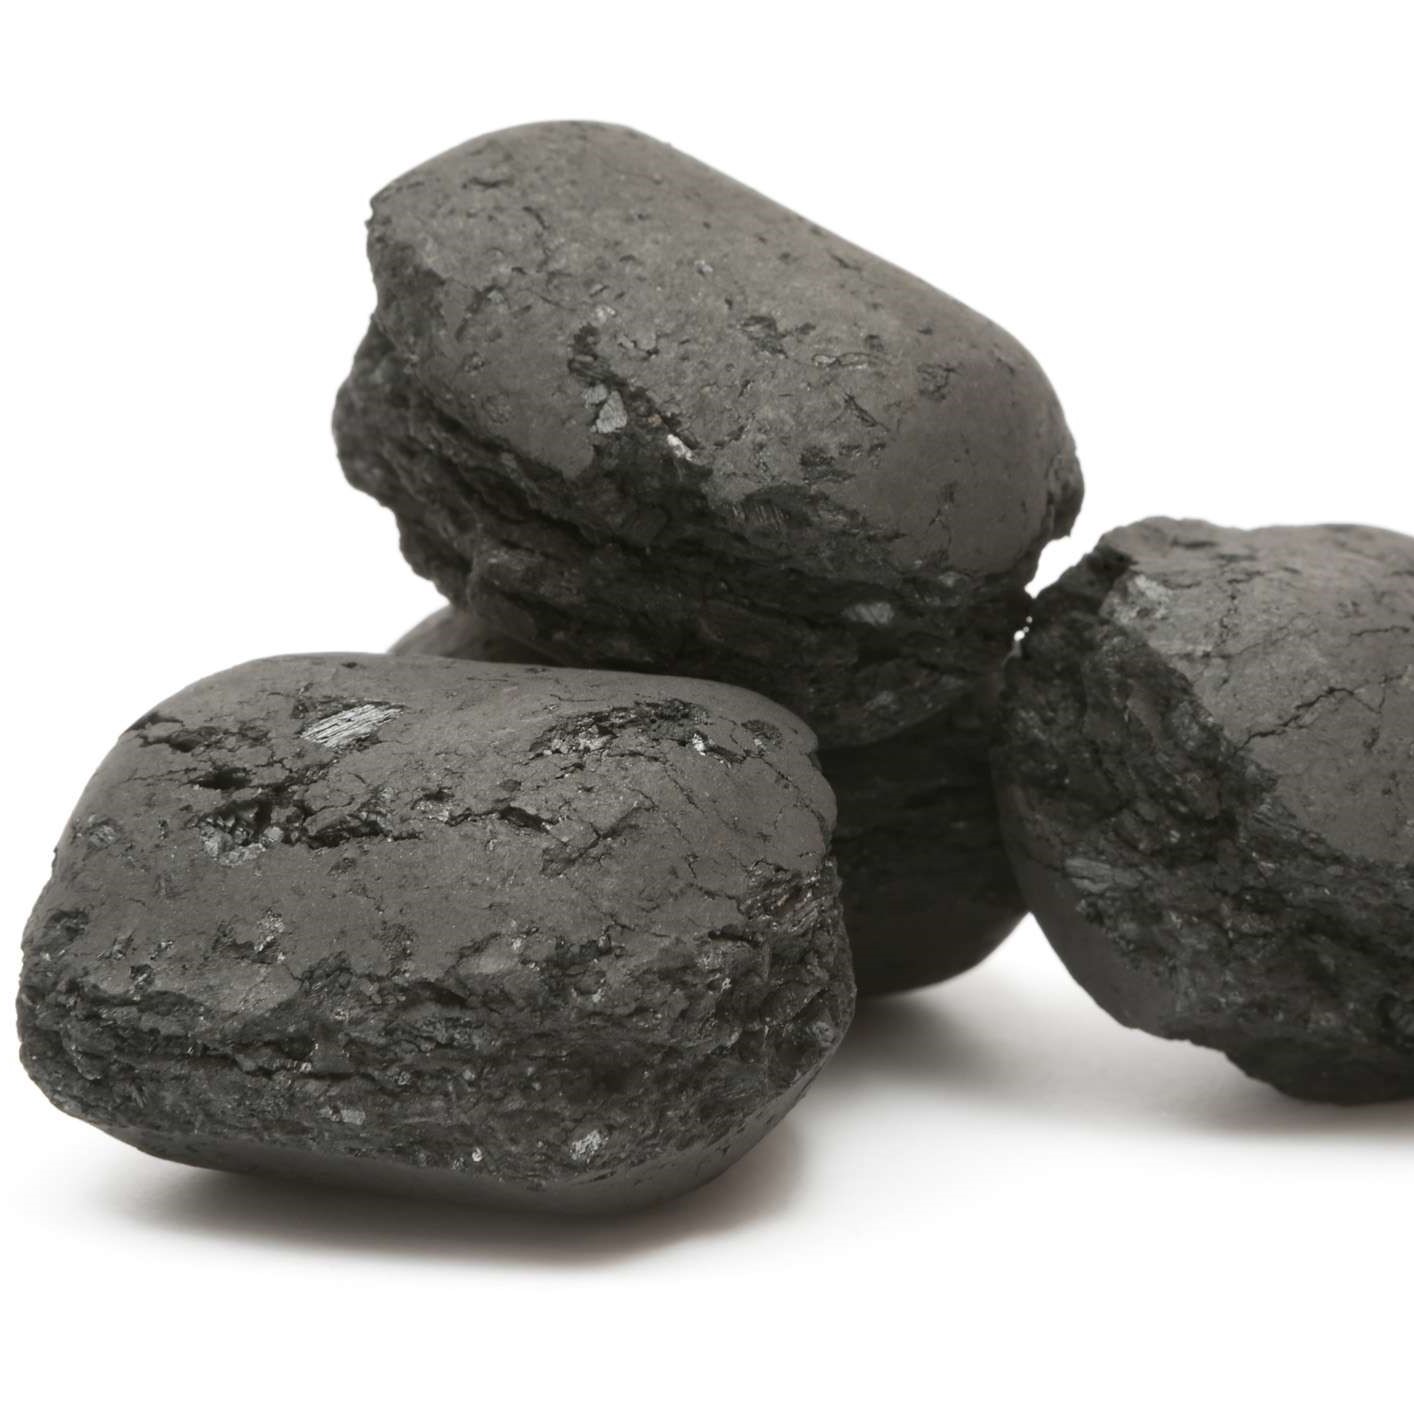
Charcoal Briquettes
Charcoal is not only good for odor control but also effective in moisture absorption. Using charcoal in your DIY dehumidifier can enhance both humidity control and air freshness.
 Dehumidifier DIY Methods
Method 1: Silica Gel Dehumidifier
Silica gel is one of the most effective materials for moisture absorption. Here’s how to make a silica gel dehumidifier:
- Gather Silica Gel Packets: Collect several silica gel packets from packaging or purchase them online.
- Prepare Containers: Place the silica gel packets in breathable mesh bags or fabric pouches.
- Position the Dehumidifier: Place the containers in areas with high humidity, such as closets, basements, or bathrooms.
- Recharge the Gel: Every few weeks, dry the silica gel packets in an oven at a low temperature to reuse them.
Consequently, this method provides a reusable and highly effective dehumidifying solution that can be tailored to different spaces in your home.
Method 2: Rock Salt Dehumidifier
Rock salt is a natural mineral that effectively absorbs moisture. Follow these steps to create a rock salt dehumidifier:
- Fill a Container with Rock Salt: Use a shallow container to maximize surface area for absorption.
- Place the Container: Position it in damp areas where moisture tends to accumulate.
- Monitor and Replace: As the salt absorbs moisture, it will clump and should be replaced periodically to maintain effectiveness.
Additionally, rock salt helps in maintaining low humidity levels, preventing the growth of mold and mildew.
Method 3: Charcoal and Wooden Sponge Dehumidifier
Combining charcoal with wooden sponges creates a powerful dehumidifying system. Here’s how to assemble this setup:
- Arrange Charcoal Briquettes: Spread charcoal briquettes in a container.
- Add Wooden Sponges: Place wooden sponges around the charcoal to enhance moisture absorption.
- Position the Dehumidifier: Place the container in strategic locations like basements and laundry rooms.
- Replace as Needed: Regularly check and replace the charcoal and sponges to ensure continuous moisture control.
This combination not only absorbs moisture but also neutralizes odors, keeping your space fresh and dry.
Method 4: Saran Wrap and Ice
This method utilizes ice to create condensation, which is then collected by a container. Follow these steps for an effective DIY dehumidifier:
- Set Up a Container: Place a shallow container in a room with high humidity.
- Add Ice: Fill the container with ice cubes.
- Cover with Saran Wrap: Stretch Saran wrap tightly over the top of the container.
- Create Condensation Points: Place a small weight or drinking straw in the center of the Saran wrap to create low points where condensation will collect.
- Collect the Water: As the ice melts, moisture will condense on the Saran wrap and drip into the container.
This method leverages the natural process of condensation to reduce humidity, making it a simple and cost-effective solution.
 Advantages of Dehumidifiers DIY
Cost-Effective Solution
DIY dehumidifiers are generally more affordable than store-bought models. By using inexpensive or repurposed materials, you can save money while effectively managing humidity levels in your home.
Eco-Friendly Option
Creating a DIY dehumidifier often involves using natural and reusable materials. This reduces environmental impact compared to disposable or energy-intensive commercial dehumidifiers.
Customization and Flexibility
With a homemade dehumidifier, you have the flexibility to customize the setup based on your specific needs. Whether you need to control humidity in a small closet or a large basement, DIY options can be tailored to fit any space.
Easy Accessibility
DIY dehumidifiers are made using readily available materials that you likely already have at home. This makes them accessible and convenient to create, without the need for specialized products or tools.
Potential Drawbacks of Dehumidifiers DIY
While DIY dehumidifiers offer many advantages, there are also some potential drawbacks to consider.
Limited Efficiency
DIY dehumidifiers may not be as efficient as commercial units, especially in large or extremely humid areas. Their effectiveness is often limited by the amount and type of moisture-absorbing materials used.
Maintenance Requirements
Homemade dehumidifiers require regular maintenance, such as replacing or recharging absorbing materials. This can be time-consuming and may not be as convenient as automated commercial models.
Aesthetic Considerations
DIY solutions might not always match the aesthetic of your home. Repurposing materials creatively can help, but some setups may still appear makeshift or out of place in certain interiors.
Shorter Lifespan
Compared to commercial dehumidifiers, DIY models might have a shorter lifespan due to the use of less durable materials. Regular maintenance and timely replacement of components are essential to prolong their effectiveness.
Enhancing Dehumidifier DIY Performance
To maximize the efficiency and effectiveness of your DIY dehumidifier, consider implementing the following strategies.
Optimal Placement
Proper placement is crucial for the success of your DIY dehumidifier. Place the device in areas with the highest humidity levels, such as corners of basements, bathrooms, or near laundry areas. Elevating the container slightly off the floor can improve air circulation and enhance moisture absorption.
Combining Methods
Using multiple DIY methods simultaneously can enhance overall humidity control. For instance, you can combine silica gel with charcoal and wooden sponges to create a more robust dehumidifying system. This multifaceted approach ensures comprehensive moisture management across different areas of your home.
 Safety Precautions for Dehumidifiers DIY
When creating and using a DIY dehumidifier, safety should always be a priority. Follow these safety tips to prevent accidents and ensure effective operation.
Handle Materials Carefully
Some moisture-absorbing materials like rock salt and charcoal can be hazardous if ingested or improperly handled. Always store these materials out of reach of children and pets, and use gloves when handling them to prevent skin irritation.
Prevent Overflows
Ensure that your DIY dehumidifier containers are sufficiently sized to hold collected moisture. Avoid using containers that are too small, which can lead
to overflows and potential water damage. Regularly check the water levels and empty the drip trays or collection containers as needed.
Avoid Using Bleach or Harsh Chemicals
When cleaning your DIY dehumidifier, avoid using bleach or other harsh chemicals that can degrade absorbing materials or harm the environment. Opt for mild detergents and natural cleaning agents to maintain the integrity of your dehumidifier components.
Frequently Asked Questions About Dehumidifiers DIY
To address common concerns and provide further clarity, here are answers to frequently asked questions regarding DIY dehumidifiers:
Can I Make My Own Dehumidifier Effectively?
Yes, you can make your own dehumidifier effectively using materials like silica gel, rock salt, or charcoal. These materials are highly efficient at absorbing moisture and can significantly reduce indoor humidity levels when used correctly.
How Long Do DIY Dehumidifiers Last?
The lifespan of a DIY dehumidifier depends on the materials used and the maintenance performed. Typically, with regular upkeep and timely replacement of moisture-absorbing materials, a DIY dehumidifier can last several months to a year.
Are DIY Dehumidifiers Safe?
Yes, DIY dehumidifiers are safe when used properly. Ensure that you handle moisture-absorbing materials with care and place the dehumidifier in a stable, secure location to prevent spills and accidents.
Can I Use a DIY Dehumidifier in Large Spaces?
While DIY dehumidifiers are effective for small to medium-sized areas, they may not be sufficient for large spaces or homes with severe humidity issues. In such cases, combining multiple DIY dehumidifiers or opting for a commercial unit might be necessary.
Real-Life Applications of DIY Dehumidifiers
Hearing from others who have successfully implemented DIY dehumidifiers can offer practical insights and inspiration. Here are some real-life applications where DIY dehumidifiers have made a significant impact:
Mark’s Basement Makeover
Mark’s basement often felt damp and chilly due to poor ventilation. He built a DIY dehumidifier using rock salt in a large shallow container and placed it in the corner of the basement. Over time, the moisture levels decreased significantly, making the basement a more comfortable and usable space. Mark found the simple rock salt method highly effective for large, open areas prone to high humidity.
Emily’s Versatile Bedroom Setup
Emily, a college student living in a shared dorm, needed a portable and efficient dehumidifier for her bedroom. She assembled a combination of charcoal briquettes and wooden sponges in a small container, setting it on her dresser. This setup not only absorbed excess moisture but also eliminated any lingering odors, keeping her room fresh and dry. Emily’s DIY dehumidifier proved to be a practical solution for limited space and personal comfort.
Advanced DIY Dehumidifier Techniques
For those seeking more advanced DIY dehumidifier options, incorporating technology and innovative materials can enhance performance and efficiency.
Incorporating Fans for Enhanced Airflow
Adding a small fan to your DIY dehumidifier can improve airflow, increasing the rate at which moisture is absorbed. Position the fan near the dehumidifying materials to circulate air and expedite the moisture removal process. This added airflow makes your DIY dehumidifier more effective, especially in larger rooms.
Using Solar Power for Sustainability
For an eco-friendly approach, consider powering your DIY dehumidifier with solar energy. Integrate small solar panels to charge a battery that powers fans or other electronic components of your dehumidifier. This sustainability not only reduces energy consumption but also makes your dehumidifier more versatile in various settings.
Hybrid Systems Combining Multiple Methods
Combining different moisture-absorbing materials can create a hybrid DIY dehumidifier with enhanced capabilities. For example, use silica gel along with charcoal to maximize moisture absorption and odor control. This hybrid approach ensures comprehensive humidity management, providing a more robust solution for maintaining dry and comfortable indoor spaces.
Troubleshooting Common Dehumidifier DIY Issues
Even with the best preparations, you might encounter some challenges when using a DIY dehumidifier. Here are solutions to common issues:
Ineffective Moisture Absorption
If your DIY dehumidifier isn’t absorbing moisture effectively, consider increasing the surface area of moisture-absorbing materials. Use larger containers or smaller pouches to maximize exposure to the air. Additionally, ensure that the dehumidifier is placed in a well-ventilated area to enhance its performance.
Odor Problems
Sometimes, natural materials like salt or charcoal can develop odors as they absorb moisture. To prevent this, regularly replace or recharge the moisture-absorbing materials. Adding essential oils can also help neutralize any odors, keeping your space fresh.
Mold and Mildew Growth
If mold or mildew begins to grow on your DIY dehumidifier, it may be due to residual moisture or insufficient air circulation. Clean all components thoroughly and ensure that absorbing materials dry out completely between uses. Improving airflow around the dehumidifier can also help prevent mold buildup.
 Enhancing the Effectiveness of Your Dehumidifier DIY
To make your DIY dehumidifier even more effective, consider the following enhancements:
Adding Potted Plants
Incorporate potted plants known for their moisture-absorbing abilities, such as peace lilies or Boston ferns, into your DIY dehumidifier setup. These plants naturally reduce humidity levels while adding a touch of greenery to your home.
Using Activated Charcoal
Upgrade your DIY dehumidifier by using activated charcoal instead of regular charcoal. Activated charcoal has a higher surface area, making it more effective at absorbing moisture and odors.
Conclusion
In conclusion, exploring DIY dehumidifier options is a smart and practical way to manage indoor humidity levels effectively. With various methods available, such as using silica gel, rock salt, or charcoal, creating your own dehumidifier is both feasible and beneficial. By investing time and effort into building a DIY dehumidifier, you can enjoy a healthier, mold-free home while saving money and reducing your environmental footprint.
Whether you choose a basic setup or incorporate advanced techniques, DIY dehumidifiers offer a versatile and cost-effective approach to maintaining a dry and comfortable living space. Start your DIY project today and experience the benefits of a customized dehumidifier tailored to your specific needs.