Air purifiers have gained immense popularity in recent years, primarily due to the rising concerns about air quality and its impact on health. As more individuals seek cleaner and healthier indoor environments, these devices have become essential household items. However, to ensure that air purifiers function effectively, it is critical to know how often to change the air purifier filter. In this comprehensive guide, we will explore everything you need to understand about filter maintenance. We will delve into the factors that affect filter lifespan, such as pollutant levels and usage frequency, as well as the best practices for maintaining your air purifier in top shape and maximizing its performance.

Understanding the Importance of Changing Your Air Purifier Filter
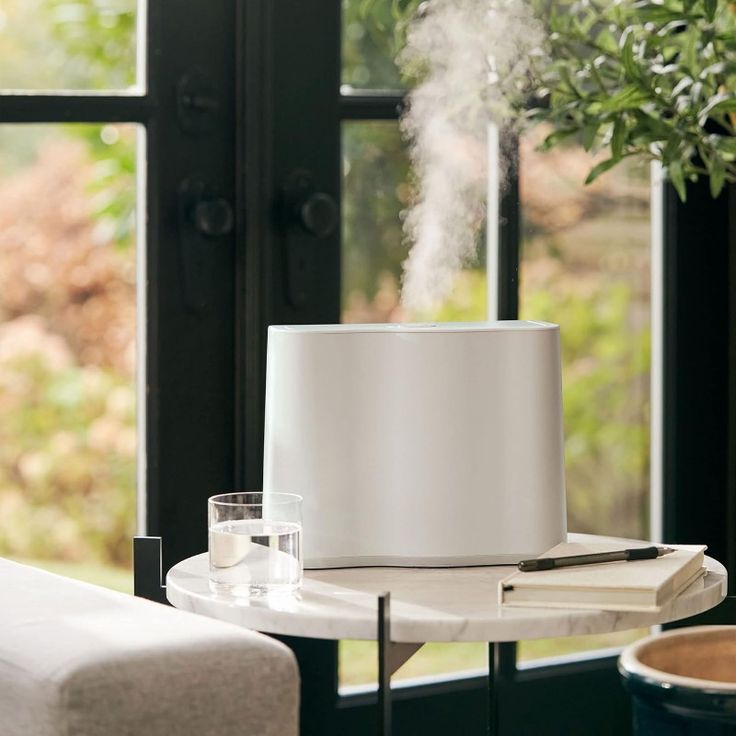
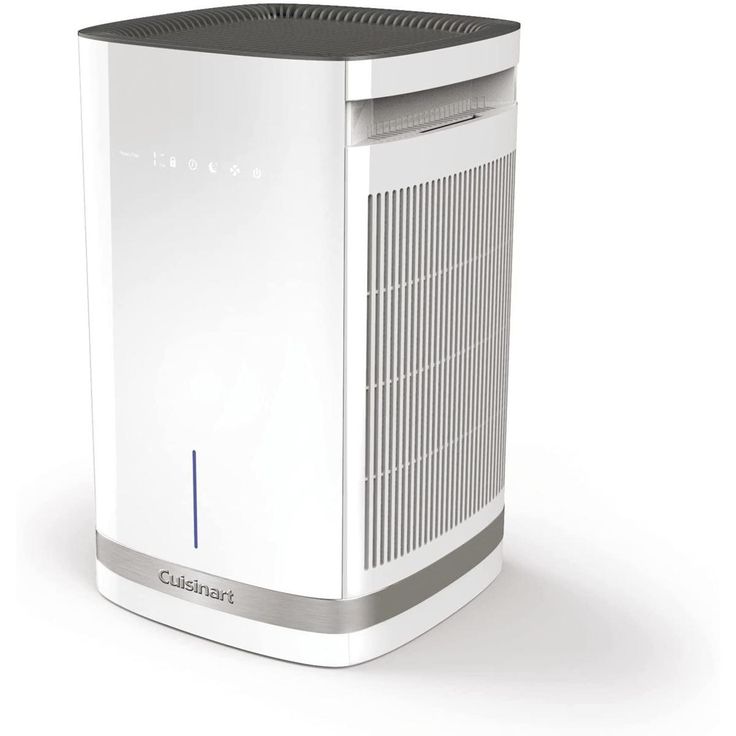
Changing your air purifier filter regularly is crucial for maintaining good air quality in your home. A clogged or dirty filter can impede airflow, reducing the purifier’s effectiveness. This can lead not only to less purified air but also to potential malfunctions or overheating of the unit itself. It’s essential to understand that the air purifier works by drawing in air from your living spaces, passing it through filters that capture pollutants, allergens, and particulate matter. If these filters are not cleaned or replaced at appropriate intervals, they will fail to perform their function.
- Air Quality Improvement: Regular changing of filters will ensure that the air remains clean and free from allergens such as dust, pollen, and pet dander.
- Maintenance of Efficiency: Knowing how often to change the air purifier filter can help keep the device running smoothly, ensuring that you get the maximum air purification it promises.
- Prolonging Device Lifespan: Regular filter changes can prevent strain on the motor and other components of the air purifier, leading to a longer lifespan for your investment.
When considering how often to change air purifier filter, it’s vital to assess variables like usage frequency, local air quality, and specific filter type.
Factors Influencing How Often to Change Air Purifier Filter
When determining how frequently to change the filter in your air purifier, several critical factors come into play:
- Filter Type: Different air purifiers use various filter types, including HEPA filters, activated carbon filters, and pre-filters. Each type has distinct lifespans and efficiencies in filtering out airborne contaminants. HEPA filters generally last longer and can capture smaller particles compared to activated carbon filters, which may need replacement more frequently depending on their use.
- Usage Conditions: The environment in which the air purifier operates greatly affects filter longevity. If the unit runs continuously in areas with high levels of pollution or has to cope with pet dander, the filter will accumulate contaminants more quickly, necessitating more frequent changes. In contrast, appliances used less often in cleaner conditions will have filters that require less regular replacement.
- Manufacturer Recommendations: Always refer to the user manual from the manufacturer, as it typically contains specific guidelines tailored to the model regarding filter replacement intervals. Adhering to these recommendations helps ensure the unit functions optimally.
- Visual Inspection: Regularly inspecting the filter can provide practical insights into its condition. If the filter shows signs of discoloration or noticeable dust build-up, it’s a clear indication that it needs changing, even if it hasn’t reached the suggested time frame.
By keeping these factors in mind and monitoring them diligently, you can determine the optimal replacement schedule for your air purifier filter, ensuring clean, fresh air in your home.
Signs Indicating It’s Time to Change Your Air Purifier Filter
Recognizing the signs that it’s time to change your air purifier filter can simplify your maintenance schedule and keep your home’s air quality high.
- Increased Noise: If your air purifier starts to make loud noises, it may mean the filter is clogged, causing the motor to work harder to push air through.
- Change in Airflow: Reduced airflow can denote a dirty filter. If you notice a decrease in the volume of air coming from the device, it’s likely time for a change.
- Lengthened Operation Time: If your air purifier is taking longer to achieve the desired air quality, this can be a telltale sign that the filter needs replacing.
- Unpleasant Odors: An air purifier that emits bad smells is often a signal that the filter is saturated with contaminants and must be replaced to ensure fresh air circulation.
Understanding these signs will guide you on how often to change air purifier filter, promoting a healthier living environment.
Recommended Replacement Schedule for Air Purifier Filters
Creating a replacement schedule can alleviate the uncertainty around how often to change air purifier filter. While specific figures can vary based on usage, a general guideline is:
- HEPA Filters: Typically need replacement every 6 to 12 months, depending on usage.
- Activated Carbon Filters: These filters usually last about 3 to 6 months, especially in homes with pets or smoking.
- Pre-Filters: These filters should be cleaned or replaced every month to ensure maximum efficiency.
Establishing a routine replacement schedule based on these timelines will maximize your air purifier’s effectiveness while saving you from potential challenges associated with poor air quality.
Maintenance Tips to Extend Filter Lifespan
To optimize the interval at which you should change your air purifier filter, consider implementing the following maintenance tips that can significantly extend the lifespan and improve the efficiency of your filters:
- Regular Cleaning: If your air purifier is equipped with washable pre-filters, make it a routine to clean them. Regular cleaning helps remove dust and particles that accumulate over time, enhancing airflow and maintaining efficiency.
- Avoid Excessive Dust: A cleaner environment directly impacts your air purifier’s performance. Use doormats at entrances and adopt a regular dusting schedule to keep surfaces clear of debris. This practice not only reduces the dirt that enters your purifier but also contributes to better indoor air quality.
- Monitor Air Quality: Investing in an air quality monitor can provide real-time feedback on the air in your space. By keeping an eye on air quality levels, you can determine when the air purifier is working harder than usual, signaling that it might be time to change the filter.
- Seal Windows and Doors: Ensuring that your windows and doors are properly sealed is another effective strategy to minimize the ingress of outdoor pollutants. This will decrease the load on your air purifier, leading to fewer filter changes and extended filter life.
By adopting these strategies, you can effectively manage your air purifier’s filter replacement schedule, ultimately benefiting both your health and the longevity of your appliance.
Conclusion: The Importance of Regular Maintenance for Air Purifier Filters
Understanding how often to change air purifier filter is essential for maintaining optimal air quality and ensuring that your device runs efficiently. Regular maintenance not only enhances the performance of your air purifier but also promotes a healthier indoor environment.
- Health Benefits: Cleaner air can significantly impact health, particularly for allergy sufferers and individuals with respiratory issues.
- Cost-Effectiveness: Timely filter changes can reduce future repair costs or premature replacement of the air purifier due to neglect.
- Peace of Mind: Knowing that you’ve taken the necessary steps for clean air will provide comfort to you and your family.
By considering the guidelines and tips outlined in this guide, you can effectively manage your air purifier’s filter changes, ensuring a consistently fresh and healthy living space. So, take action now, monitor your air quality and filters regularly, and enjoy the clean air your air purifier can provide!