
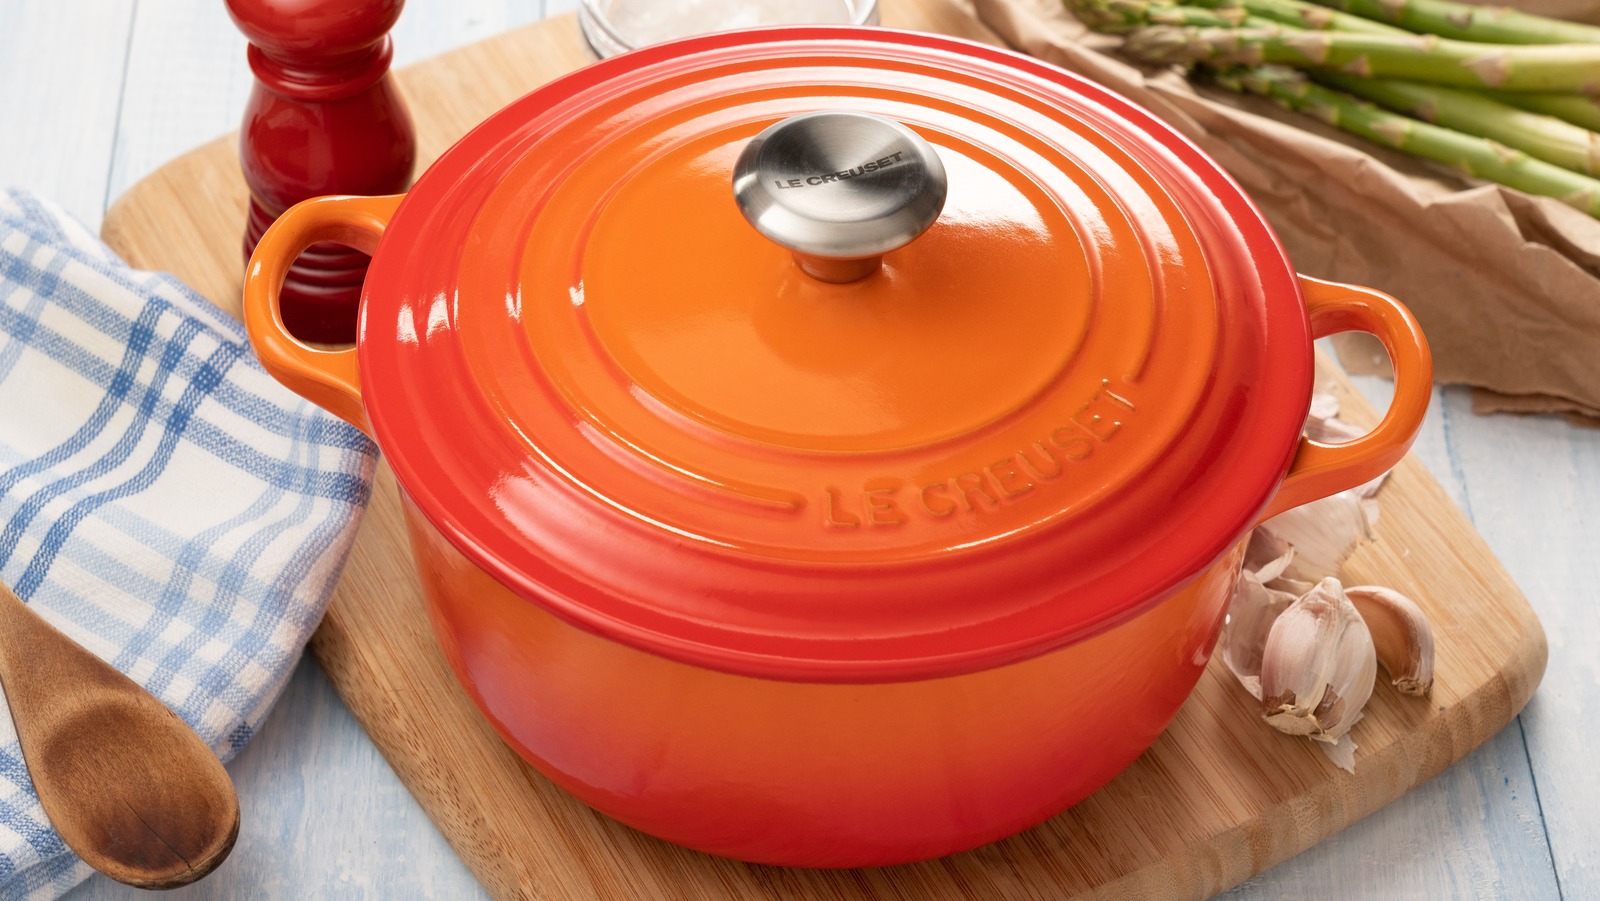
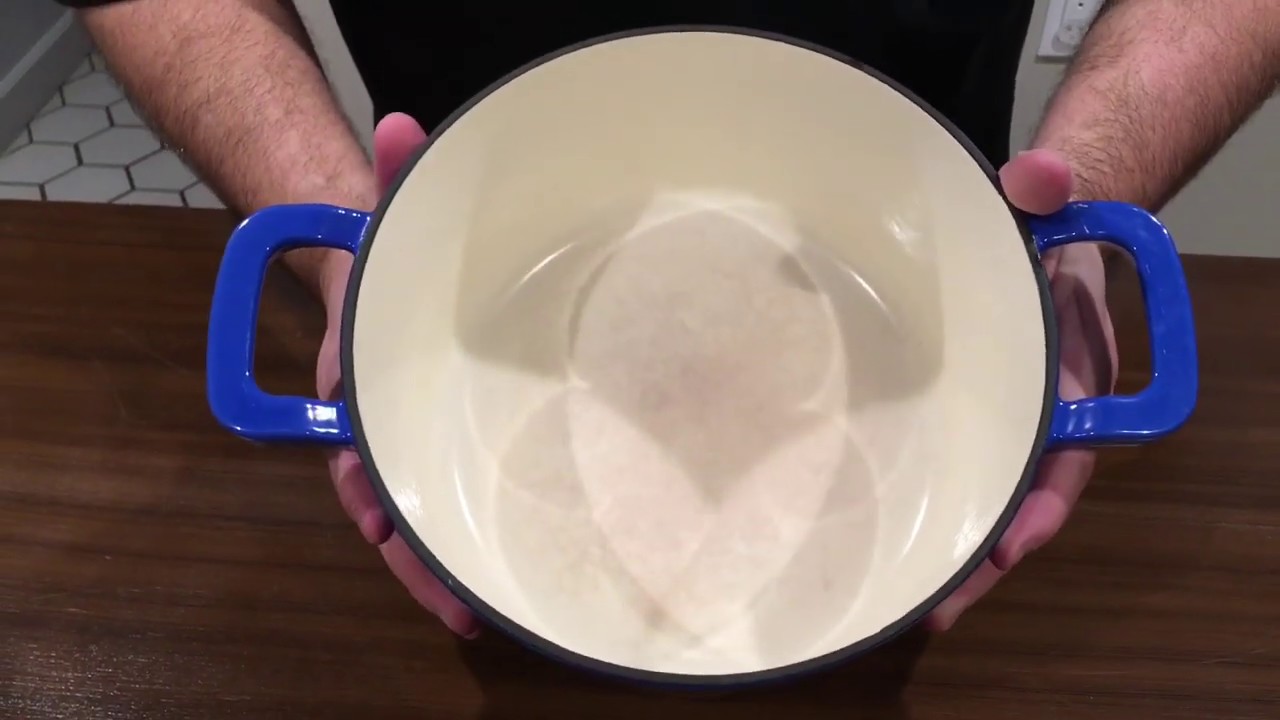
Dutch ovens are versatile and durable cookware essentials in many kitchens, known for their ability to cook evenly and maintain heat. However, with regular use, these beloved pots can develop stubborn stains and residue. Removing stains from a Dutch oven not only improves its appearance but also maintains its functionality and longevity. Consequently, this article delves into various methods for tackling different types of stains, as well as preventive measures to keep your Dutch oven looking pristine. Therefore, by following these strategies, you can ensure your Dutch oven remains a reliable and attractive part of your cooking arsenal.
 Understanding the Types of Stains
Different stains require different cleaning approaches. Recognizing the type of stain on your Dutch oven can help you choose the most effective removal method. Therefore, understanding the types of stains is essential for successful cleaning.
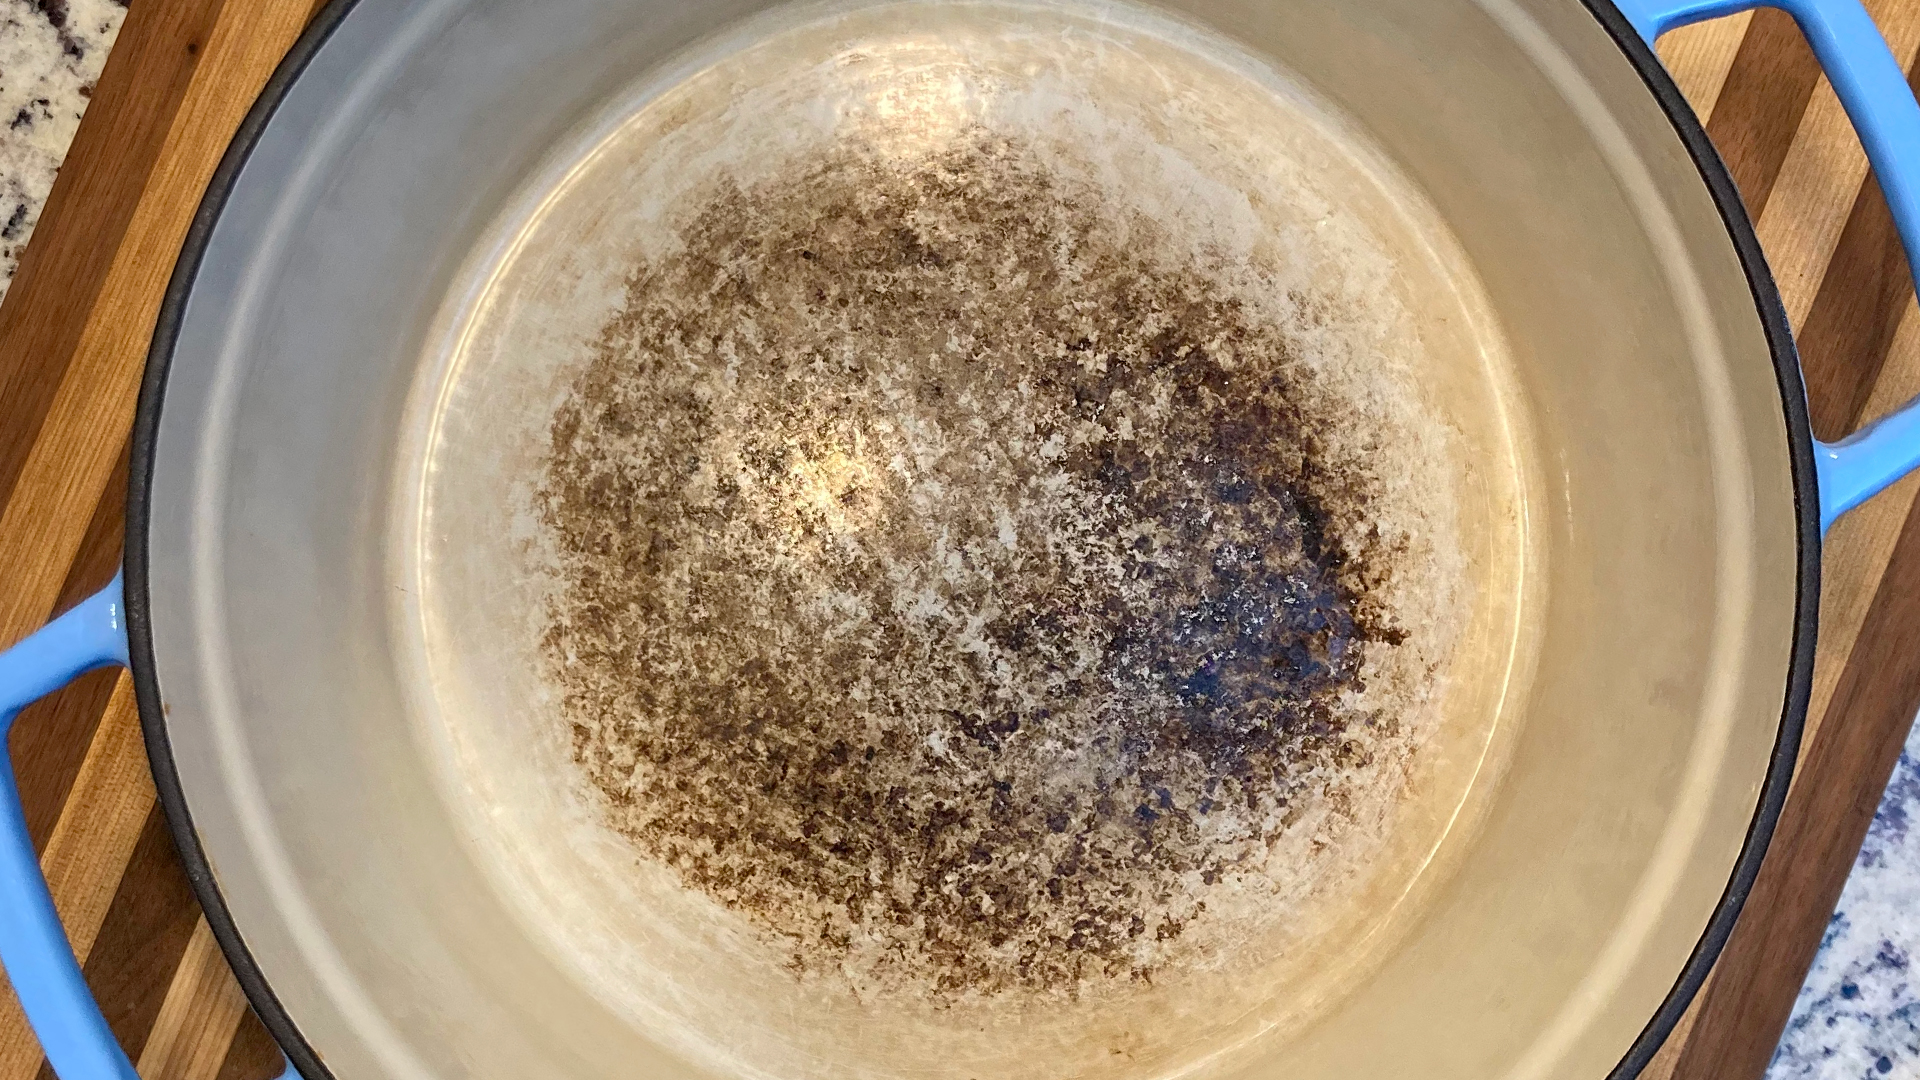
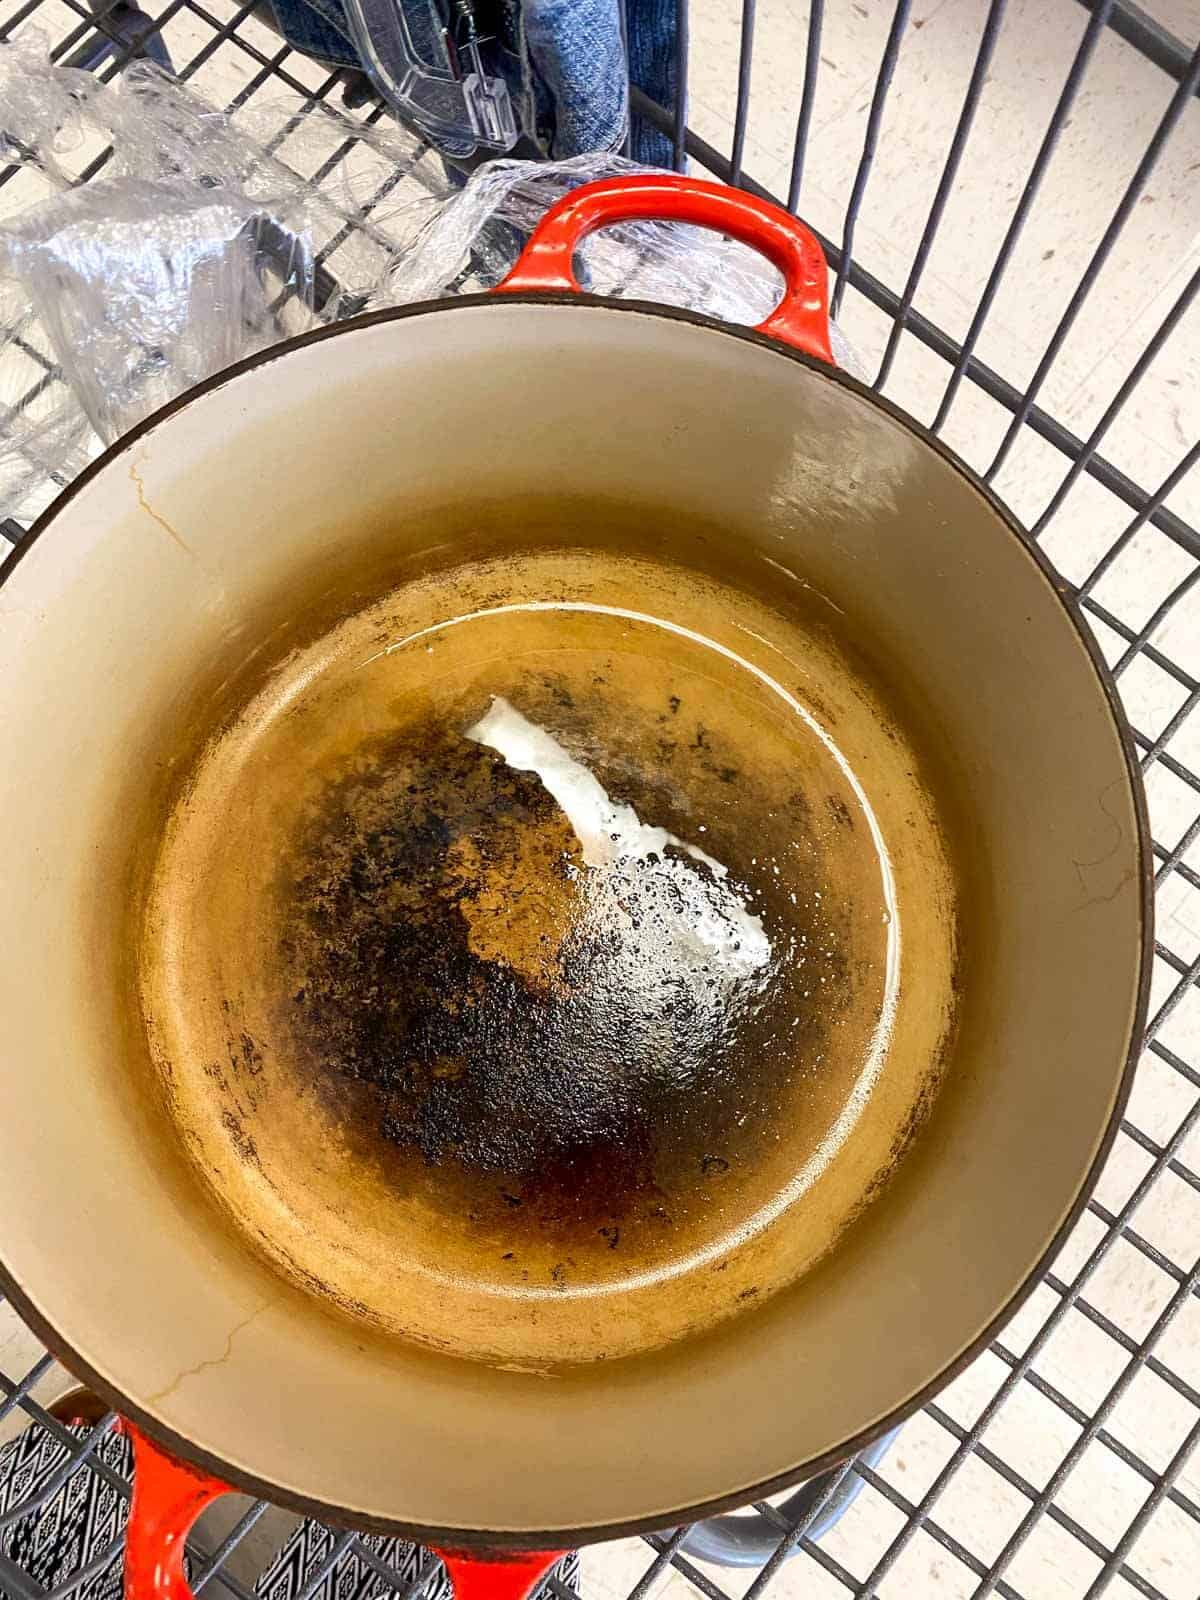
Burnt-On Food Residue
Burnt-on food residue is a common issue, especially when cooking at high temperatures or preparing sticky dishes. This type of stain can be particularly challenging to remove because it tends to cling stubbornly to the surface of the Dutch oven. Burnt residue not only affects the appearance of your pot but can also impact its performance. Therefore, identifying burnt-on food residue is the first step in effectively removing it.
Oil and Grease Stains
Oil and grease stains can leave unsightly, sticky marks on your Dutch oven, often resulting from frying or roasting. Over time, these stains can become more difficult to clean, especially if they are not addressed promptly. Grease buildup can also affect the seasoning of cast iron Dutch ovens, altering their non-stick properties. Therefore, recognizing oil and grease stains is crucial for maintaining your Dutch oven’s functionality.
Effective Cleaning Methods
Removing stains from a Dutch oven involves using the right cleaning techniques and products. Different approaches are effective for different types of stains, ensuring thorough cleaning without damaging the pot. Therefore, exploring effective cleaning methods is essential for restoring your Dutch oven.
Baking Soda and Water Paste
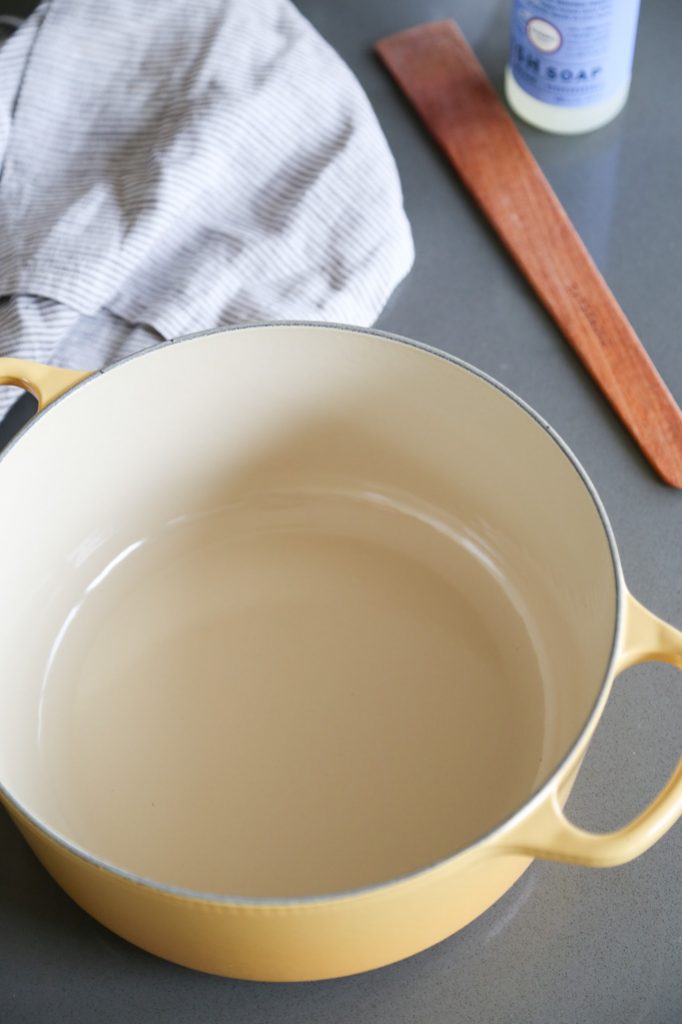
One of the most effective and gentle methods for removing stains from a Dutch oven is using a baking soda and water paste. Baking soda is a natural abrasive that safely lifts stains without scratching the surface. To create the paste, mix equal parts baking soda and water until a thick consistency is achieved. Apply the paste to the stained areas, scrubbing gently with a non-abrasive sponge or cloth. For stubborn stains, allow the paste to sit for 15-20 minutes before scrubbing. Rinse thoroughly with warm water and dry. This method is effective for both burnt-on food residue and grease stains, making it a versatile cleaning solution. Therefore, using a baking soda and water paste is an excellent method for stain removal.
Vinegar Soak
A vinegar soak can effectively remove stubborn stains and deodorize your Dutch oven. Fill the pot with equal parts water and white vinegar, ensuring the stained areas are fully submerged. Bring the mixture to a boil, then reduce the heat and let it simmer for 5-10 minutes. After simmering, turn off the heat and allow the solution to cool. Use a non-abrasive sponge or brush to scrub away the softened stains. Rinse thoroughly with warm water and dry. Vinegar’s natural acidity helps break down grease and burnt residue while neutralizing odors. Therefore, a vinegar soak is an effective method for tackling tough stains.
Hydrogen Peroxide and Baking Soda
For particularly stubborn stains and discoloration, a combination of hydrogen peroxide and baking soda can work wonders. Sprinkle baking soda generously on the stained areas, then pour a small amount of hydrogen peroxide over the baking soda. The mixture will fizz and bubble, helping to lift the stains. Allow the mixture to sit for about 10-15 minutes before scrubbing gently with a non-abrasive sponge or brush. Rinse thoroughly with warm water and dry. This method is especially effective for removing deeply ingrained stains and restoring the Dutch oven’s original appearance. Therefore, using hydrogen peroxide and baking soda is a powerful method for tough stain removal.
Preventive Measures
Preventing stains in your Dutch oven involves adopting good cooking and cleaning habits. These preventive measures can help maintain your Dutch oven’s appearance and extend its lifespan. Therefore, exploring preventive measures is essential for long-term care.
Proper Seasoning
Proper seasoning is crucial for cast iron Dutch ovens, as it creates a natural non-stick surface and protects against rust and stains. To season your Dutch oven, apply a thin layer of vegetable oil or melted shortening to the interior and exterior surfaces. Place the oven upside down in a preheated oven at 375°F (190°C), with a baking sheet or aluminum foil on the lower rack to catch drips. Bake for one hour, then turn off the oven and allow the Dutch oven to cool inside. Regularly seasoning your Dutch oven helps maintain its protective coating and prevents stains from sticking. Therefore, proper seasoning is a key preventive measure for cast iron Dutch ovens.
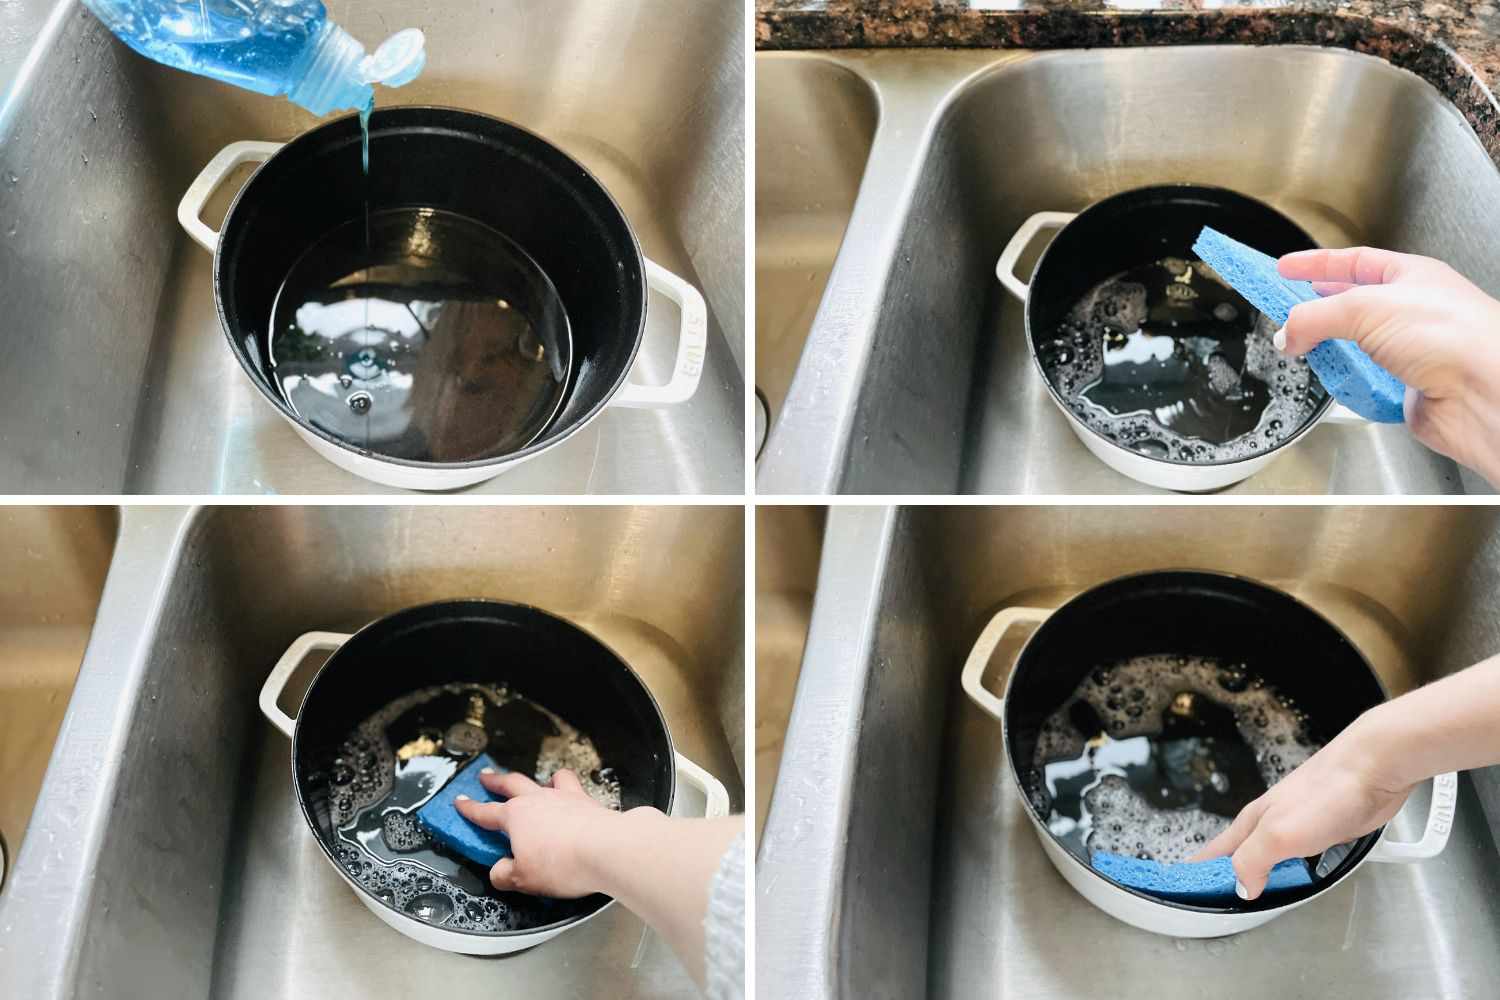
Immediate Cleaning
Cleaning your Dutch oven immediately after use can significantly reduce the likelihood of stains developing. Avoid letting food residue and grease sit for extended periods, as this allows stains to set and become more difficult to remove. After cooking, allow the Dutch oven to cool slightly, then rinse with warm water and a mild dish soap. Use a non-abrasive sponge or cloth to clean the surface, avoiding harsh scrubbing. Rinse thoroughly and dry completely to prevent moisture from causing rust or discoloration. By incorporating immediate cleaning into your routine, you can keep your Dutch oven in top condition. Therefore, immediate cleaning is an effective preventive measure against stains.
Common Mistakes to Avoid
Avoiding common mistakes when cleaning and maintaining your Dutch oven can help preserve its quality and appearance. Being aware of these pitfalls ensures that your cleaning efforts are effective and safe. Therefore, exploring common mistakes to avoid is essential for proper care.
Using Harsh Abrasives
Using harsh abrasives, such as steel wool or scouring pads, can damage the surface of your Dutch oven, especially if it has a non-stick or enamel coating. These materials can create scratches that harbor food residue and stains, making future cleaning even more challenging. Instead, opt for non-abrasive sponges or brushes that effectively clean without scratching. If additional scrubbing power is needed, consider using a baking soda paste or gentle cleaning agents. Therefore, avoiding harsh abrasives is crucial for protecting your Dutch oven’s surface.
Ignoring the Manufacturer’s Instructions
Each Dutch oven may come with specific care and cleaning instructions from the manufacturer. Ignoring these guidelines can lead to unintentional damage or reduced performance. Always read and follow the manufacturer’s recommendations for cleaning, seasoning, and maintenance. Additionally, be cautious with using certain cleaning agents or methods that may void warranties or damage the coating. By adhering to the manufacturer’s instructions, you ensure that your Dutch oven remains in optimal condition and retains its quality. Therefore, following the manufacturer’s instructions is essential for proper care.
Conclusion: Maintaining a Pristine Dutch Oven
Maintaining a pristine Dutch oven requires understanding the types of stains, using effective cleaning methods, and adopting preventive measures. From using a baking soda paste to performing a vinegar soak, various techniques can effectively remove different types of stains.
Regular seasoning and immediate cleaning help prevent stains from developing, ensuring that your Dutch oven remains both functional and visually appealing. Avoiding common mistakes, such as using harsh abrasives or ignoring manufacturer’s instructions, further enhances the longevity and performance of your Dutch oven.
Therefore, by following these comprehensive steps and guidelines, you can keep your Dutch oven in top condition, ready to assist in creating delicious meals. Embrace the care and maintenance of your Dutch oven and enjoy its benefits for years to come. Happy cooking!