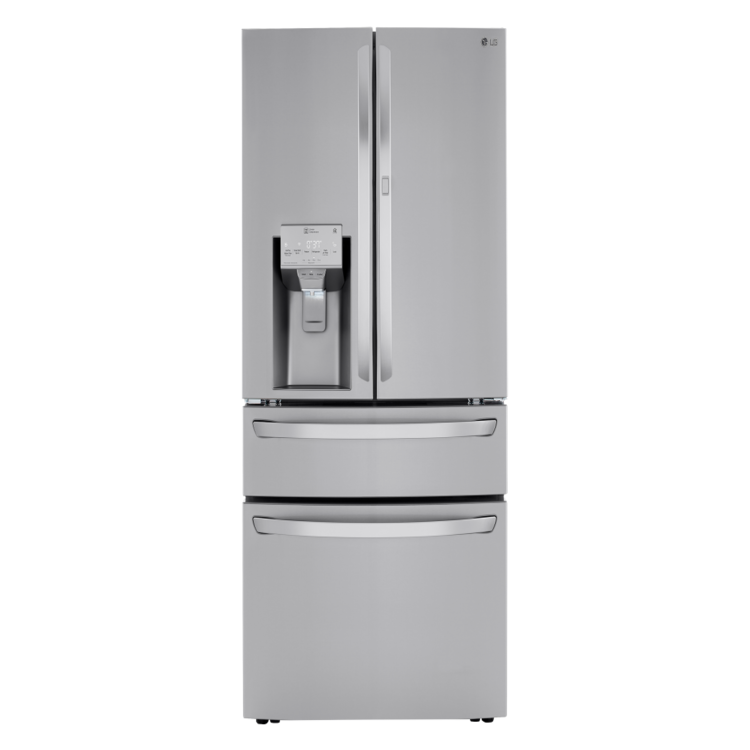
Identifying Common LG Refrigerator Problems
What is the most common problem with lg refrigerators? Discovering and understanding the usual issues with your LG refrigerator is vital. Given the brand’s popularity, it’s helpful to know what problems could arise.
LG Refrigerator Not Cooling
The most reported problem is the fridge failing to cool, which can stem from various malfunctions.
LG Refrigerator Making Noises
Odd sounds from your LG refrigerator may signal trouble with internal components, such as fans or the compressor.
LG Refrigerator Ice Maker Issues
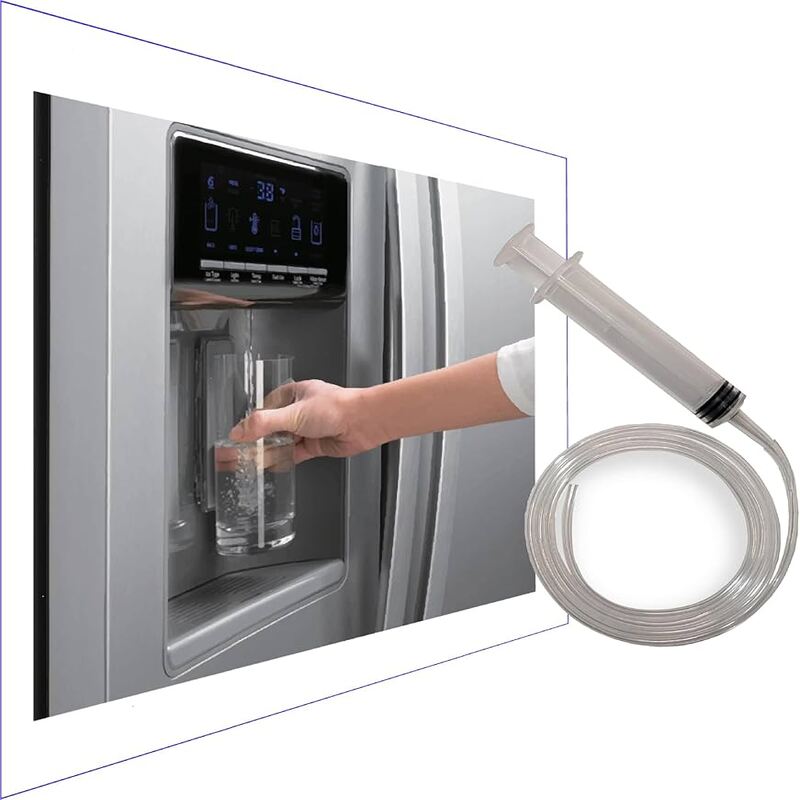
Problems with the ice maker often involve the water inlet valve, ice maker motor, or temperature settings. These can affect ice production.
LG Refrigerator Leaking Water
Leaks can occur when drain lines clog or when door seals fail, resulting in water on the kitchen floor.
LG Refrigerator Error Codes
Error codes on the display can provide clues to underlying problems, but may also need resetting to clear misunderstandings by the fridge’s system.
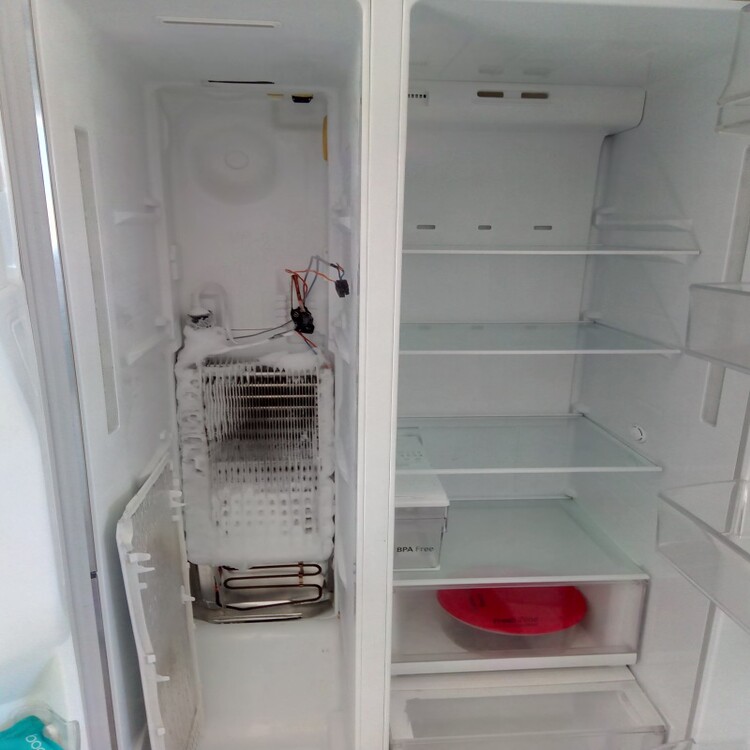
LG Refrigerator Compressor & Motor Issues
The compressor is crucial for cooling, and if it or other motors fail, the fridge may not function properly.

Step-by-Step Solutions for Common Problems
Addressing Cooling Failures
To tackle cooling issues, first check and set the correct temperature. Clean the condenser coils to remove dust that blocks heat escape. For persistent common problem of lg refrigerators, inspect the compressor. It may need a professional look if not working.
Diagnosing and Fixing Noises
Noisy fridges often have fan or compressor problems. Clear any debris near the fan blades. If noise persists even after cleaning, the compressor or fan motor might need replacing.
Troubleshooting Ice Maker Malfunctions
Check the water inlet valve for good flow and no leaks. Ensure the freezer temperature is right for making ice. If problems continue, reset the ice maker or replace the water filter.
Fixing Water Leaks
Clear clogged drain lines with hot water to resolve leaks. When leaks are inside, check for a broken water tank. Replace tank assembly if needed.
Interpreting and Resolving Error Codes
Look up error codes in the user manual for causes. Try a fridge reset first; if codes persist, follow the manual’s troubleshooting or call for service.
Repairing Compressor and Motor Problems
Most LG fridges have a warranty on the compressor. Check if yours does. For other motor issues, inspect for power continuity. Replace if faulty. If unsure, reach out to a technician.
Preventative Maintenance for LG Refrigerators
Preventative maintenance is key to the longevity and efficiency of your LG refrigerator. Regular care can prevent common issues.
Regular Cleaning and Upkeep
Keep your fridge running smoothly by regularly cleaning it. Wipe down surfaces and remove spills promptly to avoid odors and stains.
Importance of Proper Temperature Settings
Setting the right temperature keeps food fresh and saves energy. Check settings often and adjust as needed for optimal cooling.
Ensuring Door Seals are Effective
Check door seals for wear and tear. Replace broken seals to maintain proper cold air containment and efficiency.
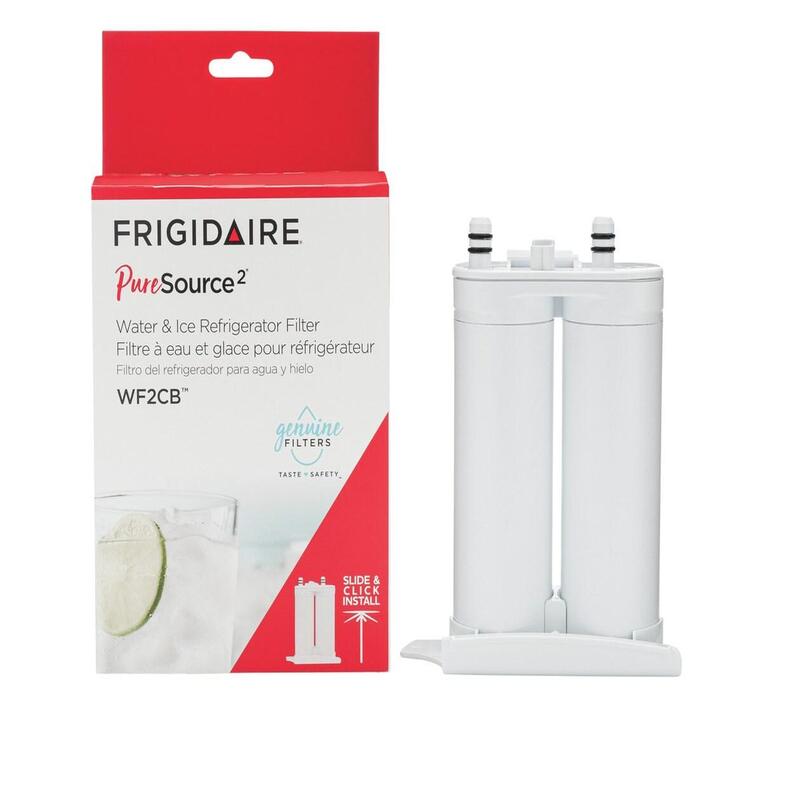
Routine Inspection and Replacement of Filters
Change water and air filters as recommended. This prevents clogs and ensures clean water and air circulation within the fridge.
Professional Repair vs. DIY Solutions
Navigating LG refrigerator issues requires deciding between professional help and tackling the job yourself.
When to Call a Technician
Contact a technician if you’re facing complex issues, such as problems with the compressor. Also, if you’ve tried troubleshooting and the problem persists, a professional should take a look. Hearing unusual noises, seeing error codes you can’t decipher, or if the refrigerator stops cooling entirely are sure signs to call an expert. Remember, repairs involving electrical components or refrigerants are not safe for DIY.
Authorized Repair Information
Most LG refrigerators come with a warranty. Check your owner’s manual for warranty specifics. If covered, reach out to an authorized LG repair service. They will fix issues without causing warranty voidance. For out-of-warranty appliances, consult a reliable service provider with a track record of successfully repairing LG models. Ensure you keep all service documentation in case of future warranty claims or related repairs.
Resetting Your LG Refrigerator
Resetting your LG refrigerator can often resolve minor issues. It’s like giving your appliance a fresh start. Here’s a quick guide on when it’s time for a reset, and the steps to do it.
How to Reset and When It’s Necessary
You should reset your LG refrigerator when you observe odd behavior. This includes temperature irregularities, blinking lights, or error codes that persist. To reset, simply unplug the fridge for a minute, then plug it back in. For more precise resetting, refer to your manual or press and hold the reset button, if available, for a few seconds.
Resets work well after power outages or when the fridge displays an error code. However, if the problem doesn’t clear up after a reset, it may be time to call in a professional. Remember, regular resets aren’t a fix-all solution. If issues keep coming back, it’s a sign of a deeper problem that may need expert attention.
Warranty and Manufacturer Support
Understanding Your Warranty
Understanding the warranty on your LG refrigerator is crucial when facing issues. Most manufacturers, including LG, offer warranties covering various components or services. Knowing the specifics of your warranty helps in addressing problems effectively without incurring high costs.
Typically, warranty periods range from one year to ten years, depending on the part. Common components covered may include the compressor, which is essential for cooling performance. Review your warranty documentation to identify what is covered. This information can help you decide whether to seek repairs through LG or hire an independent technician. If the problem falls within the warranty period and terms, you may save substantially on repair costs.
Contacting Customer Support
If you experience ongoing common problem with your LG refrigerators, contacting customer support is a viable option. LG offers various customer support channels for immediate assistance. Many users find quick responses through the online chat function or by calling the support hotline.
While troubleshooting, LG’s customer service representatives can provide detailed guidance tailored to specific issues. They can also help schedule service appointments if required. Keep all necessary documentation, such as the model number and warranty information, on hand when you reach out. This preparation can expedite the process and ensure that you receive the best service possible.
Frequently Asked Questions
Tips for Quick Troubleshooting
Experiencing an LG refrigerator issue? Here’s a quick checklist for troubleshooting:
- Check Temperature Settings: Ensure they match the recommended levels for your model.
- Inspect Coils: Clean any dirt off condenser coils at the fridge’s back.
- Listen for Noises: Identify unusual sounds which might hint at fan or compressor problems.
- Examine Seals: Look for gaps in door seals, and replace if damaged.
- Monitor Ice Maker: If it’s not working, check water supply and filter status.
- Look for Error Codes: Use the manual to decipher any codes displayed on the fridge.
Trouble persists? Reach out to LG support or a professional technician.
Where to Find Repair Resources and Support
For detailed repair guidance or support for your LG fridge, consider these options:
- LG’s Official Website: Access user manuals and support articles.
- Appliance Repair Forums: Gain insights from shared experiences of other LG owners.
- Authorized Service Centers: Seek service from LG-certified technicians for reliable repairs.
- Local Technicians: Consult with nearby experts well-versed in LG refrigerator repairs.
Remember, accurate common problem of lg refrigerators diagnosis can save time and ensure the right fix.