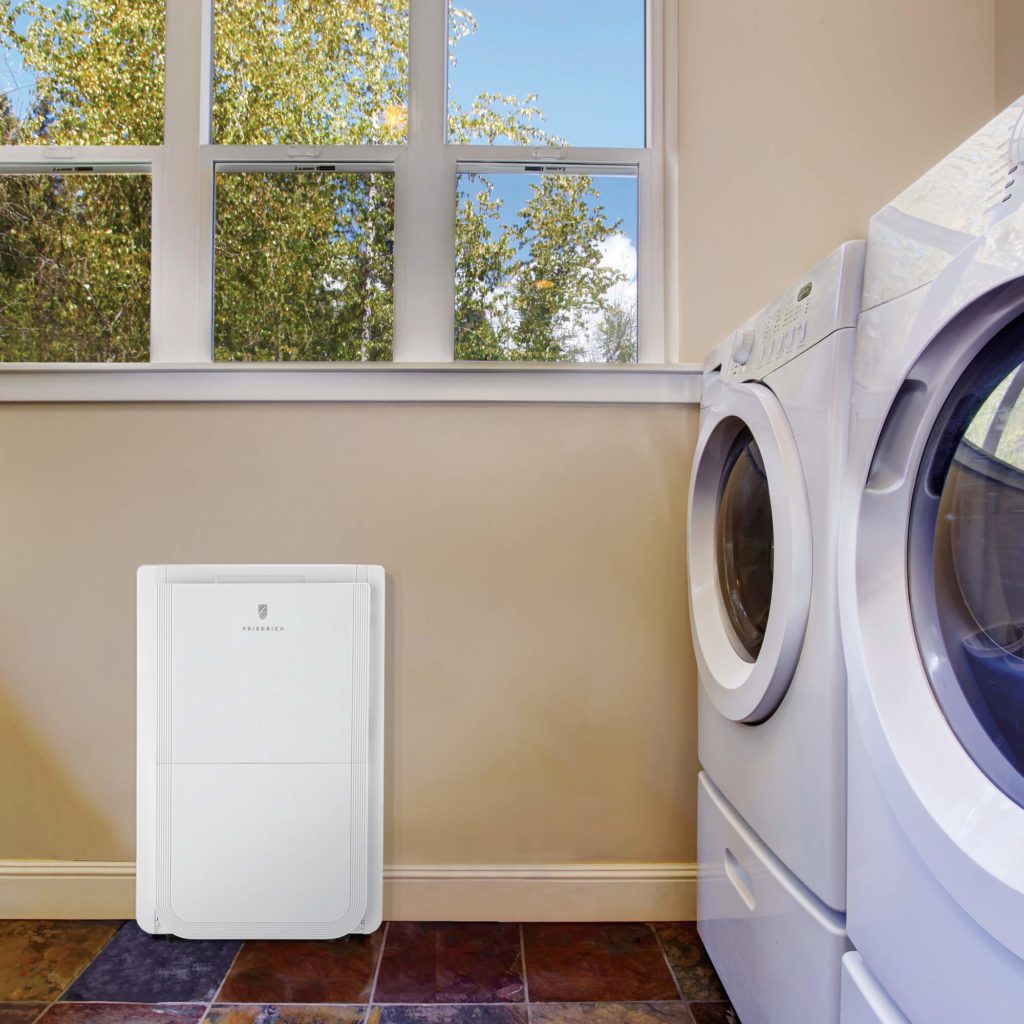
Maintaining a dry and comfortable basement is essential for any homeowner, and a basement dehumidifier plays a crucial role in achieving this goal. Excess moisture in basements can lead to various problems, including mold growth, structural damage, and poor air quality. In this comprehensive guide, we will explore everything you need to know about basement dehumidifiers, from their benefits and features to tips on selecting the right one for your space.
Understanding the Importance of a Basement Dehumidifier
Why Moisture Control Matters
Basements are particularly susceptible to high humidity levels due to their location below ground. Without proper ventilation, moisture can accumulate, creating an ideal environment for mold, mildew, and dust mites. These conditions not only damage the property but also pose health risks to the occupants. A basement dehumidifier effectively reduces humidity, preventing these issues and ensuring a healthier living space.
Health Benefits of Reducing Humidity
High humidity levels can exacerbate allergies and respiratory problems. By using a basement dehumidifier, you can significantly lower the presence of allergens like mold spores and dust mites. This leads to cleaner air and a safer environment, especially for individuals with asthma or other respiratory conditions.
Key Features to Look for
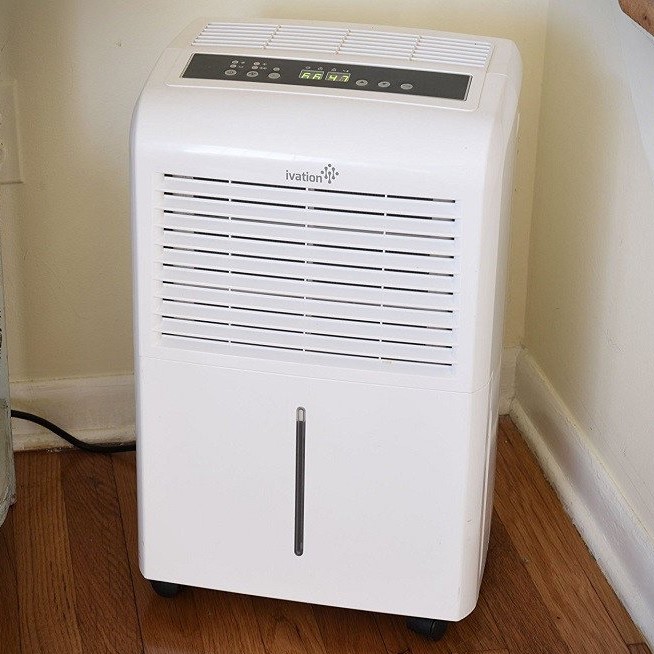
Capacity and Size
When selecting a basement dehumidifier, it’s essential to consider the size of your basement. Dehumidifiers come in various capacities, measured in pints of moisture they can remove per day. For larger basements, a higher capacity unit is necessary to effectively control humidity levels. Assess the square footage and the typical moisture levels in your basement to determine the appropriate size.
Energy Efficiency
Energy-efficient dehumidifiers not only save on electricity bills but also reduce your environmental footprint. Look for units with the ENERGY STAR® label, indicating they meet strict energy efficiency guidelines. Additionally, features like programmable timers and automatic shut-off can further enhance energy savings.
Noise Level
Basements are often used as living spaces, so the noise level of a dehumidifier is an important consideration. Opt for models that operate quietly, especially if the unit will be placed near living areas or bedrooms. Manufacturers usually specify the decibel (dB) levels, allowing you to compare and choose a quieter option.
How to Choose the Right Basement Dehumidifier
Assessing Your Basement’s Humidity Levels
Before purchasing a basement dehumidifier, it’s crucial to measure the current humidity levels. Use a hygrometer to determine the percentage of moisture in the air. Ideally, indoor humidity should be maintained between 30% and 50%. If your basement consistently exceeds this range, investing in a dehumidifier is necessary.
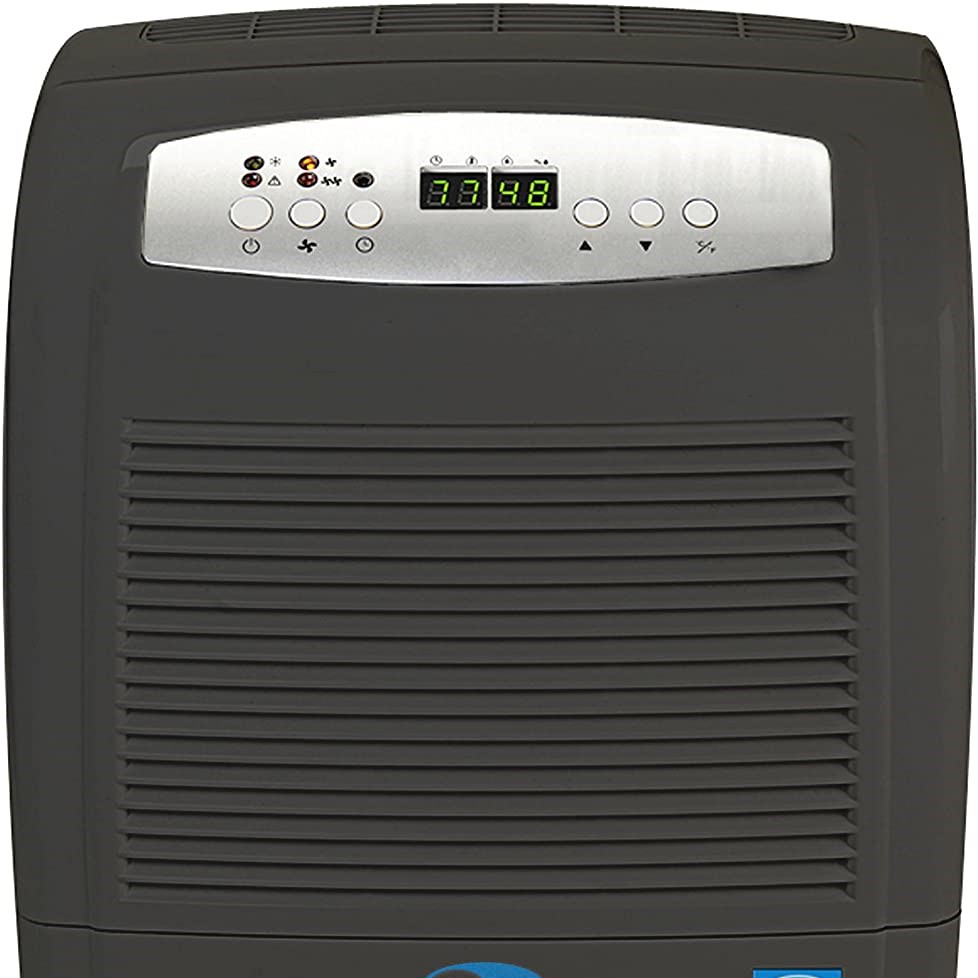
Considering Additional Features
Modern dehumidifiers come with a variety of features that enhance their functionality and convenience. Some notable features include:
- Automatic Humidistat: Allows the unit to adjust its operation based on the current humidity levels.
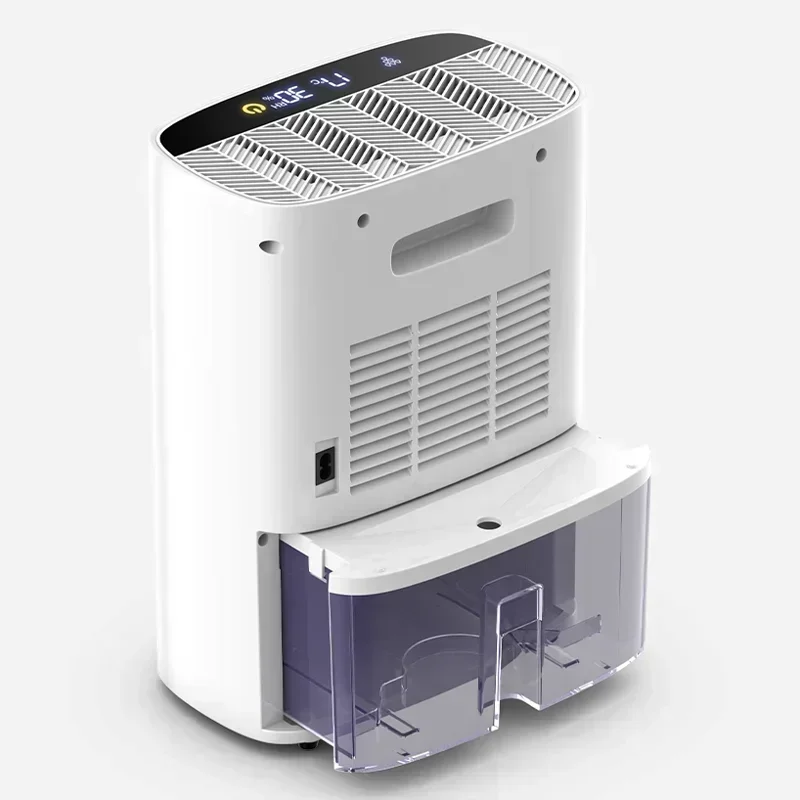
- Continuous Drain Option: Enables the dehumidifier to drain water directly without the need for emptying the tank manually.
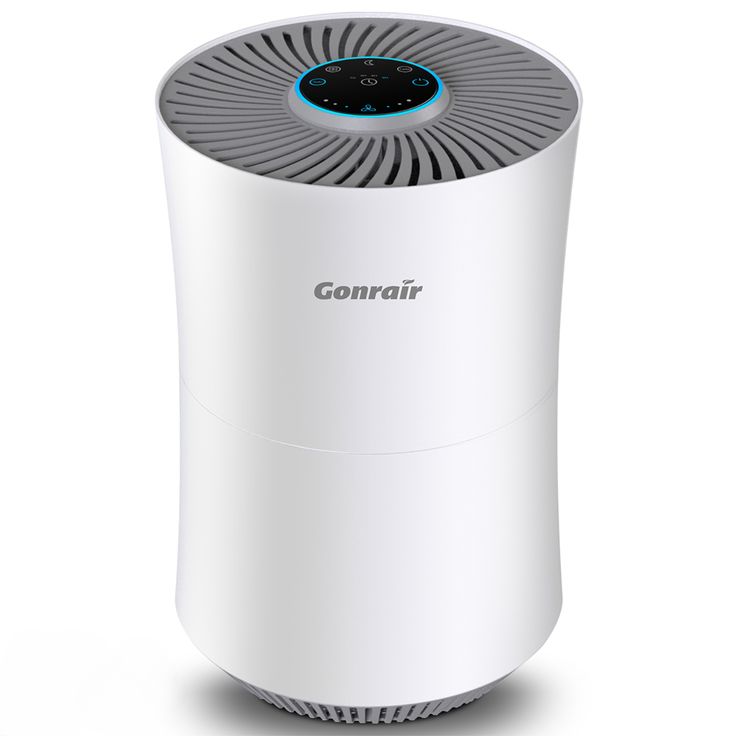
- Built-in Air Purifier: Helps remove airborne particles, improving overall air quality.
- Adjustable Settings: Provides flexibility in controlling fan speed, humidity levels, and other settings.
Budget and Warranty
While it’s important to invest in a quality basement dehumidifier, it’s equally essential to consider your budget. Determine the features that are most important to you and find a unit that offers the best value within your price range. Additionally, check the warranty terms to ensure protection against potential defects and issues.
Installation and Maintenance Tips
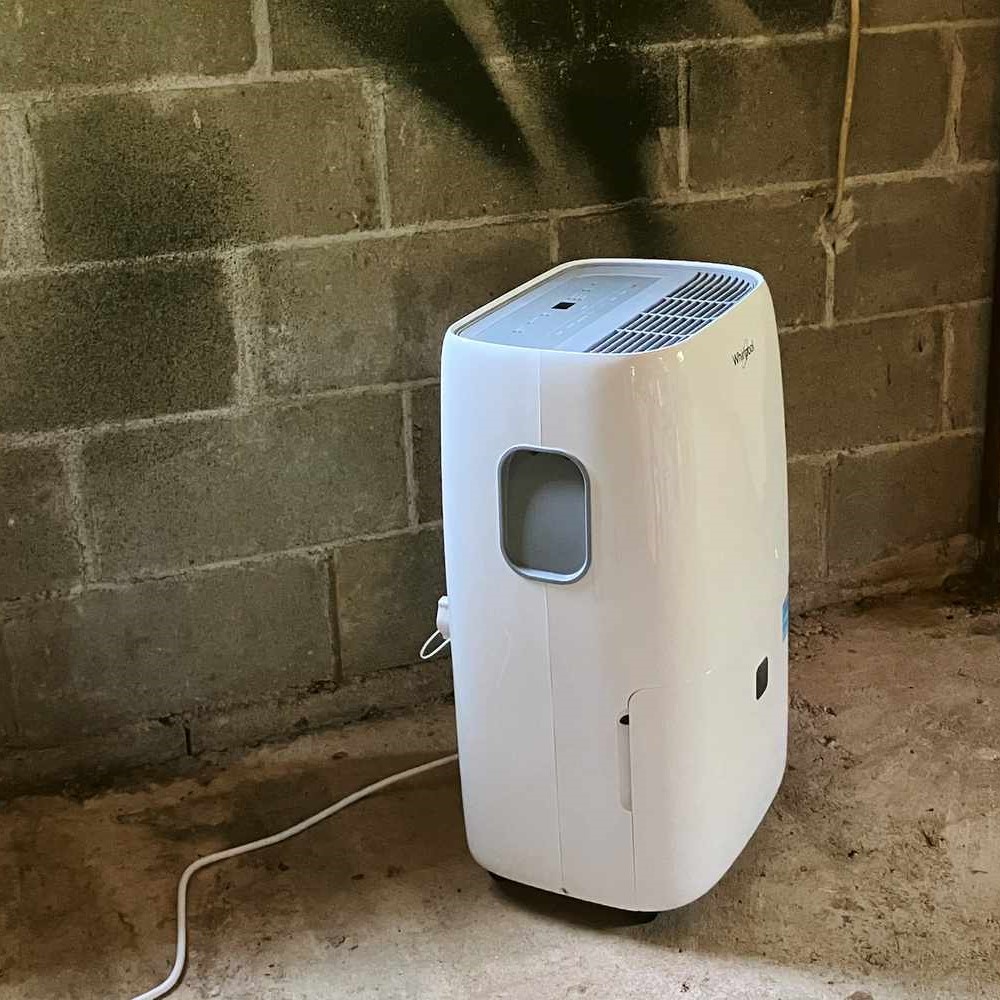
Proper Placement of Your Dehumidifier
For optimal performance, place your basement dehumidifier in an area where air circulation is unimpeded. Avoid corners and ensure that the unit is not blocked by furniture or other objects. Elevating the dehumidifier slightly can also improve air intake and efficiency.
Regular Maintenance Procedures
To keep your dehumidifier running smoothly, perform regular maintenance tasks, such as:
- Cleaning the Water Tank: Empty and clean the water tank regularly to prevent mold and bacteria growth.
- Replacing or Cleaning Filters: Clean or replace air filters as recommended by the manufacturer to maintain air quality and unit efficiency.
- Inspecting Coils and Components: Check the coils and other components for dust and debris, cleaning them as needed to ensure optimal performance.
Troubleshooting Common Issues
If your basement dehumidifier isn’t functioning correctly, consider the following troubleshooting steps:
- Check Power Supply: Ensure the unit is properly plugged in and that the outlet is functioning.
- Inspect for Obstructions: Make sure nothing is blocking the air intake or exhaust vents.
- Reset the Unit: Sometimes, resetting the unit by turning it off and on can resolve minor issues.
- Consult the Manual: Refer to the user manual for specific troubleshooting tips related to your model.
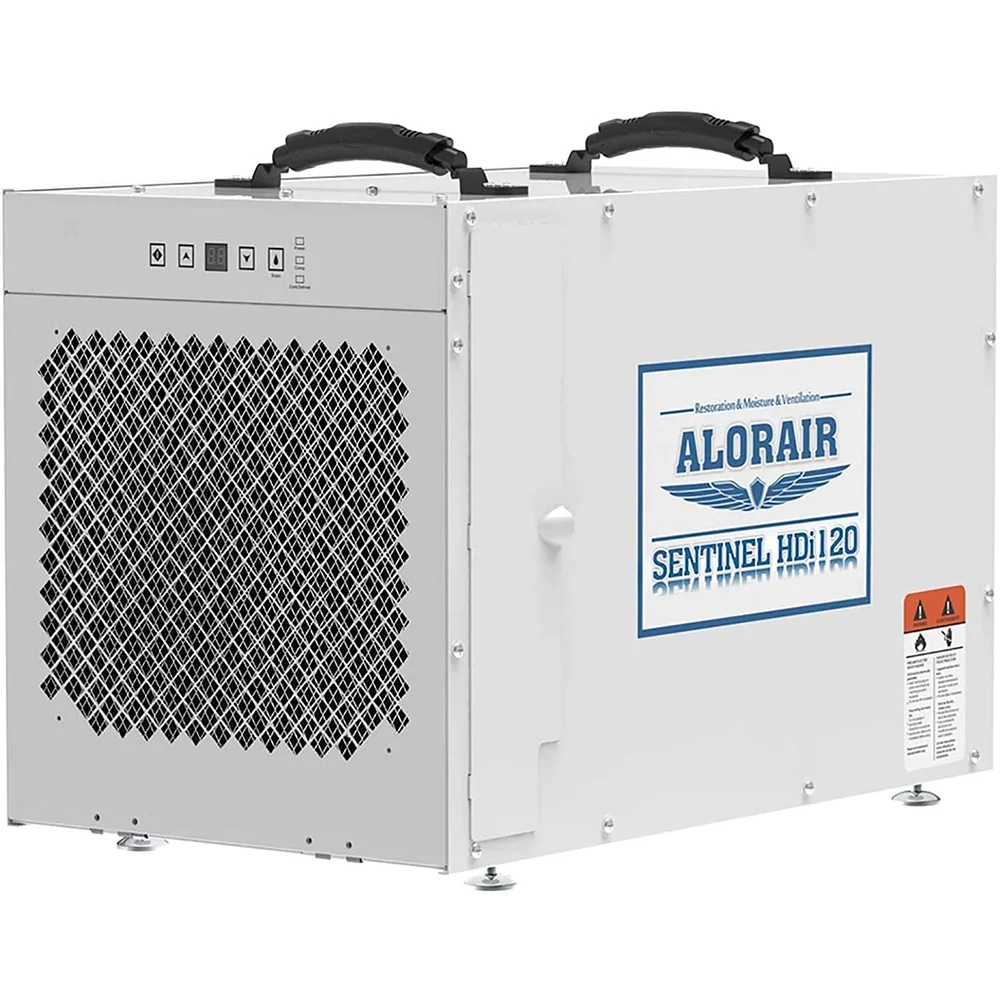
Comparing Different Types
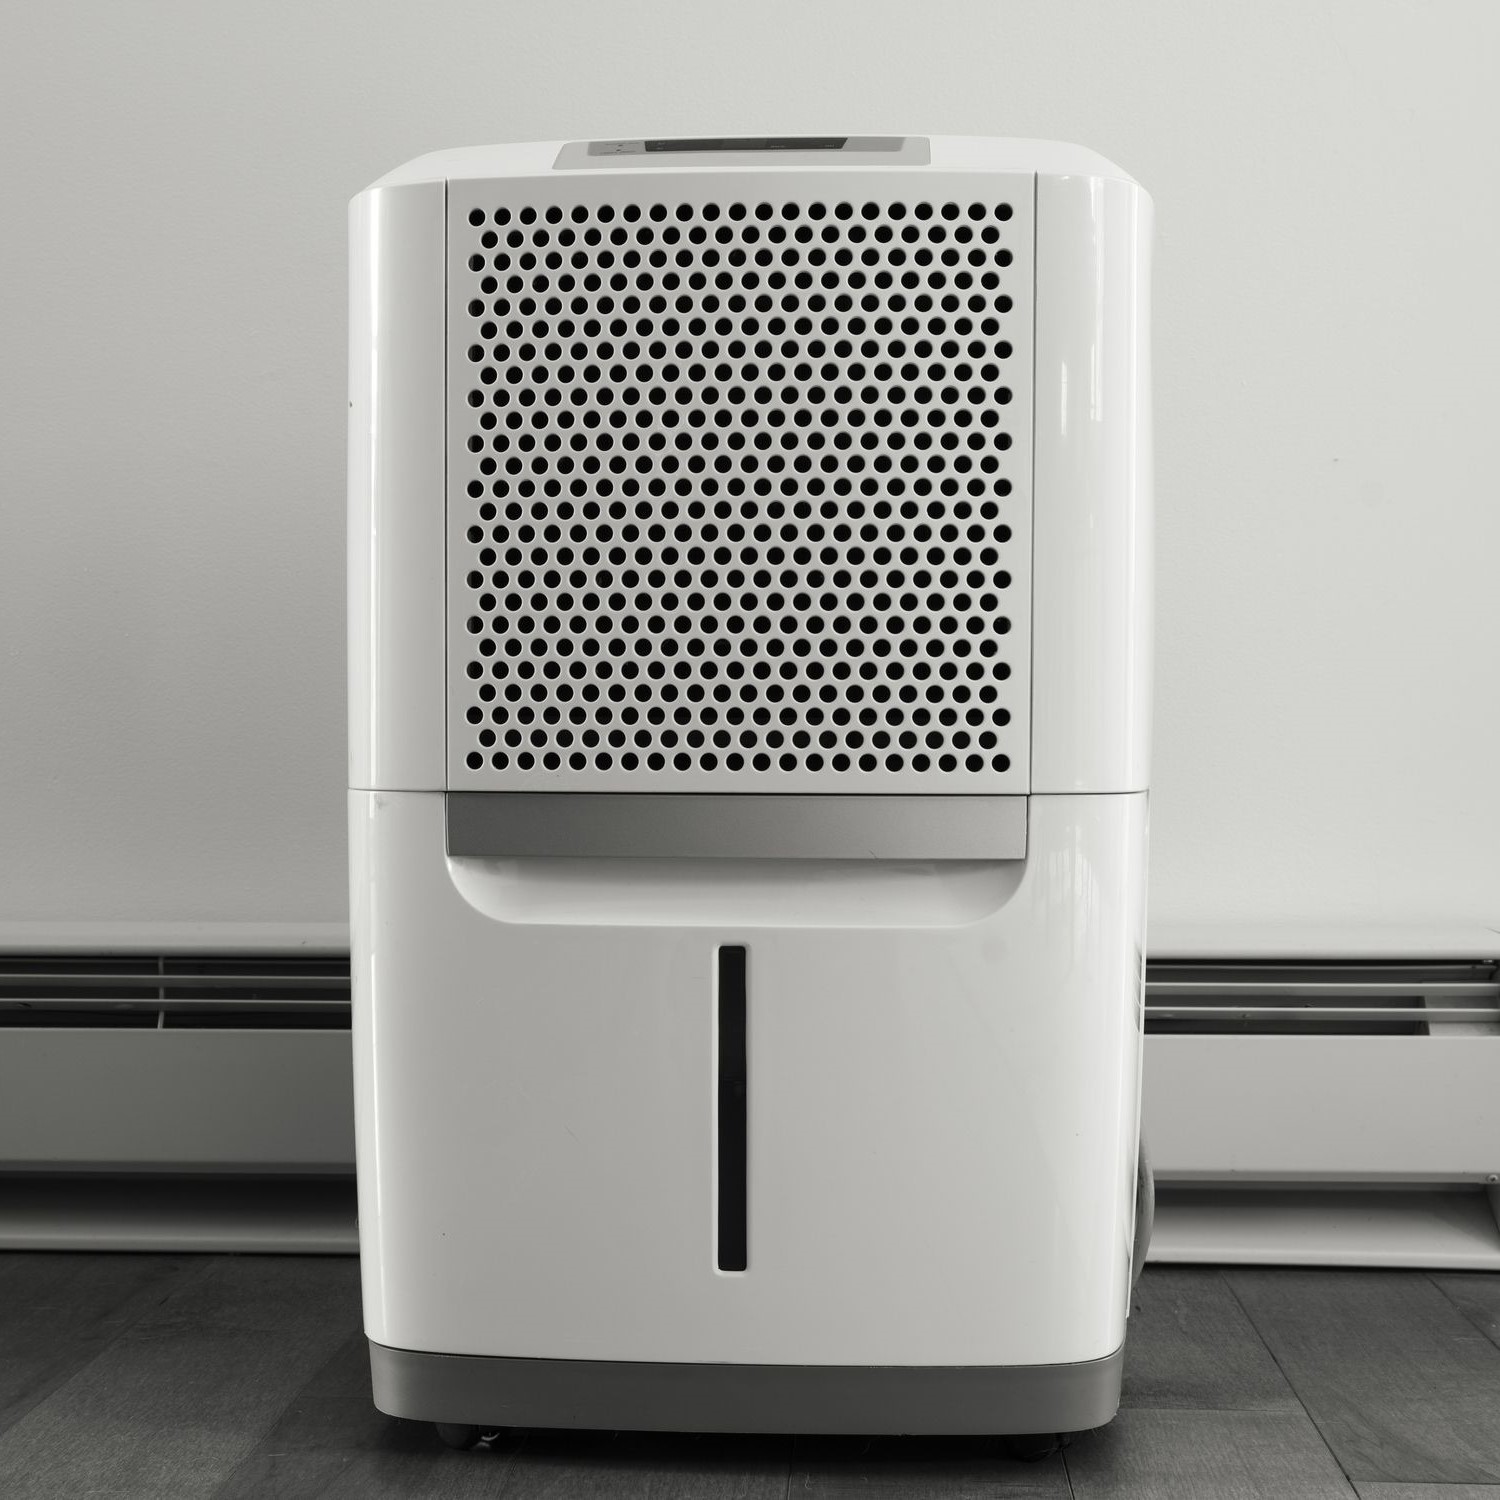
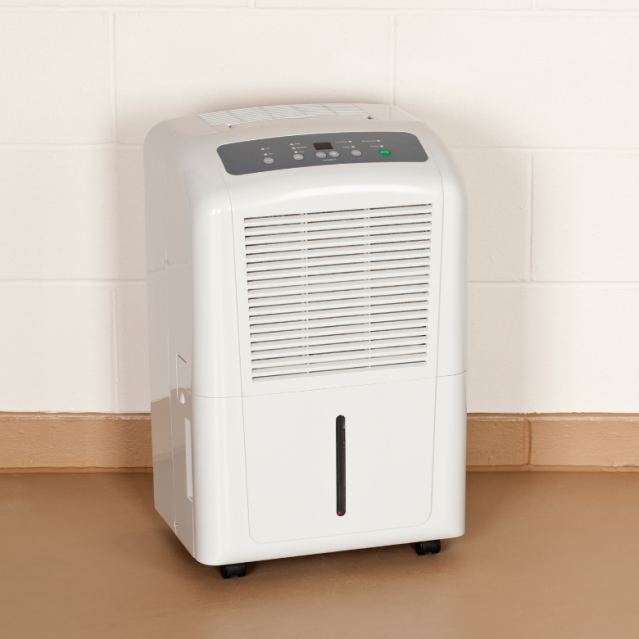
Refrigerant Dehumidifiers
Refrigerant dehumidifiers are the most common type, using refrigeration coils to condense moisture from the air. They are highly effective in warm and humid conditions and generally quieter than other types. However, they may consume more energy and require periodic maintenance of the refrigerant system.
Desiccant Dehumidifiers
Desiccant dehumidifiers use a drying agent to absorb moisture from the air. They are particularly effective in cooler environments where refrigerant dehumidifiers struggle. While they are more energy-efficient in low-temperature settings, they can be noisier and more expensive upfront.
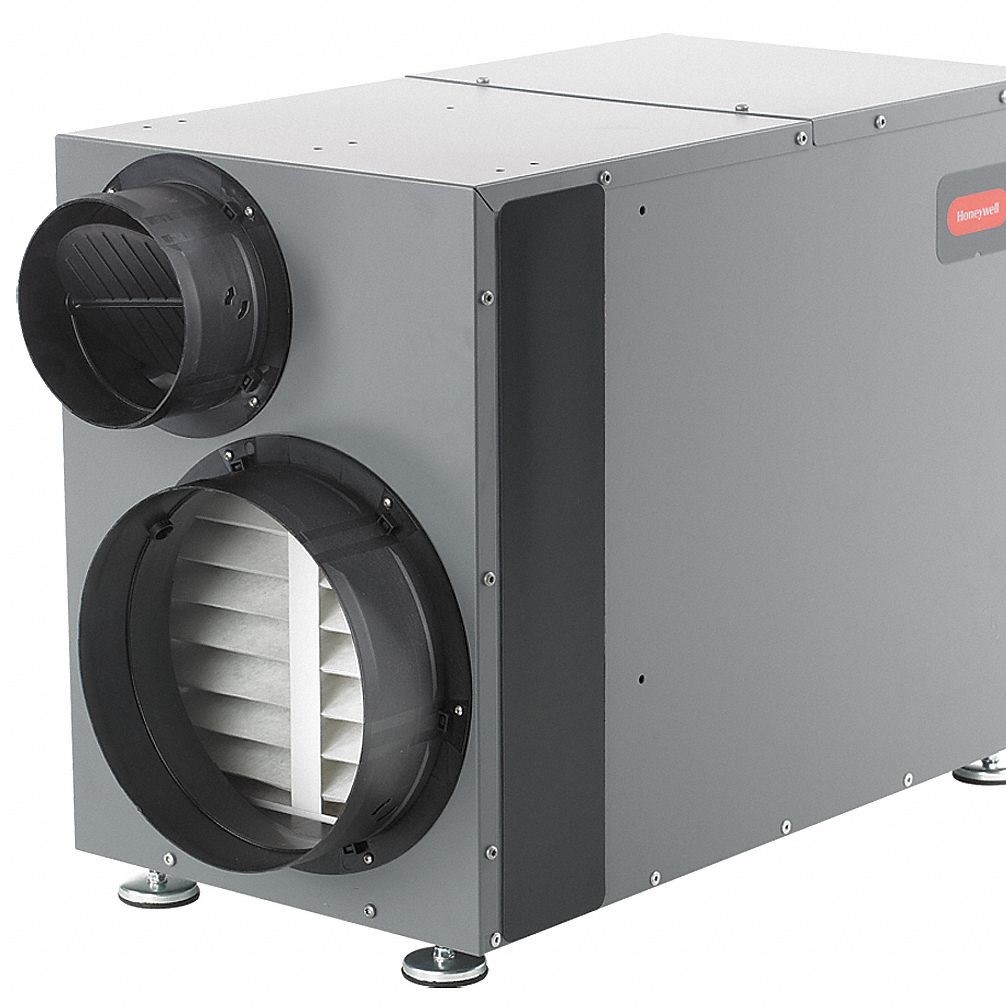
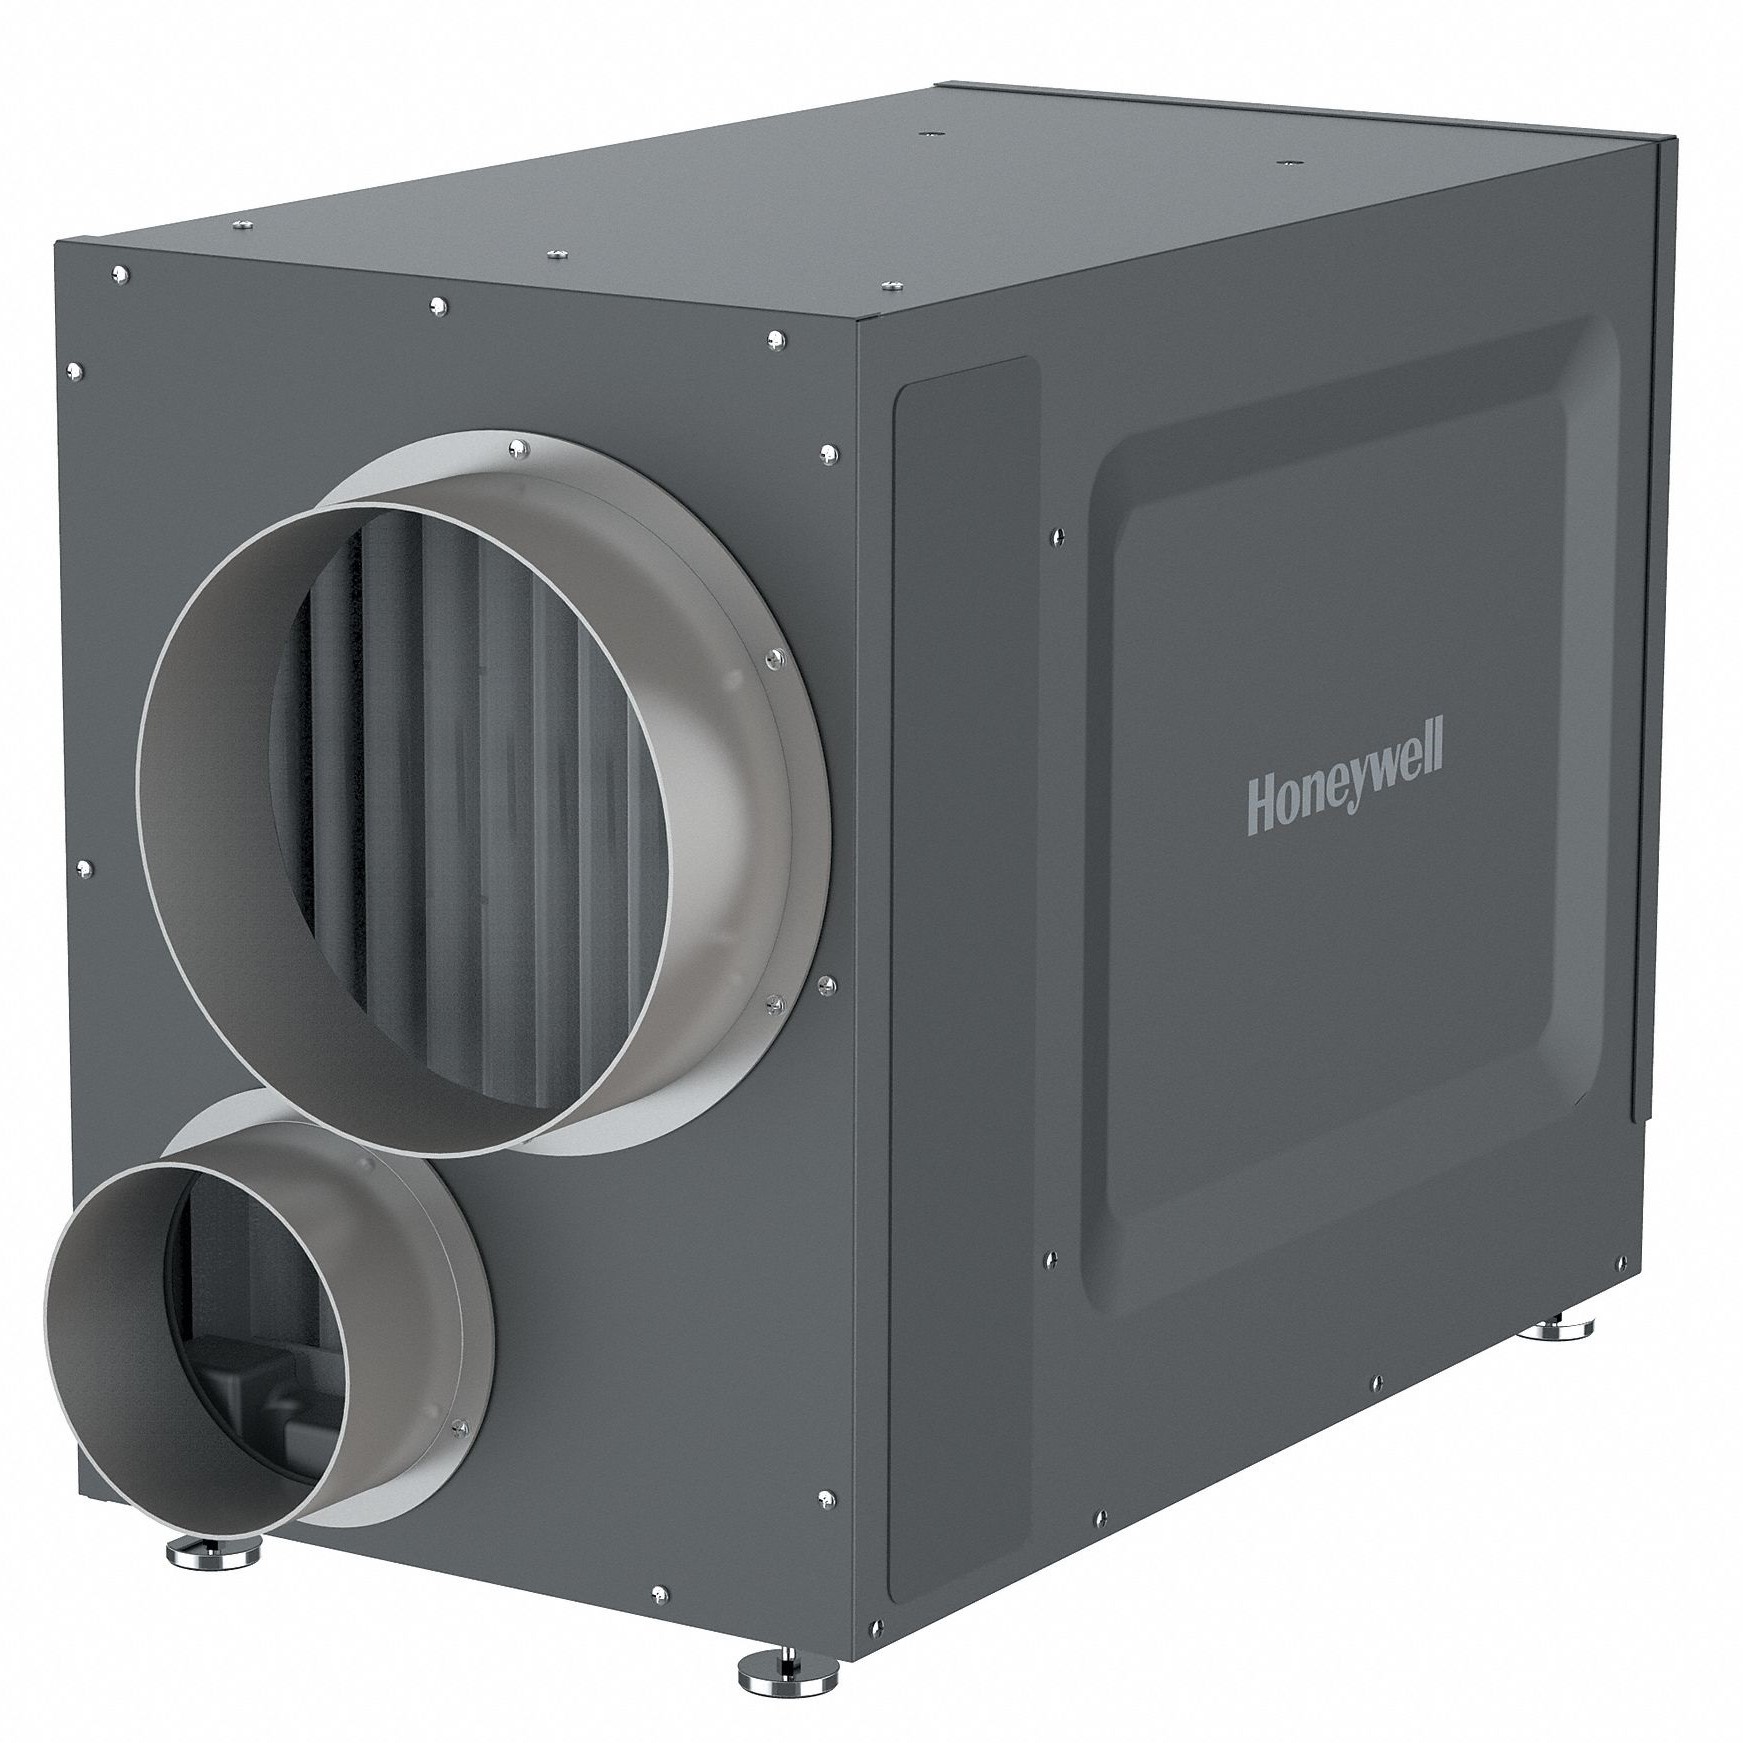
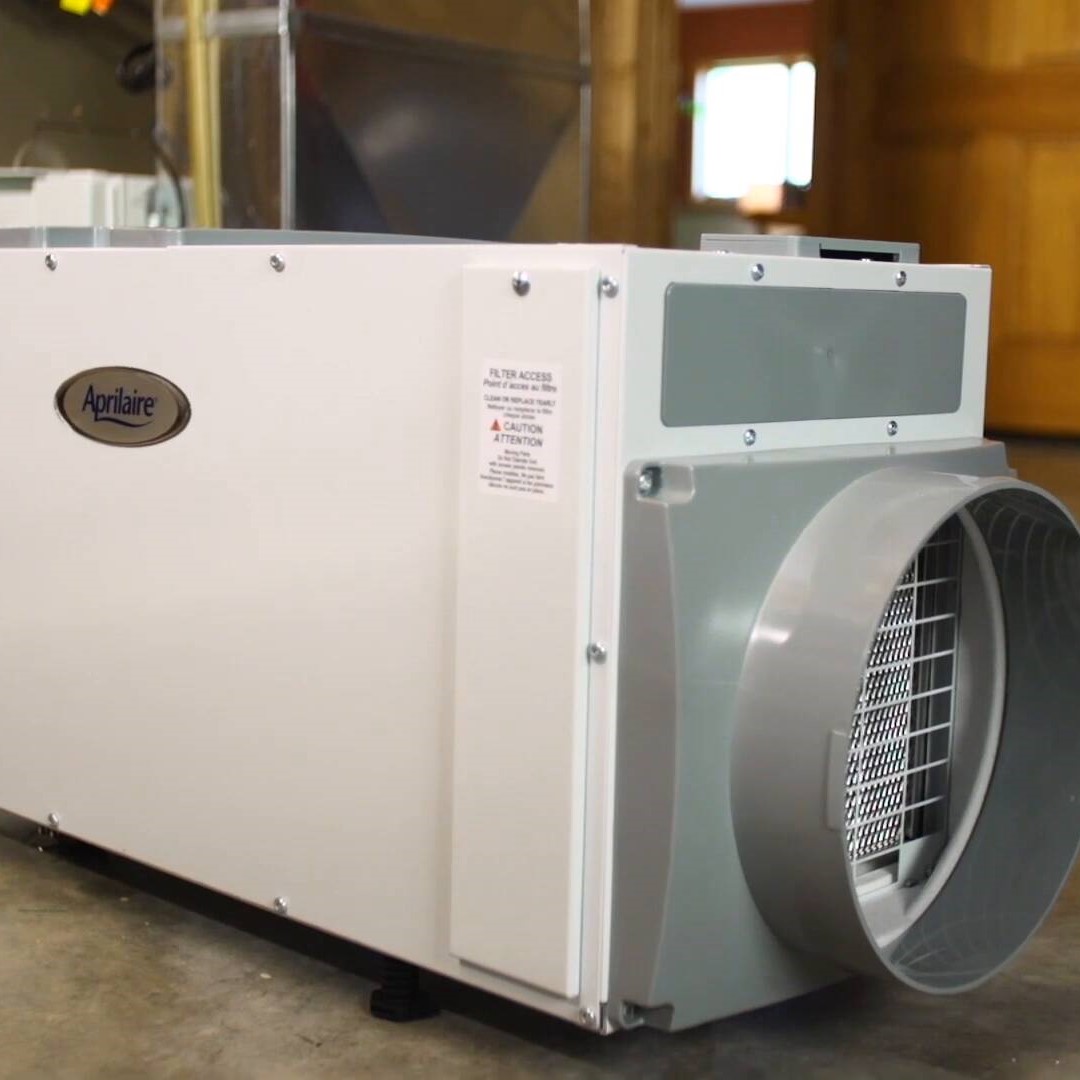
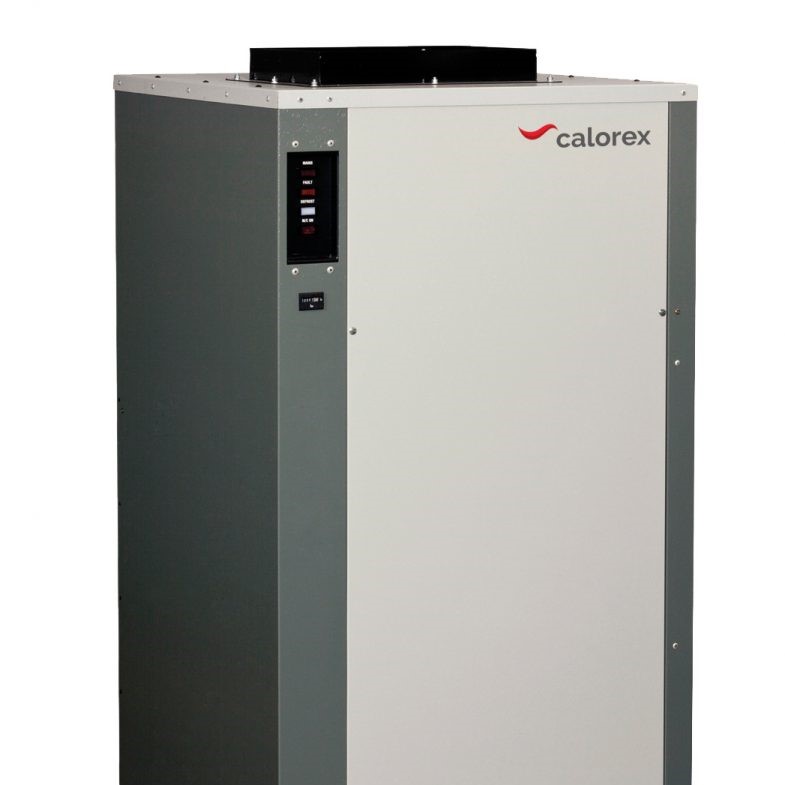
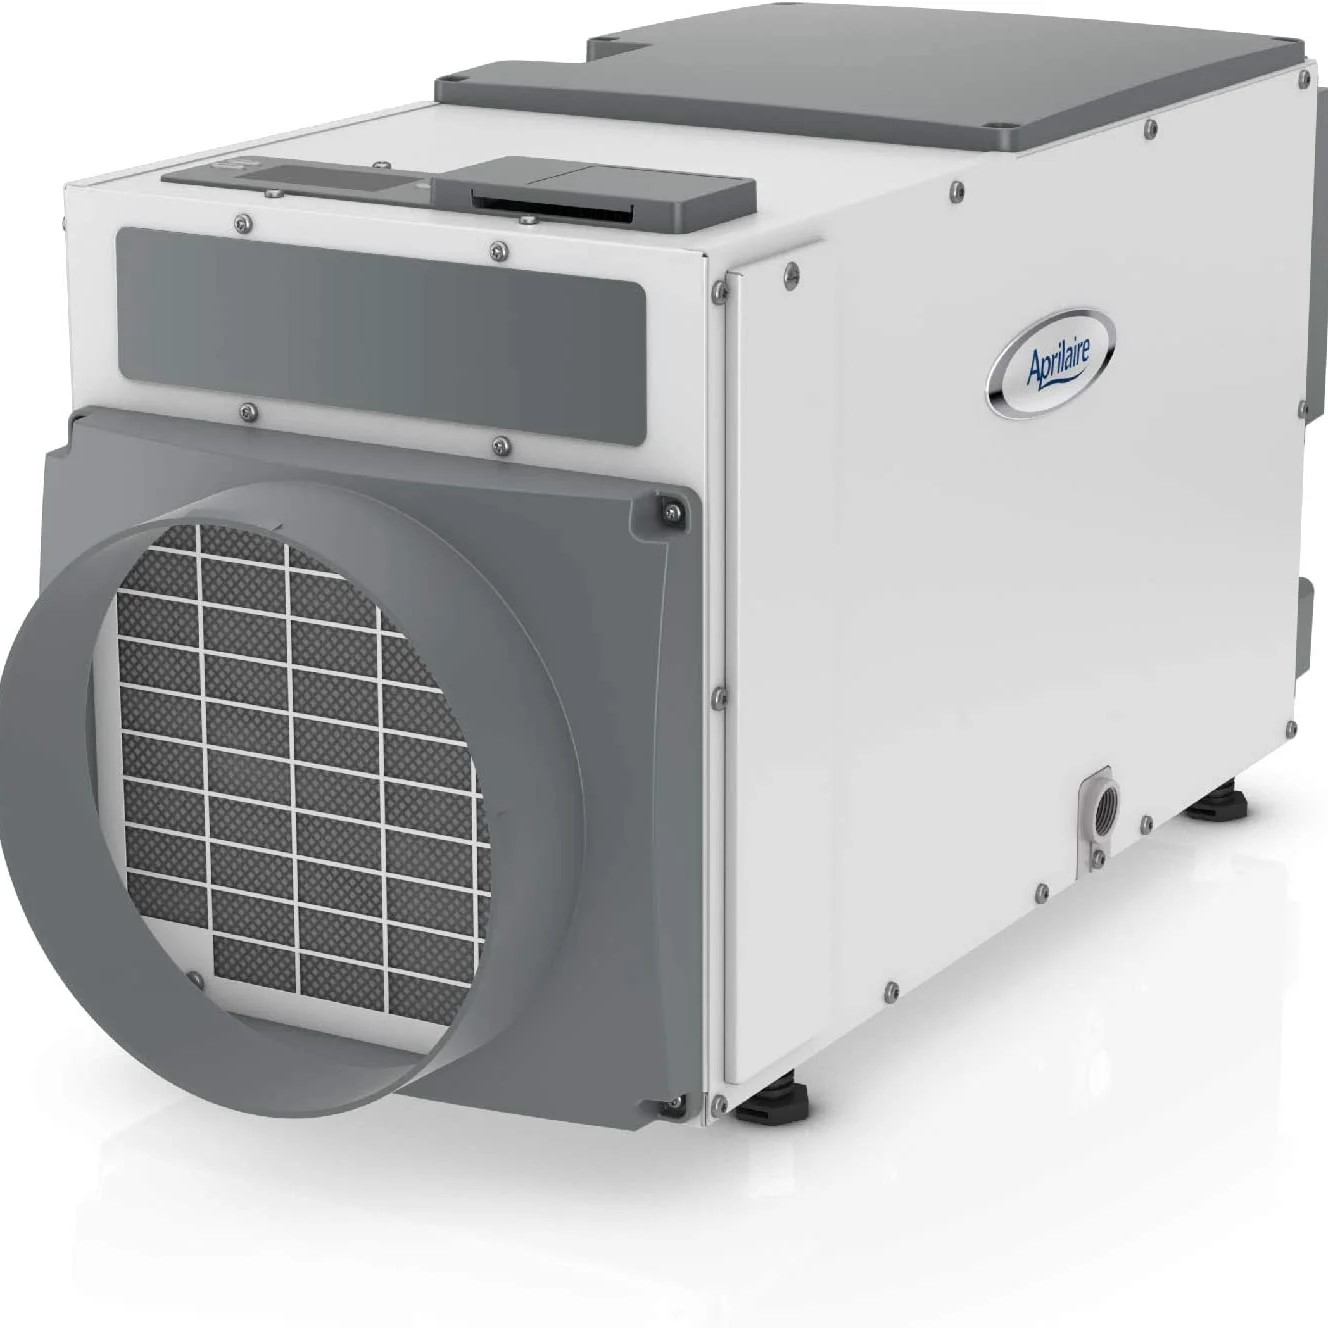
Whole-House Dehumidifiers
For those looking to control humidity throughout their entire home, whole-house dehumidifiers are an excellent option. These systems are integrated into the home’s HVAC system, providing consistent humidity control in all areas, including the basement. They are more expensive and require professional installation but offer comprehensive moisture management.
Top Features to Enhance Basement Dehumidifier Performance
Smart Technology Integration
Modern dehumidifiers often come equipped with smart technology, allowing you to control and monitor the unit remotely through smartphone apps. This feature provides convenience and flexibility, enabling you to adjust settings or receive alerts from anywhere.
Auto Defrost Function
In colder climates, condensation can freeze on the coils of refrigerant dehumidifiers. An auto defrost function automatically prevents ice buildup, ensuring continuous operation even in low temperatures. This feature is particularly useful for basements that experience significant temperature fluctuations.
Adjustable Humidistat
An adjustable humidistat allows you to set your desired humidity level precisely, ensuring that your basement remains comfortable without over-drying the air. This customization helps in maintaining optimal conditions tailored to your specific needs.
Energy Efficiency Tips
Optimal Humidity Settings
Setting your dehumidifier to the lowest effective humidity level can save energy. Typically, maintaining a humidity level between 30% and 50% is sufficient for preventing mold and maintaining comfort. Avoid setting the humidity too low, as it can lead to unnecessary energy consumption.
Utilize Timers and Schedules
Using timers and scheduling features enables your dehumidifier to operate only when needed. For instance, running the unit during the evening or when the basement is in use can optimize energy usage while maintaining optimal humidity levels.
Keep the Basement Well-Ventilated
Ensuring proper ventilation in your basement reduces the overall moisture levels, allowing your dehumidifier to work more efficiently. Use exhaust fans, open vents, or install additional ventilation systems to complement the dehumidifier’s performance.
Maintenance Best Practices for Longevity
Regular Cleaning Routines
Establishing a regular cleaning schedule for your basement dehumidifier can extend its lifespan and ensure consistent performance. Clean the water tank, air filters, and coils at least once a month to prevent buildup and maintain efficiency.
Seasonal Checks and Upkeep
During seasonal changes, inspect your dehumidifier for any signs of wear or damage. Adjust settings based on the changing humidity levels and perform any necessary repairs or replacements to keep the unit in optimal condition.
Professional Servicing
Occasionally, it may be necessary to have your dehumidifier professionally serviced. Professional maintenance can address more complex issues, such as refrigerant leaks or electrical problems, ensuring your unit remains reliable and effective.
Common Mistakes to Avoid
Oversizing or Undersizing the Unit
Choosing a dehumidifier with an inappropriate capacity can lead to inefficiency. An oversized unit may cycle on and off too frequently, wasting energy, while an undersized unit may struggle to control humidity levels effectively. Carefully assess your basement’s size and moisture levels to select the right capacity.
Ignoring Regular Maintenance
Neglecting regular maintenance can reduce your dehumidifier’s efficiency and lifespan. Ensure you follow the manufacturer’s maintenance guidelines to keep the unit functioning optimally.
Incorrect Placement
Placing the dehumidifier in a confined or obstructed area can hinder airflow and reduce performance. Ensure it is positioned in an open space with adequate ventilation to maximize its effectiveness.
Environmentally Friendly Practices with Your Dehumidifier
Choosing Energy-Efficient Models
Opting for energy-efficient dehumidifiers helps reduce your home’s overall energy consumption. Look for units with the ENERGY STAR® rating and other energy-saving features to minimize environmental impact.
Proper Disposal and Recycling
When it’s time to replace your dehumidifier, dispose of the old unit responsibly. Many components can be recycled, and some manufacturers offer take-back programs to ensure environmentally friendly disposal.
Reducing Your Carbon Footprint
By maintaining optimal humidity levels with an energy-efficient dehumidifier, you contribute to lowering your home’s carbon footprint. Efficient moisture control reduces the need for excessive heating and cooling, further enhancing energy conservation efforts.
Frequently Asked Questions
How do I determine the right size dehumidifier for my basement?
To determine the appropriate size, measure your basement’s square footage and assess the current humidity levels using a hygrometer. Use the manufacturer’s guidelines to match the dehumidifier’s capacity (in pints per day) with your basement’s needs.
Can a dehumidifier prevent mold entirely?
While a dehumidifier significantly reduces the risk of mold by controlling humidity levels, it cannot entirely prevent mold if there are existing moisture sources or ongoing leaks. It’s essential to address any underlying water issues alongside using a dehumidifier.
How often should I empty the dehumidifier’s water tank?
The frequency depends on the unit’s capacity and your basement’s humidity levels. Some models have larger tanks or continuous drain options, reducing the need for frequent emptying. Generally, empty the tank when it reaches the designated maximum level or as indicated by the unit’s alert.
 Conclusion
Investing in a basement dehumidifier is a smart decision for any homeowner looking to maintain a dry, healthy, and comfortable basement environment. By understanding the importance of moisture control and selecting the right dehumidifier with the essential features, you can effectively prevent mold growth, protect your home’s structure, and enhance overall indoor air quality. Remember to assess your basement’s specific needs, consider energy efficiency, and perform regular maintenance to ensure your dehumidifier operates optimally. With the right choice and proper care, a basement dehumidifier will serve as a valuable addition to your home, providing long-term benefits and peace of mind.
 Conclusion