Introduction to Air Quality Solutions
Choosing the right air quality solution can enhance your comfort and health at home. Air purifiers and humidifiers serve different purposes and offer distinct benefits. Air humidifier vs air purifier: An air purifier cleans your indoor air, removing harmful particles and allergens. In contrast, a humidifier adds moisture to the air, preventing dryness and improving respiratory comfort.
The use of air purifiers is critical for removing pollutants like dust, smoke, and pet dander. This cleaning effect is vital for people with allergies or asthma. Humidifiers are essential in areas with dry climate conditions, helping to alleviate issues like dry skin, throat irritation, and static electricity.
Understanding the differences between these devices, their benefits, and how they work will help you decide which is best for your home environment. So, let’s explore air purifiers and humidifiers to make an informed choice for optimal indoor air quality.
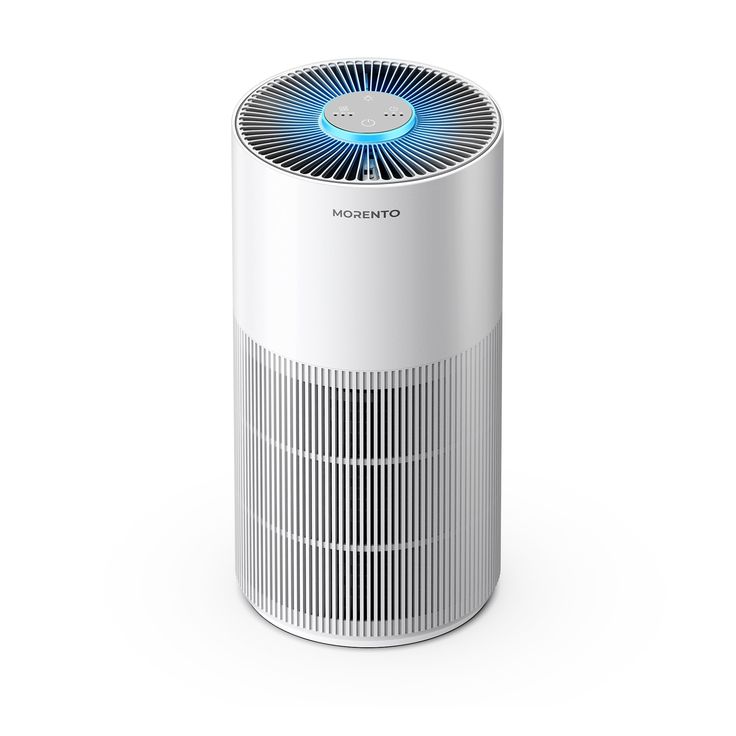
Understanding Air Purifiers
Air purifiers help clean your indoor air efficiently. They are essential devices for enhancing home environments, particularly for those suffering from allergies or respiratory issues.
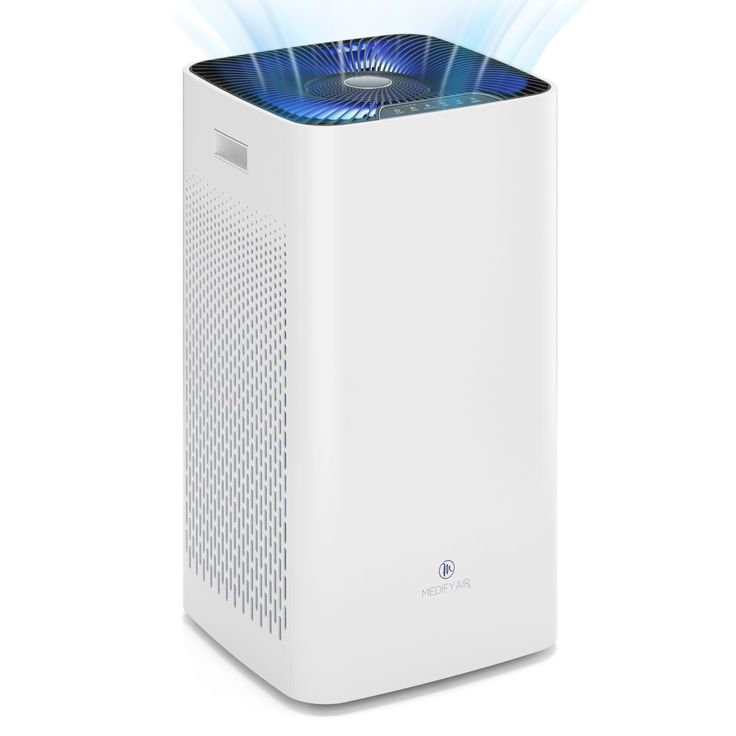
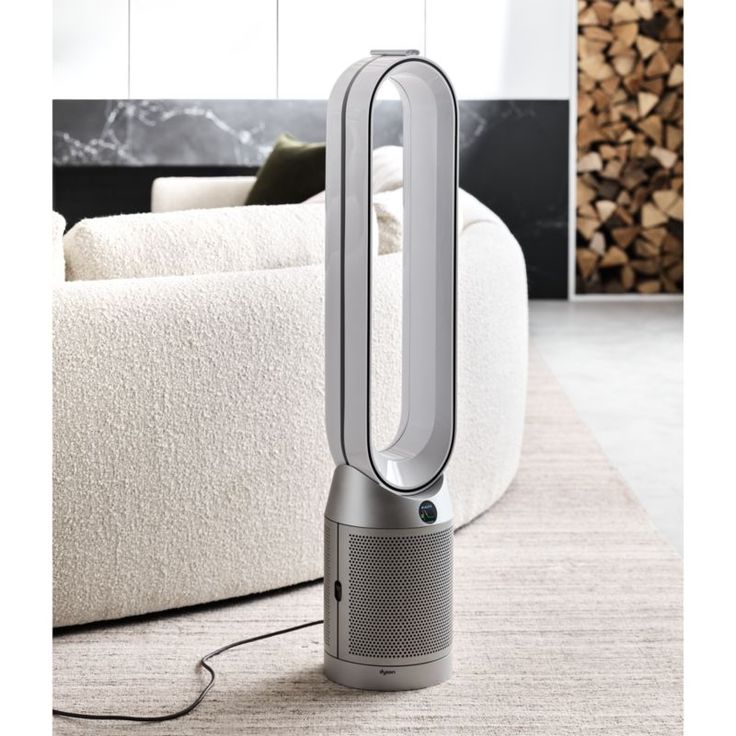
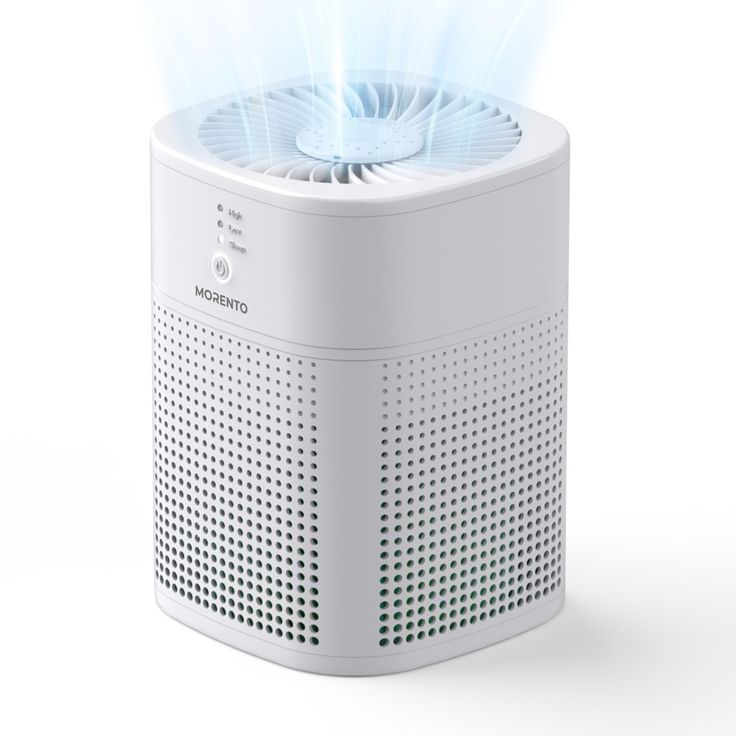
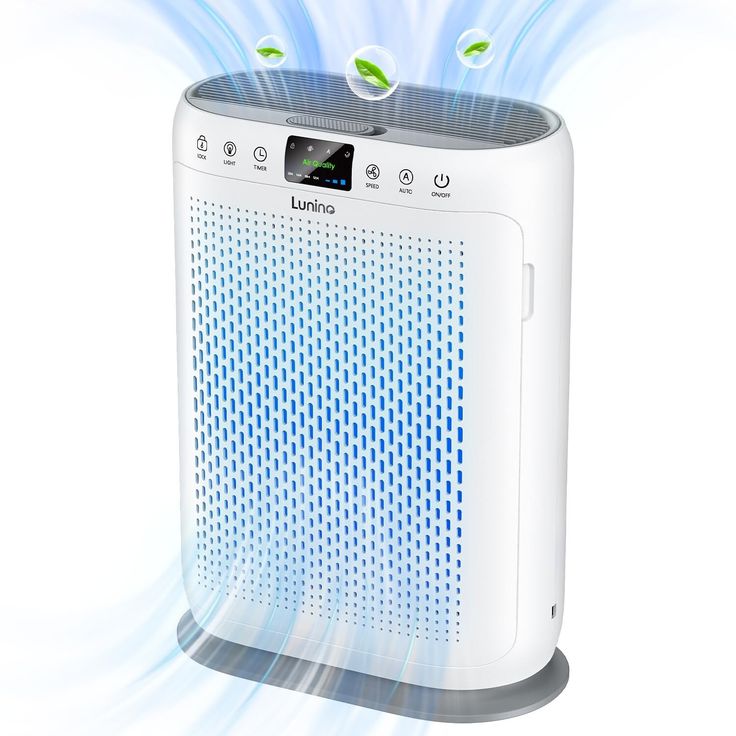
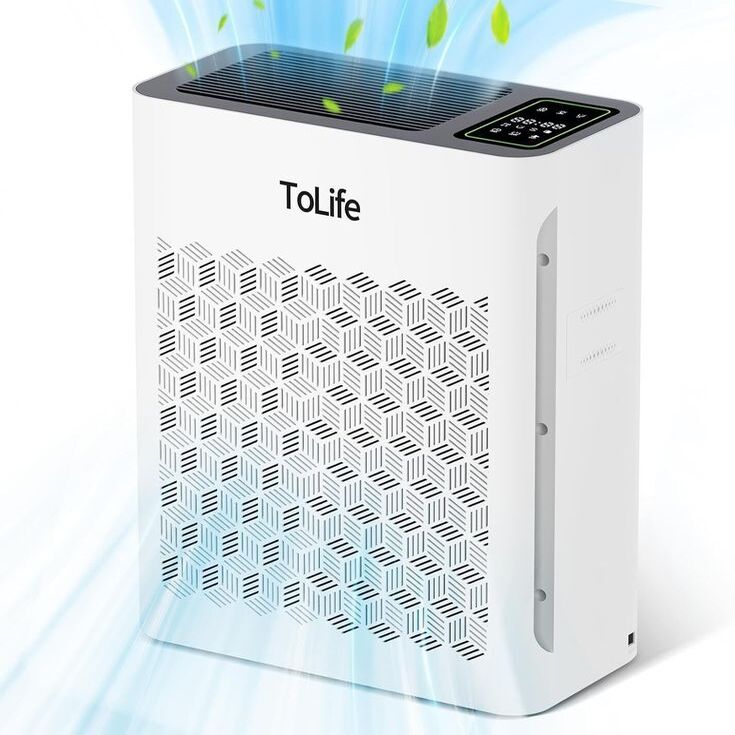
How Air Purifiers Work
Air purifiers pull air into their systems and pass it through filters. These filters trap particles like dust, pollen, and pet dander. The cleaned air then circulates back into the room. Continuous air cycling helps maintain a cleaner indoor atmosphere.
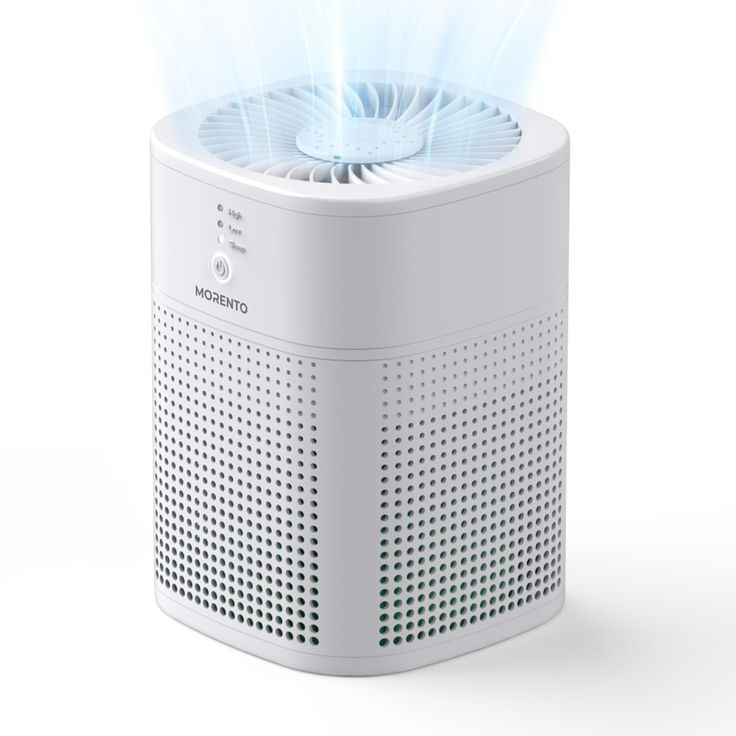
Benefits of Using Air Purifiers
- Allergy Relief: Air purifiers reduce airborne allergens, minimizing allergy symptoms.
- Eliminates Odors: They can remove odors, creating a fresher living area.
- Traps Smoke: Effective in capturing smoke particles, protecting lungs from smoke irritation.
- Reduces Disease Transmission: They can lower the spread of airborne diseases by trapping virus-laden particles.
Using air purifiers can make your home a healthier space by significantly improving the air quality.
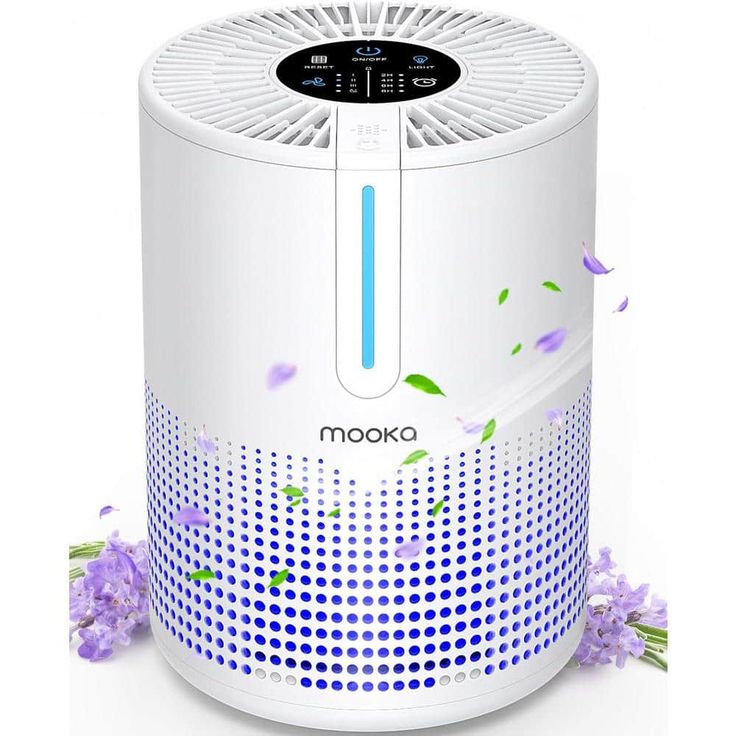
Exploring Humidifiers
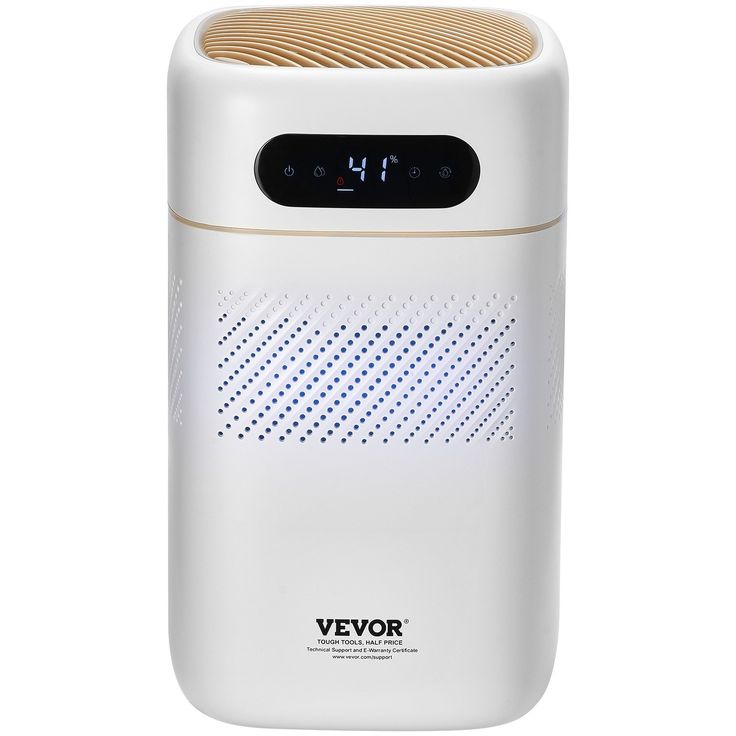
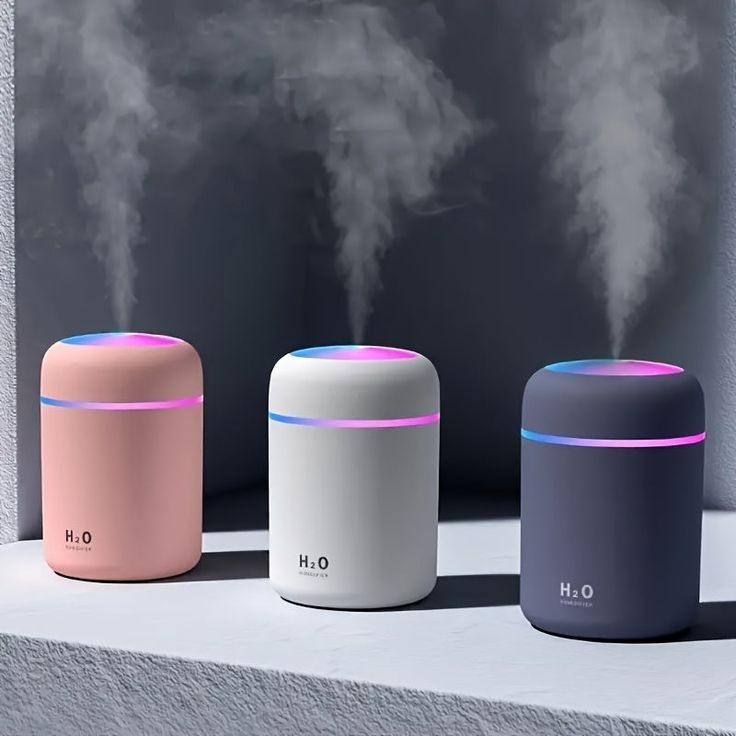
Functionality of Humidifiers
Humidifiers add moisture to the air. This process elevates indoor humidity. They can emit cool mist, warm steam, or ultrasonic vapor. Each type involves adding water to the device. It then releases vapor into your space, increasing the air’s moisture content. Distilled water is often recommended to prevent mineral buildup.
Advantages of Adding Humidity
Humidifiers provide several benefits. They prevent dryness that can irritate various parts of your body. The increased moisture helps relieve dry skin, chapped lips, and dry eyes. It can also ease common cold symptoms. Higher humidity levels can make your room feel warmer. This helps reduce heating costs in winter. Proper humidity provides comfort and improves sleep quality.
Differences Between Humidifiers and Purifiers
Understanding how humidifiers and purifiers function is key to choosing the right device for your home.
Operational Differences
Humidifiers and air purifiers serve different roles in your home. Humidifiers add moisture to dry air. They do this by releasing steam or water vapor. This can make your home feel more comfortable. Air purifiers remove unwanted particles from the air. They use filters to clean the air you breathe. This includes dust, pollen, and smoke.
An easy way to remember this is: purifiers clean, humidifiers moisten. Both have their own way of improving air quality. But they do not work the same way.
Health Impacts and Benefits
Both devices can have positive impacts on your health. Air purifiers can greatly benefit allergy and asthma sufferers. They remove triggers from indoor air. This can make breathing easier and reduce health issues. Humidifiers can relieve discomfort from dry skin and throat. They can also help with nasal congestion and dry eyes.
If the air is too dry, a humidifier can bring relief. An air purifier is a must if air quality is poor. It can lower the chance of disease spread. To sum up, purifiers improve air quality, humidifiers balance moisture levels.
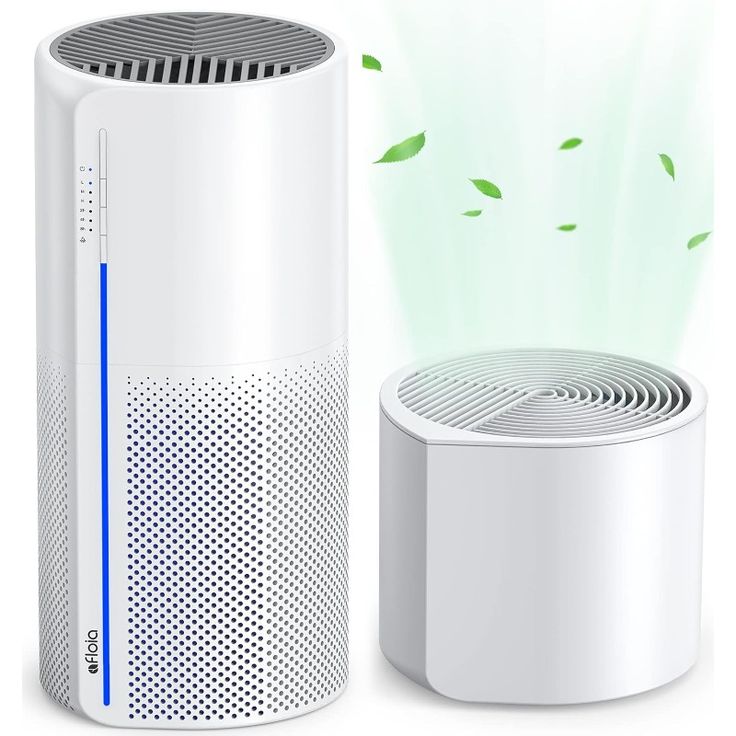
Combining Humidifiers and Purifiers
Understanding when and how to use both air purifiers and humidifiers can optimize your indoor air quality.
When to Use Both
Sometimes, using an air purifier alongside a humidifier is beneficial. This is especially true in homes with HVAC systems. HVAC systems can dry out the air, which necessitates a humidifier. At the same time, during extreme temperatures, more indoor air recycling happens. Air purifiers step in to remove accumulated pollutants such as dust, allergens, and pathogens. For those in urban areas with high pollution levels or households susceptible to allergies, combining these devices provides a dual approach to improving air quality and comfort. Essentially, purifiers improve air quality by removing allergens and pollutants, while humidifiers balance the indoor humidity level, adding moisture to the air, which alleviates dryness.
Placement and Maintenance Tips
Proper placement and maintenance are crucial for the effective functioning of air purifiers and humidifiers. Keep them in different locations within a room to prevent moisture from the humidifier from clogging the air purifier’s filters. It’s vital to regularly change the filters in your air purifier according to the manufacturer’s recommendations. Likewise, it’s important to regularly clean your humidifier and ensure it’s free from mold and bacteria buildup by using distilled water and proper cleaning techniques. Consult your devices’ user manuals for specific maintenance guidelines to ensure both units operate efficiently and safely.
Factors to Consider When Choosing
When you’re deciding between an air purifier and a humidifier, consider several factors. Your home’s environment and your specific needs are key. For example, if you suffer from allergies, an air purifier might be essential. But a humidifier is better if you deal with dry skin or sinus issues. Look at your living space too. Homes with high dust levels or pet dander need purifiers. Conversely, homes in dry areas benefit from humidifiers.
Home Environment and Personal Needs
Evaluate your home’s air. Is it dusty or smoky? Does it feel dry or cause you discomfort? Answering these questions will guide you. People with chronic conditions like asthma or eczema have unique needs. They require cleaner or more humid air. Consider these personal health aspects. Think about your family as well. Babies and the elderly may need more humidity. They are prone to respiratory issues in dry air. Lastly, look at your home’s air flow. Poor circulation can make air issues worse.
Seasonal Considerations
Don’t ignore the seasons. They can affect indoor air. Winters often dry out the air inside homes. This makes a humidifier useful. But during spring, pollen counts soar. An air purifier is then a must-have. Summer brings heat and sometimes more pollutants. These can make us keep windows closed, letting pollutants build up. Again, purifiers help. In fall, we might start heating our homes, lowering humidity. Adding a humidifier can compensate for this change. Remember, managing air quality is a year-round effort.
Conclusion
In conclusion, understanding the distinct functions of air purifiers and humidifiers is essential for enhancing indoor air quality. Air purifiers excel at removing pollutants and allergens, which is key for individuals with allergies or respiratory conditions. They ensure the air you breathe is clean and free from harmful particles. Humidifiers, on the other hand, are great at adding necessary moisture to the air, providing relief from dryness that affects skin, throats, and nasal passages.
Summary of Benefits
- Air Purifiers: Clean the air, reduce allergens and odors, protect against smoke, and can lower airborne disease transmission.
- Humidifiers: Increase air moisture, prevent irritation caused by dry air, and can improve comfort and reduce heating costs in winter.
Both devices can contribute positively to your health and comfort, addressing different issues that may arise in your home setting.
Recommendations for Optimal Home Air Quality
To achieve the best air quality in your home:
- Assess your personal and environmental needs to decide whether you need an air purifier, a humidifier, or both.
- Place purifiers and humidifiers strategically in different locations to prevent interference.
- Perform regular maintenance as per the manufacturer’s instructions to ensure the devices operate effectively.
- Take into account seasonal changes and adjust the use of your devices as necessary.
By following these steps and considering your unique home environment and health requirements, you can maintain a healthier and more pleasant living space year-round.