The Accidental Discovery of Microwaves by Percy Spencer
When were microwaves invented? The journey of the microwave began unexpectedly with Percy Spencer. Working on radar for Raytheon in 1945, Spencer made a serendipitous discovery that changed cooking forever. During an experiment with a magnetron, he noticed a chocolate bar in his pocket had melted. This sparked curiosity. To test further, he placed popcorn kernels near the magnetron. They popped. An egg was next, which not only got cooked but exploded due to the heat. Spencer deduced that microwaves from the magnetron could rapidly cook food. He then fashioned a metal box to contain the microwaves, and voila, the concept of the microwave oven was born.
Percy’s accidental finding paved the way for a culinary revolution. With the invention of the microwave, preparing food quickly became possible. Spencer’s prototype turned into a device that focused the microwave’s energy inside a metal enclosure. This technology harnessed the power to cook food in a fraction of the usual time. The microwave oven’s potential was enormous. However, its road to commercial success and household adoption was a journey of innovation and acceptance, beginning with its inception by an unanticipated experiment. Spencer’s innovation brought a swift and efficient cooking method to the world – by chance.
Milestones in Microwave Development: From Luxury to Staple
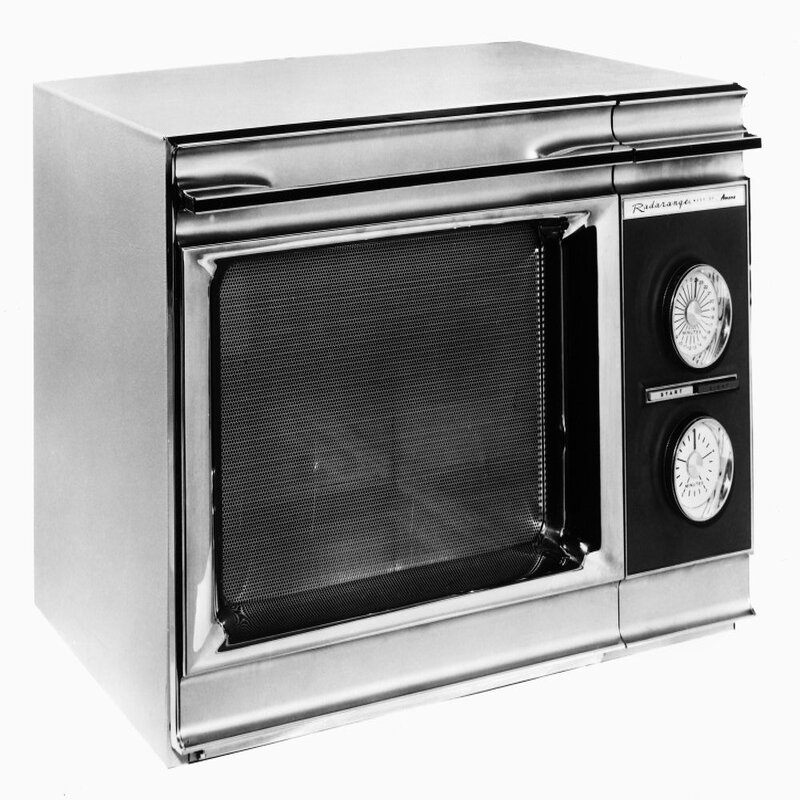
The journey of the microwave from a luxury item to a household staple is fascinating. Initially, microwaves were large, expensive, and not widely trusted. In 1947, they were first sold commercially. They stood 5.5 feet tall and weighed 750 pounds. Their hefty price tag of $5,000 made them accessible only to high-end restaurants. Due to their size and cost, early microwaves were not popular among average consumers.
As technologies advanced, microwaves became more compact and affordable. This transformation was crucial for their acceptance into commercial kitchens and later, homes. By 1975, the popularity of microwaves had surged, outselling gas ranges. This shift marked a significant milestone in kitchen appliance history. People embraced the convenience of quick, efficient cooking. The transition from a novelty luxury to an essential kitchen appliance illustrates the evolution of consumer behavior and technological advancement.
The Journey of Microwaves into Commercial Kitchens
The transition of microwaves into commercial settings marks a significant phase of their evolution. Initially unwelcome, they eventually became indispensable in professional culinary spaces. The first commercial microwave deployment happened in a Boston restaurant in 1946. This trial aimed to analyze the machine’s effectiveness in a fast-paced environment.
Soon after, in 1947, microwaves were available for commercial purchase. Despite their massive dimensions and weight (5.5 feet tall, over 750 pounds), they promised a revolutionary way to cook. However, the initial $5,000 price tag was daunting, making them a luxury for many.
Yet, as designs improved, microwaves became lighter and cheaper. These enhancements made them more appealing to restaurateurs. They simplified many cooking processes, offering quick reheating and less food waste. This efficiency was vital for restaurants, cafes, and even vending companies.
Before long, microwaves found their way into various commercial culinary settings. They allowed food establishments to serve fresh, hot food quickly. Moreover, their ability to decrease food waste translated into cost savings – a major advantage in the food service industry. As microwaves became more common in kitchens around Toronto, Montreal, and Vancouver, their role grew from a curious innovation to a kitchen necessity.
Microwaves Transforming the Food Industry
The food industry has been revolutionized by the microwave. This kitchen technology changed how we cook, heat, and serve food quickly. After its initial adoption in commercial kitchens, microwaves have only continued to grow in influence and importance. Here is how microwaves are transforming the food industry:
- Speed and Efficiency: With the ability to cook and heat food rapidly, microwaves boosted kitchen efficiency to new heights. They allow chefs to meet customer demand with faster service.
- Food Quality: Microwaves ensure that meals retain their freshness, as food can be heated at the moment it is needed, maintaining quality and reducing waste.
- Diversification of Menus: Microwaves have made it feasible for restaurants to expand menu options. They can now offer a wider range of dishes that require quick reheating or cooking.
- Energy Saving: Relative to traditional cooking methods, microwaves consume less energy, translating into significant savings for commercial establishments.
- Innovation in Food Processing: Beyond restaurants, microwaves have found usage in food processing for tasks like drying snacks and roasting coffee beans, showcasing their versatility.
- Health and Safety: Microwaves quickly heat food to safe temperatures, reducing the risk of food-borne illnesses.
- Financial Benefits: The reduced cooking time and energy costs have a positive impact on the bottom line of food businesses.
Microwaves are no longer just simple reheating devices. They stand as critical components in food service operations from Toronto to Vancouver, continually shaping the food industry with convenience and innovation.
Consumer Adoption: Microwaves Outsell Gas Ranges
The popularity of microwaves skyrocketed by the mid-1970s, marking a pivotal shift in kitchen dynamics. As the technology improved, becoming more user-friendly and economically viable, consumer interest surged. By 1975, an impressive milestone was reached – microwaves began outselling gas ranges. This marked a significant shift in cooking preferences among consumers.
The Drivers Behind the Surge in Microwave Sales
Several factors contributed to the rapid adoption of microwave ovens in households:
- Convenience and Speed: Microwaves reduced cooking time dramatically, aligning perfectly with the fast-paced lifestyle of the 1970s. Families preferred the quickness and ease microwaves offered over traditional cooking methods.
- Affordability: Advancements in technology made microwaves more affordable. Reduced prices, coupled with the promise of lower energy costs compared to traditional ovens, appealed to budget-conscious consumers.
- Changing Lifestyles: The 1970s saw more women entering the workforce, leading to a shift in domestic roles and cooking responsibilities. The microwave offered a quick, easy solution for busy families.
- Energy Efficiency: Microwaves use less energy than conventional ovens, attracting environmentally conscious consumers and those looking to save on utility bills.
As microwaves became household staples, their impact extended beyond the home, influencing commercial kitchens and food industry practices. The rapid cooking and reheating capabilities of microwaves altered the way restaurants and food services operated, leading to further innovation and adaptation in the industry.

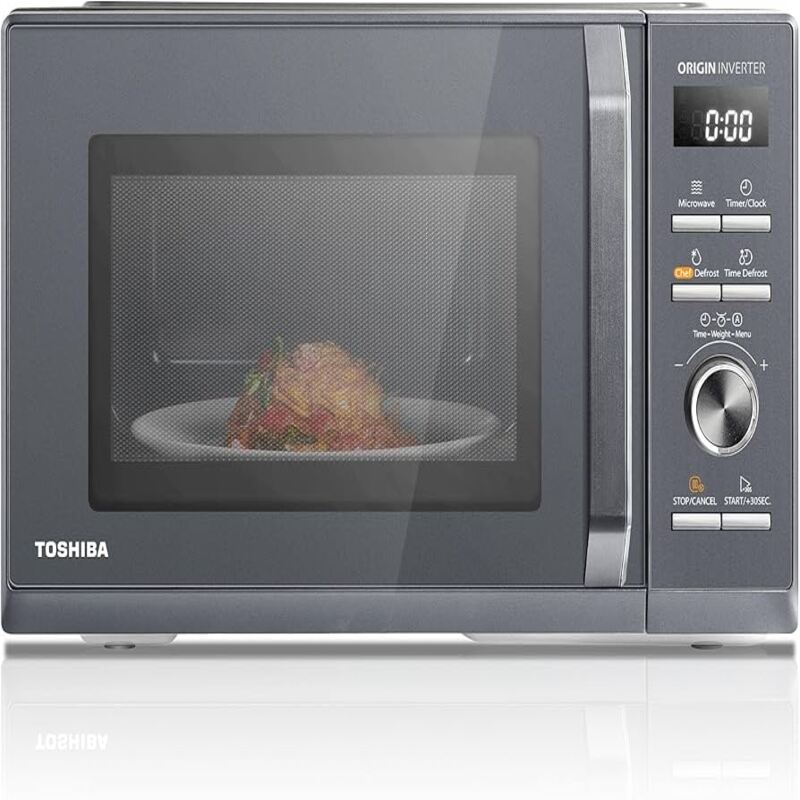
Advancements in Microwave Technology Features
The evolution of microwave technology has been impressive, with features evolving to meet changing consumer needs. Here’s a breakdown of the advancements in feature-rich microwave ovens that have played a role in their continued popularity.
- Convection Heating: Modern microwaves now come with convection heating options, adding more versatility to cooking by allowing baking and roasting similar to traditional ovens.
- Sensor Cooking: This innovation uses humidity sensors to determine when food is cooked, automatically adjusting time and power settings for optimal results.
- Pre-Programmed Settings: Many microwaves feature pre-set cooking times for various foods, streamlining the cooking process and reducing guesswork.
- Inverter Technology: This allows microwaves to deliver a consistent level of heat at lower settings, which is perfect for delicate foods that need gentle cooking.
- Smart Connectivity: With the rise of smart home devices, some microwaves can connect to Wi-Fi and be controlled through smartphones or voice assistants, offering convenience like never before.
- Eco Mode: Energy-saving features that reduce power consumption when the microwave is not in active use.
- Child Locks: Safety features like child locks prevent accidental operation, making microwaves safer for households with children.
These enhanced features not only make cooking simpler and more convenient but also echo the shift towards more energy-efficient and safer kitchen appliances. As microwaves continue to adopt cutting-edge technology, they remain an indispensable tool in both home and commercial kitchens alike.
The Global Impact and Popularity of Microwaves
The microwave oven has a vast global impact, becoming a staple in households and industries. Its ability to cook and reheat food quickly resonates with people’s fast-paced lives. Here we explore how microwaves rose to such widespread popularity:
- Worldwide Usage: Over 30 million units sell globally each year. This highlights the universal appeal and reliance on microwave technology globally.
- Time-Saving Convenience: For countless families and businesses, microwaves offer unmatched speed. They warm meals in minutes, a key factor in their widespread uptake.
- Technological Familiarity: After their invention, microwaves swiftly moved from novelty to familiarity. They are now essential in many kitchens across continents.
- Diverse Applications: Beyond reheating, microwaves assist in food drying and other industrial uses. This expands their reach beyond just being a home appliance.
- Adaptability: Microwaves are diverse. They now boast features catering to a variety of cultures and cooking styles around the world.
The popularity and influence of microwaves are undeniable. They have transformed modern living and continue to evolve, meeting the needs of a world that values speed and convenience in cooking.