Introduction to Air Quality Devices
Air quality is crucial for maintaining good health and well-being. Enhancing indoor air quality can improve respiratory health. Dust, allergens, and microbial contaminants can compromise air quality indoors. Two devices that significantly contribute to improved air quality are humidifiers and air purifiers. Can you have a humidifier and air purifier in the same room?
Humidifiers add moisture to the air, combating dryness that can cause skin and respiratory problems. Air purifiers, on the other hand, remove airborne contaminants, improving overall air quality. Combining these devices can result in a more comfortable and healthier living environment. Understanding how each device works individually is essential for appreciating their combined benefits.
This article explores the benefits and considerations of using both devices together. Additionally, it will discuss how these appliances can complement each other. By understanding their functions, you can make an informed decision on improving your home’s air quality.
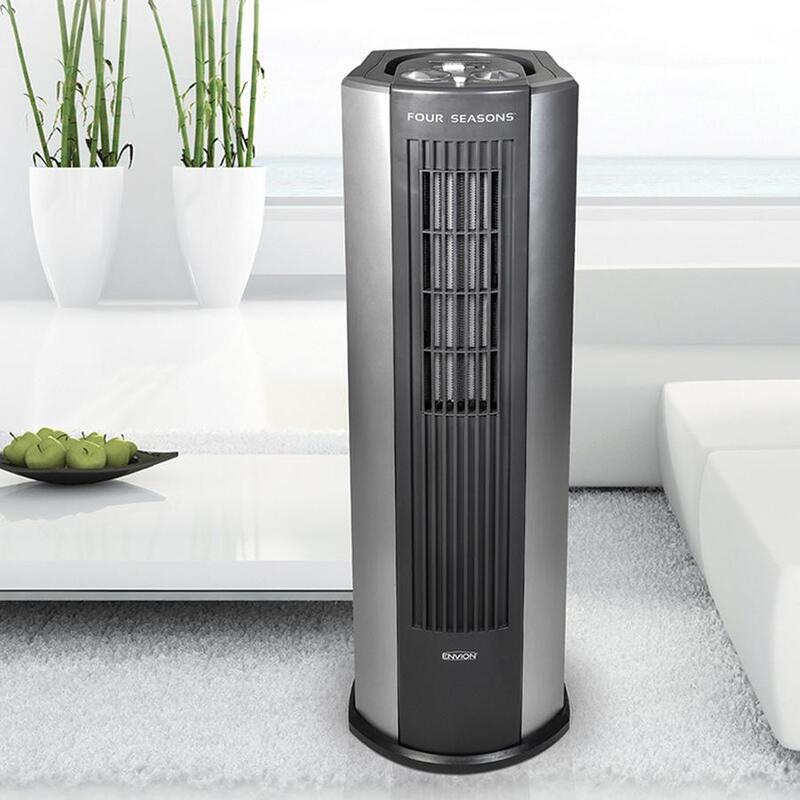
Understanding Humidifiers
How Humidifiers Work
Humidifiers add moisture to the air to increase humidity levels. They can prevent the dryness that can cause various respiratory issues. There are several types of humidifiers: evaporative, ultrasonic, and steam vaporizers.
Evaporative humidifiers use a fan to blow air through a wet wick filter. This process adds moisture to the air. Ultrasonic humidifiers use vibrations to produce a fine mist. This mist is then dispersed into the room. Steam vaporizers heat water to produce steam, which is then cooled before being released into the air.
Each type has its own set of advantages and disadvantages. The choice depends on your individual needs and room size. Regular cleaning is essential for maintaining their efficiency. Neglecting maintenance can lead to the growth of mold and bacteria within the humidifier.
Benefits of Using Humidifiers
Humidifiers can relieve symptoms of dry skin, throat irritation, and respiratory issues. Increasing humidity can make breathing easier, especially for those with asthma or allergies. Humidifiers can also prevent the drying out of nasal passages, reducing the frequency of nosebleeds.
In addition to health benefits, humidifiers can preserve wooden furniture by preventing it from drying out. They can also reduce static electricity in the home, making the environment more comfortable. In winter, adding humidity can make the room feel warmer, reducing heating costs.
Overall, humidifiers contribute to a healthier and more comfortable living space. However, balance is key; too much humidity can lead to other health issues. Monitoring humidity levels is essential to avoid excess moisture, which can lead to mold growth.
Understanding Air Purifiers
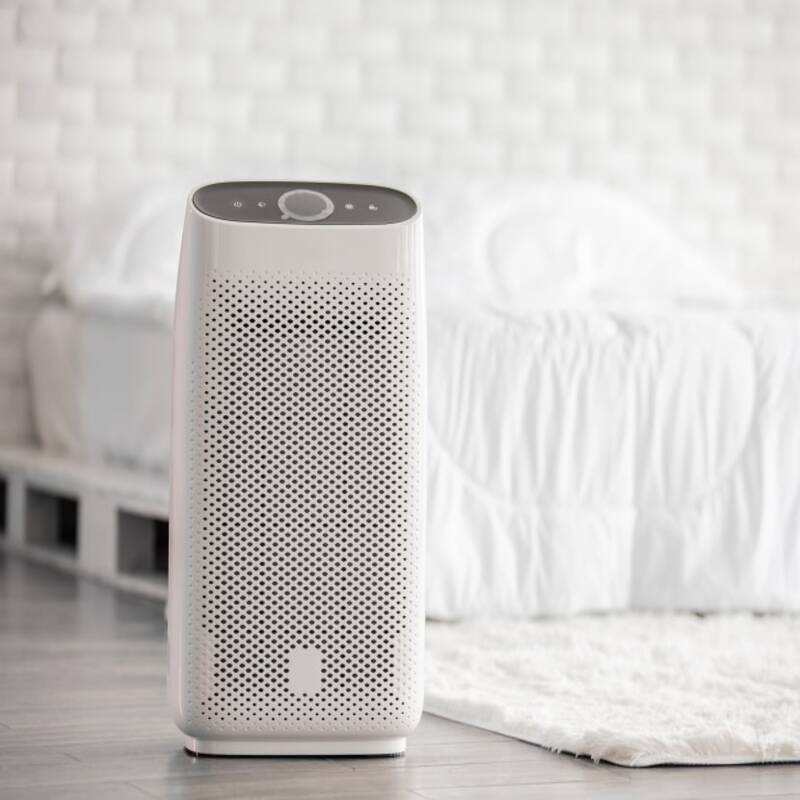
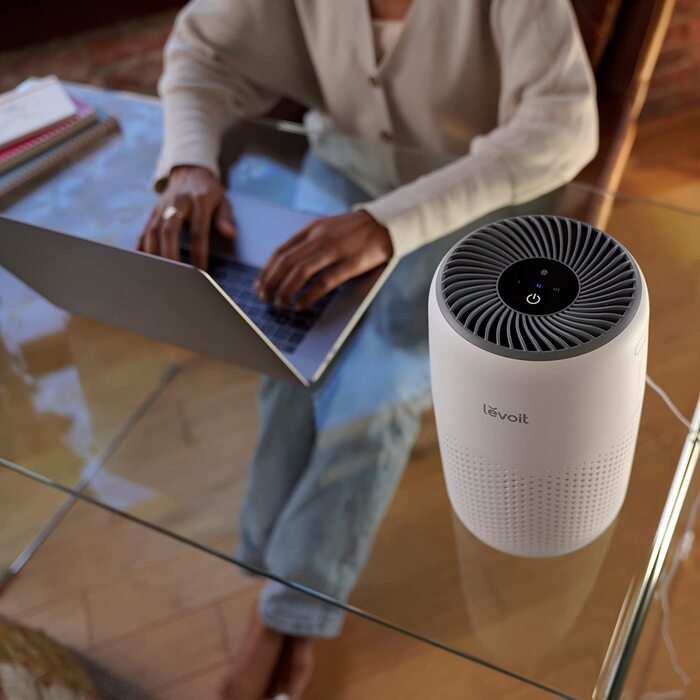
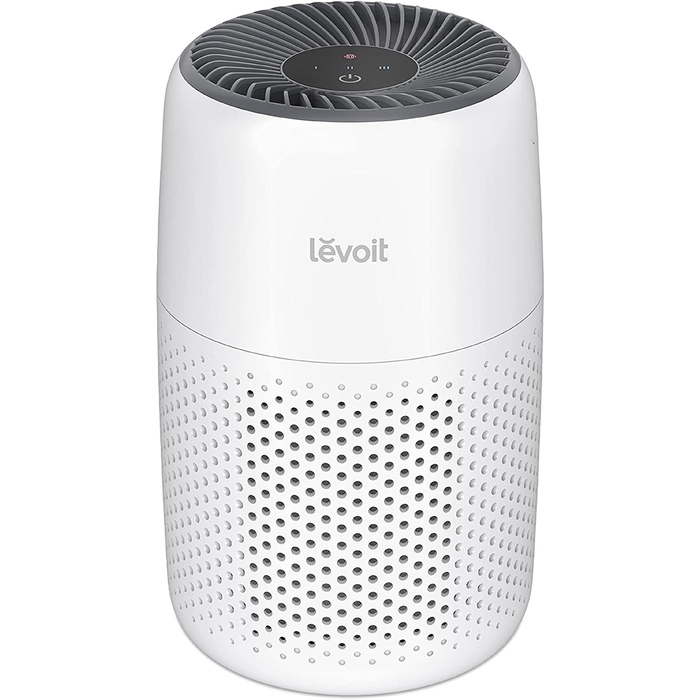
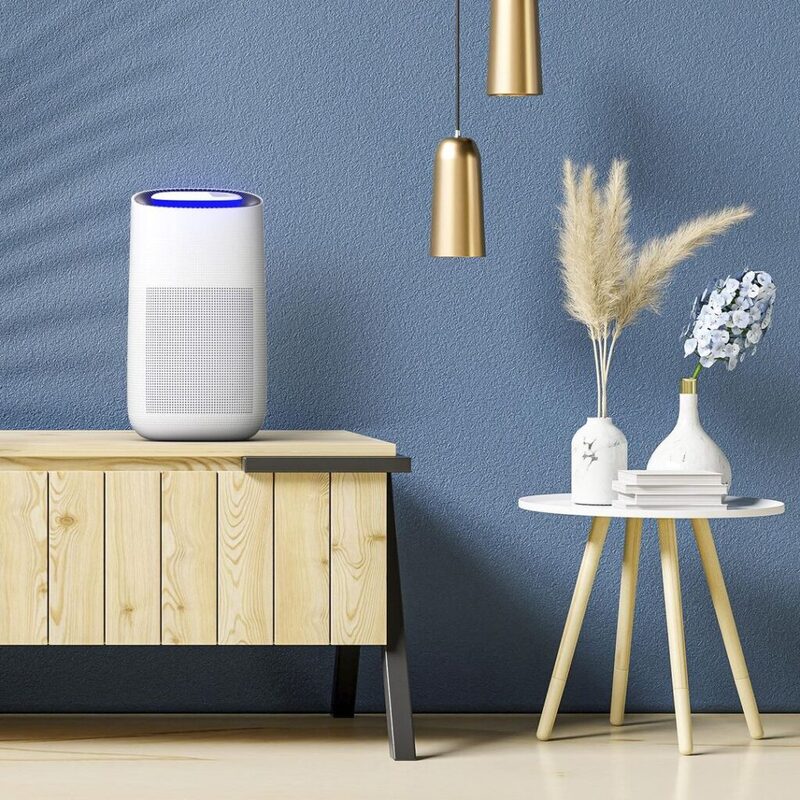
How Air Purifiers Work
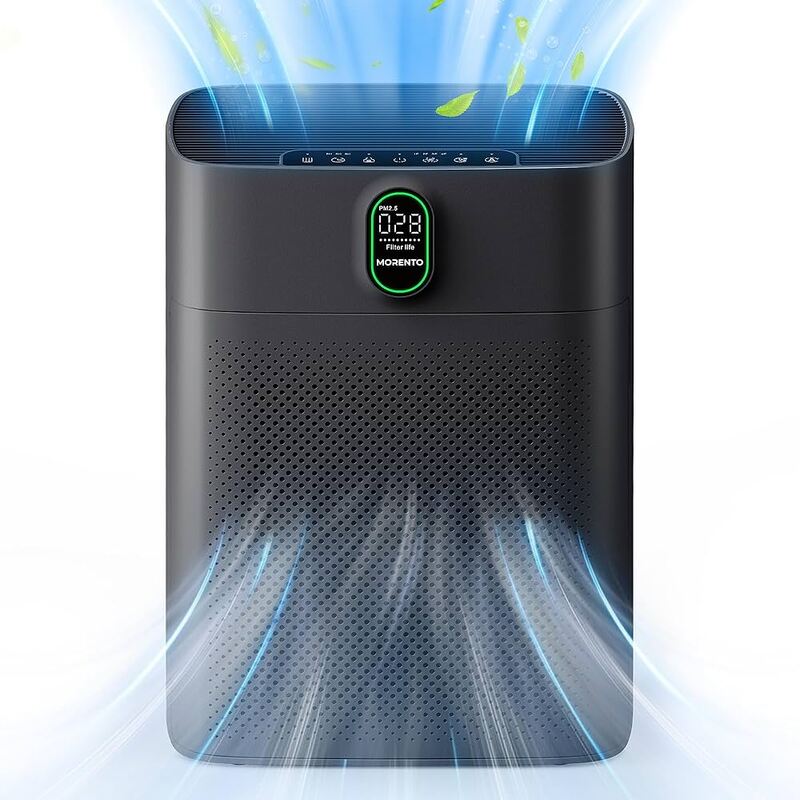
Air purifiers filter out contaminants from the air, improving indoor air quality. They are designed to remove dust, pollen, pet dander, and other airborne particles. Some purifiers also eliminate odors and volatile organic compounds (VOCs).
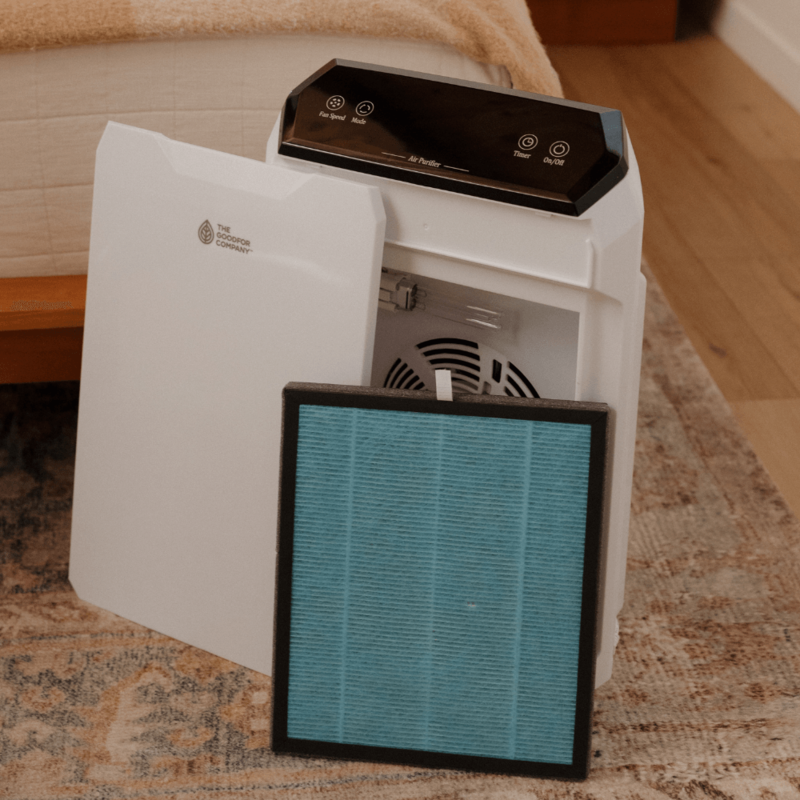
Most air purifiers use HEPA (High-Efficiency Particulate Air) filters. These filters trap particles as small as 0.3 microns. Activated carbon filters are also common. They absorb odors and gases, making the air smell cleaner. Some advanced models include UV light mechanisms to kill bacteria and viruses.
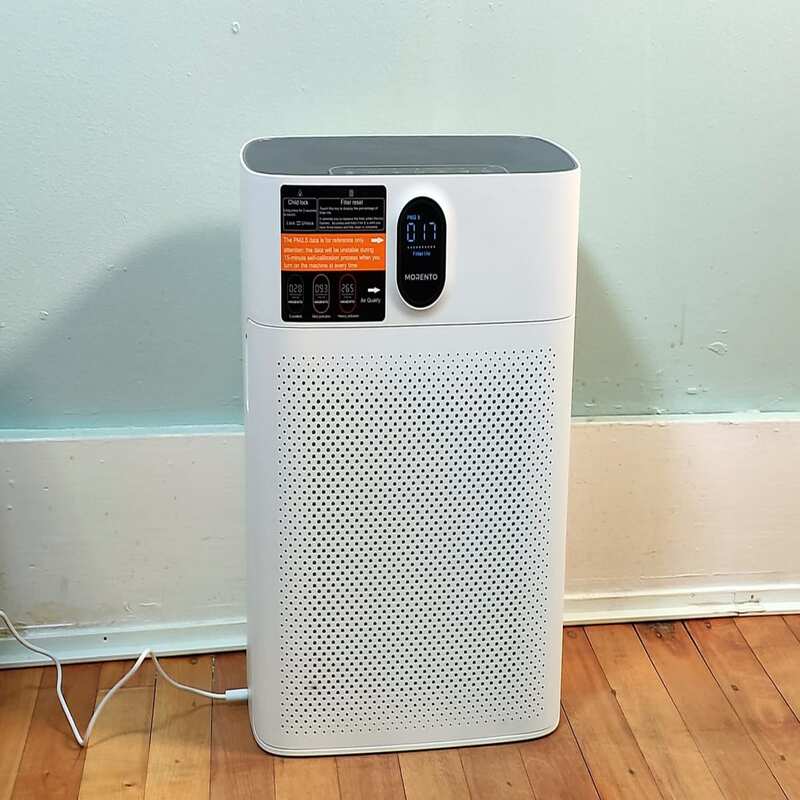
Air purifiers generally require regular filter changes to maintain efficiency. Different models offer varying levels of filtration, so it’s essential to choose one that meets your specific needs. Understanding the layout of your room will also help in deciding the placement of the air purifier.
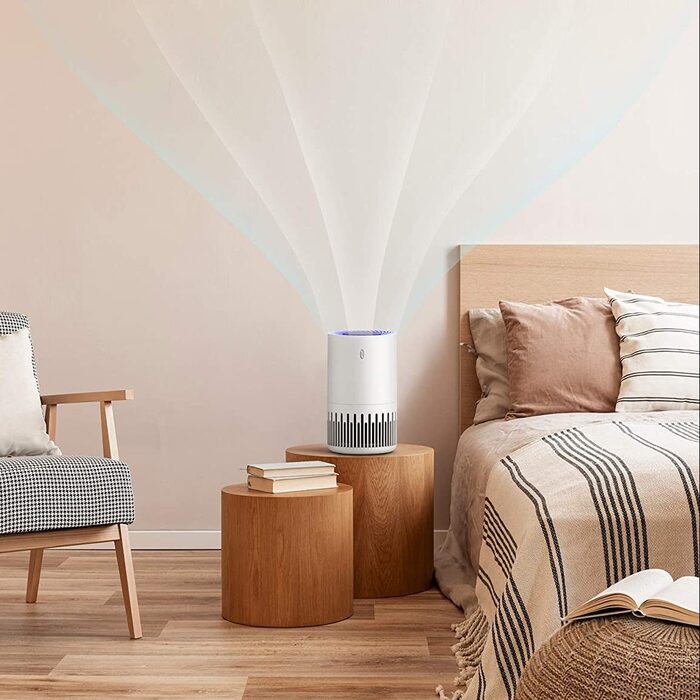
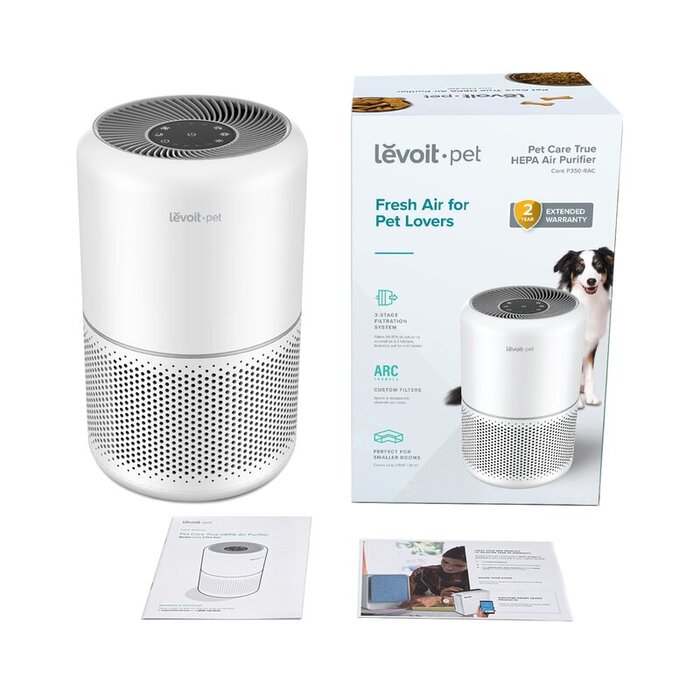
Benefits of Using Air Purifiers
Air purifiers can significantly improve respiratory health by removing allergens and contaminants. This is particularly beneficial for individuals with allergies or asthma. Cleaner air can lead to better sleep quality and overall well-being.
Eliminating odors and VOCs can make your living space more pleasant. Cooking smells, pet odors, and smoke can be effectively removed. Air purifiers can also reduce the spread of airborne diseases. This makes them valuable during flu seasons or pandemics.
For pet owners, air purifiers can manage pet dander and fur, minimizing allergy symptoms. They also reduce the presence of harmful mold spores, making the environment safer. Overall, air purifiers contribute to a cleaner, healthier living space.
Combining Humidifiers and Air Purifiers
Complementary Functions
Using both devices together can significantly enhance indoor air quality. Humidifiers add moisture, while air purifiers remove contaminants. This combination addresses multiple facets of air quality, making the environment healthier.
Each device tackles different issues. A humidifier adds moisture to combat dryness. An air purifier removes pollutants that can worsen respiratory conditions. Together, they create a balanced and comfortable living space.
Using both devices can also make each more efficient. Proper humidity levels can make air purifiers more effective. Moist air can weigh down dust particles, making them easier to capture. This synergy leads to improved overall performance.
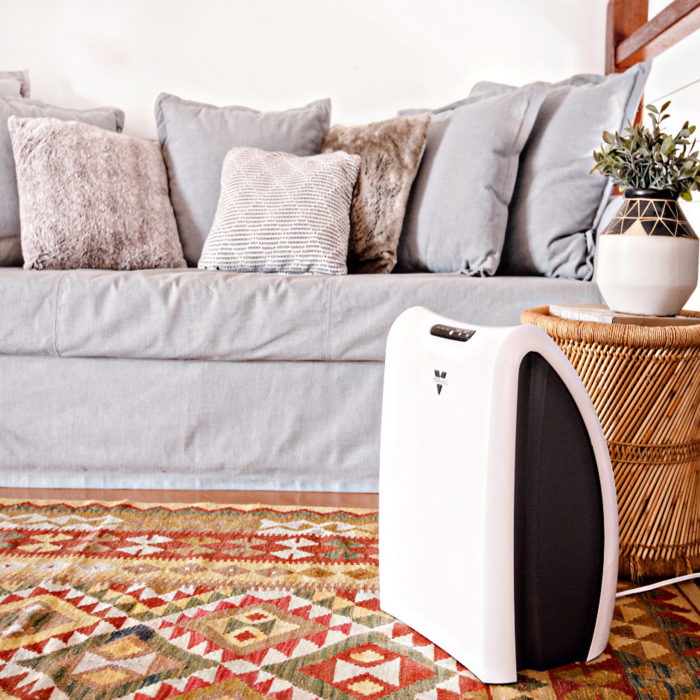
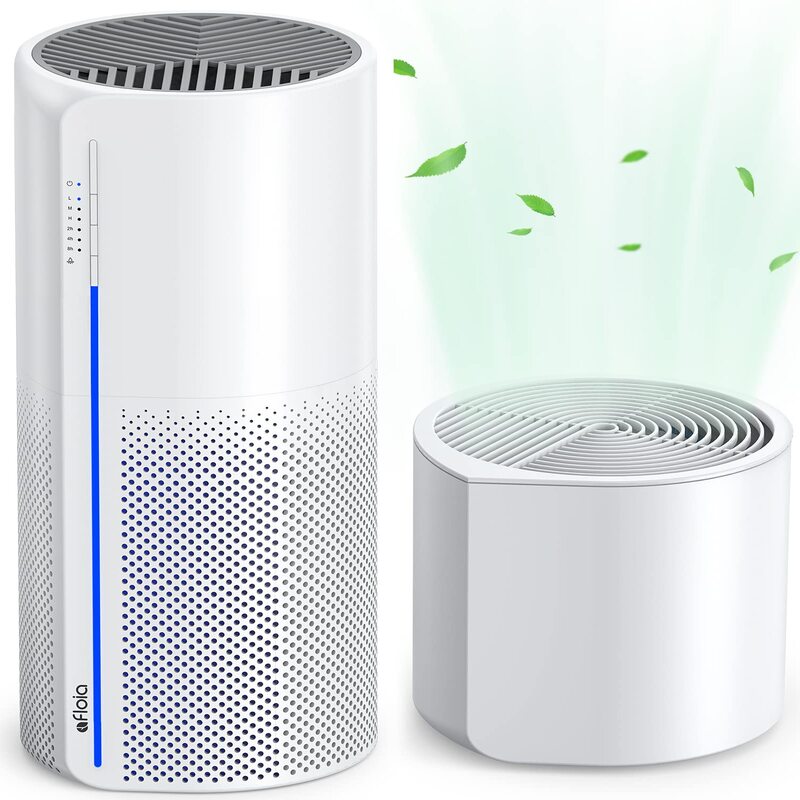
Integrated Systems
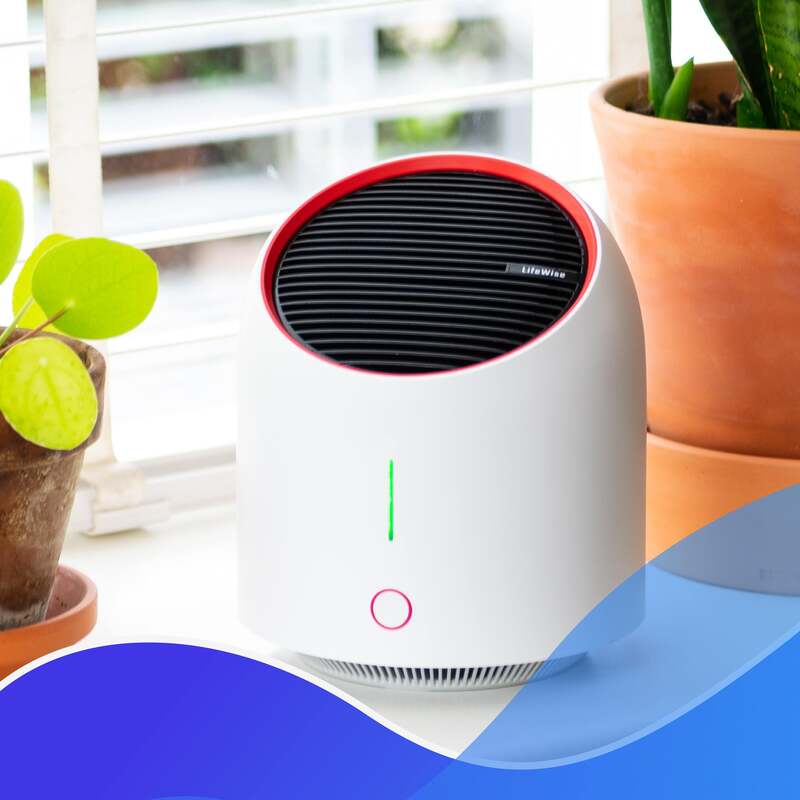
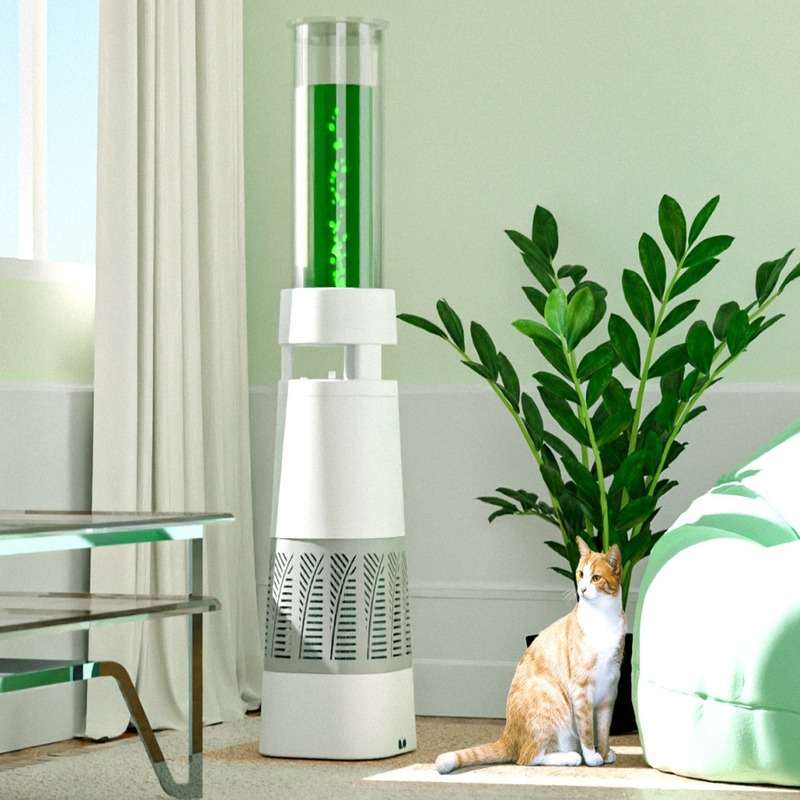
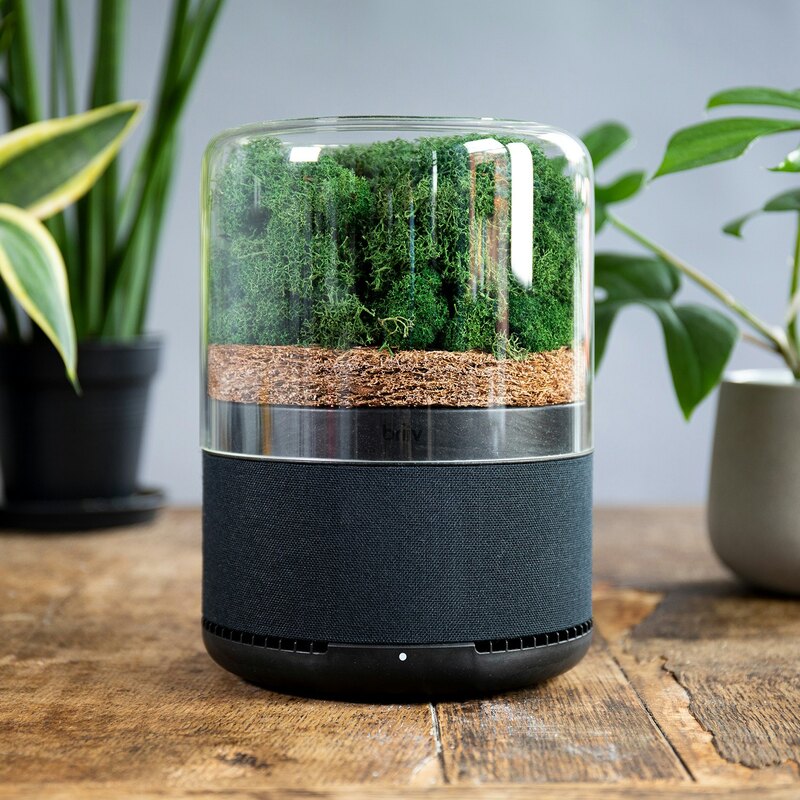
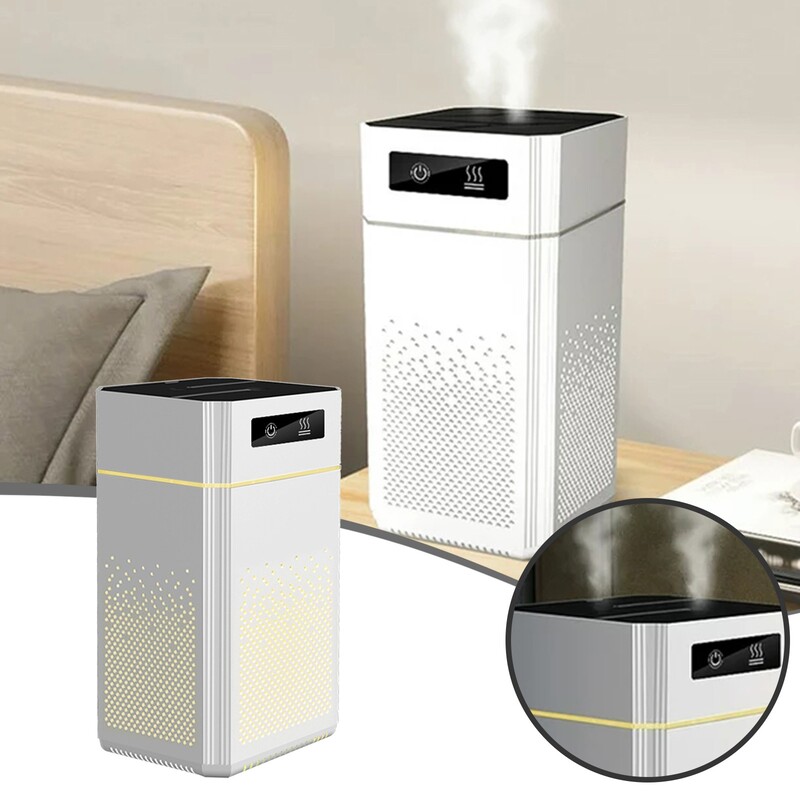
Some modern appliances combine both functions into one device. These integrated systems offer the benefits of both humidifiers and air purifiers. They are convenient and save space, making them ideal for smaller rooms.
However, these combo devices may come with trade-offs. They might not be as efficient as dedicated units. The maintenance could also be more complex. Weighing these factors will help you decide whether an integrated system is right for you.
In any case, using both types of devices can greatly improve indoor air quality. Whether you choose separate units or an integrated system, the benefits are clear. Enhanced air quality leads to better health and comfort.
Practical Considerations
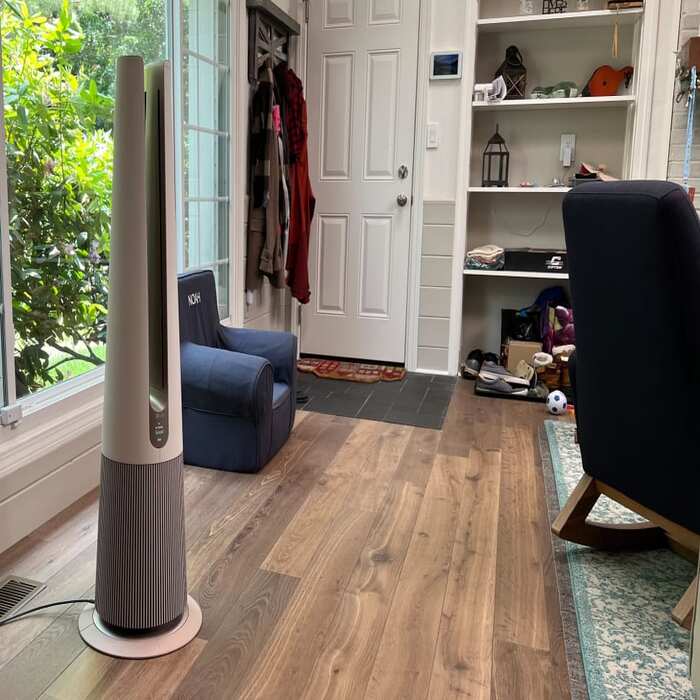
Room Size and Placement
The size of the room is a crucial factor in choosing these devices. Both humidifiers and air purifiers come with specifications for room size. Ensuring your device can handle the room’s volume will maximize efficiency.
Proper placement is also essential for optimal performance. For humidifiers, placing them centrally can ensure even distribution of moisture. Avoid placing them near walls or furniture to prevent dampness. Air purifiers should be placed where airflow is maximized, avoiding obstructions.
Understanding your room’s layout and size will help in effective placement. This ensures both devices perform at their best, improving air quality.
Maintenance and Upkeep
Regular maintenance ensures the longevity and efficiency of both devices. Humidifiers require cleaning to prevent mold and bacterial growth. Filters need periodic changing to maintain air purifiers’ efficiency.
Using distilled water in humidifiers can minimize mineral buildup. Following the manufacturer’s guidelines for cleaning is essential. Neglecting upkeep can lead to reduced performance and potential health risks.
For air purifiers, keeping track of filter replacement schedules is crucial. Some models come with indicators to remind you when it’s time to change filters. Regular vacuuming around the devices can also help maintain their efficiency.
Health Benefits
Improved Respiratory Health
Both devices can improve respiratory health. Humidifiers add moisture to the air, making it easier to breathe. This is especially beneficial for individuals with asthma or chronic respiratory conditions.
Air purifiers remove airborne contaminants, reducing allergic reactions and asthma triggers. Together, they create an environment that supports better respiratory health. This combination is particularly beneficial during allergy seasons.
People with compromised immune systems can also benefit from cleaner air. Reducing airborne germs and contaminants can lower the risk of infections. Overall, these devices offer a healthier living environment.
Enhanced Comfort
Beyond health, these devices contribute to comfort. Balanced humidity levels make the room feel more pleasant. This can reduce skin dryness and nasal irritation. Air purifiers eliminate odors and improve overall air freshness.
Using both devices can lead to better sleep quality. Humidifiers can prevent throat dryness, making sleep more restful. Cleaner air can reduce nighttime allergies, leading to uninterrupted rest.
In winter, balanced humidity prevents the discomfort of dry indoor air. This can make the living space warmer and more inviting. Overall, the combined use of these devices creates a more comfortable home environment.
Environmental and Financial Considerations
Energy Consumption
Both devices consume electricity, contributing to your energy bill. However, modern units are designed to be energy-efficient. It’s important to look for energy ratings when purchasing these devices. Opting for Energy Star-rated models can reduce energy consumption.
Using both devices together doesn’t necessarily mean higher energy costs. Many integrated models are designed to be energy-efficient. Understanding the energy usage of each device will help manage electricity consumption. Efficient use leads to better air quality without significantly increasing costs.
Long-term Investment
Investing in these devices can lead to long-term savings. Better air quality can reduce medical expenses related to respiratory issues. Using a humidifier can also lower heating costs in the winter. Proper humidity makes the room feel warmer, reducing the need for extra heating.
High-quality devices come with warranties, reducing the need for frequent replacements. Regular maintenance can extend the lifespan of these devices. This makes them a cost-effective long-term investment. The initial cost is offset by the benefits of improved health and comfort.
Conclusion
Summarizing Benefits
Using a humidifier and an air purifier together offers numerous benefits. They tackle different aspects of air quality, creating a healthier living environment. Improved respiratory health, enhanced comfort, and long-term savings are key advantages.
Understanding how each device works is crucial for maximizing their benefits. Proper maintenance ensures their efficiency and longevity. Considering factors like room size and placement will enhance their performance.
Final Thoughts
Combining these devices addresses both moisture levels and air purity. This creates a balanced and comfortable living space. Whether you choose separate units or an integrated system, the benefits are substantial.
Improved air quality leads to better health and comfort. Investing in a humidifier and an air purifier is a step toward a healthier home. Making an informed choice will help you achieve the best results. This investment pays off in better well-being and a more pleasant living environment.