Air purifiers have gained immense popularity in recent years. Many people are unaware of their effectiveness and how quickly they can clean indoor air. As air quality continues to decline in many urban environments, the demand for effective air purification solutions has surged. Knowing how quickly an air purifier work can help you decide whether to invest in one. In this article, we will explore the factors influencing an air purifier’s performance and the typical time frames for air cleaning.
Understanding Air Purifiers
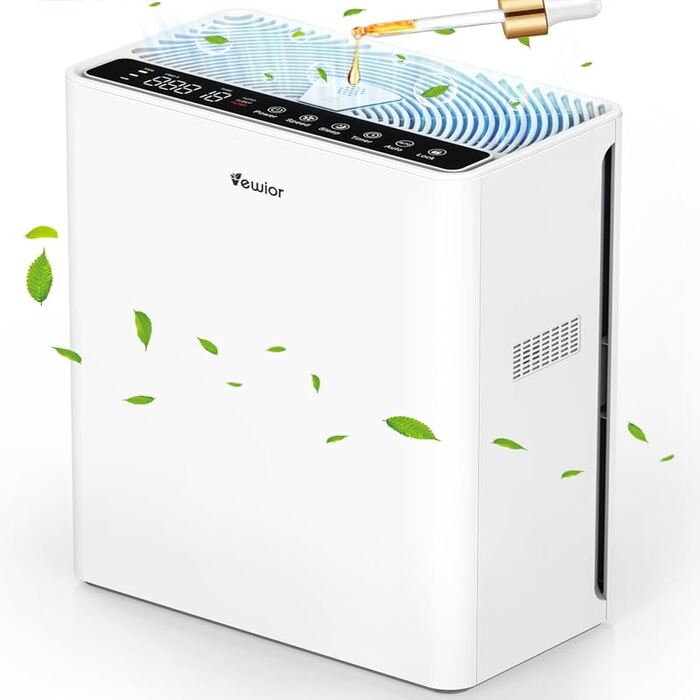
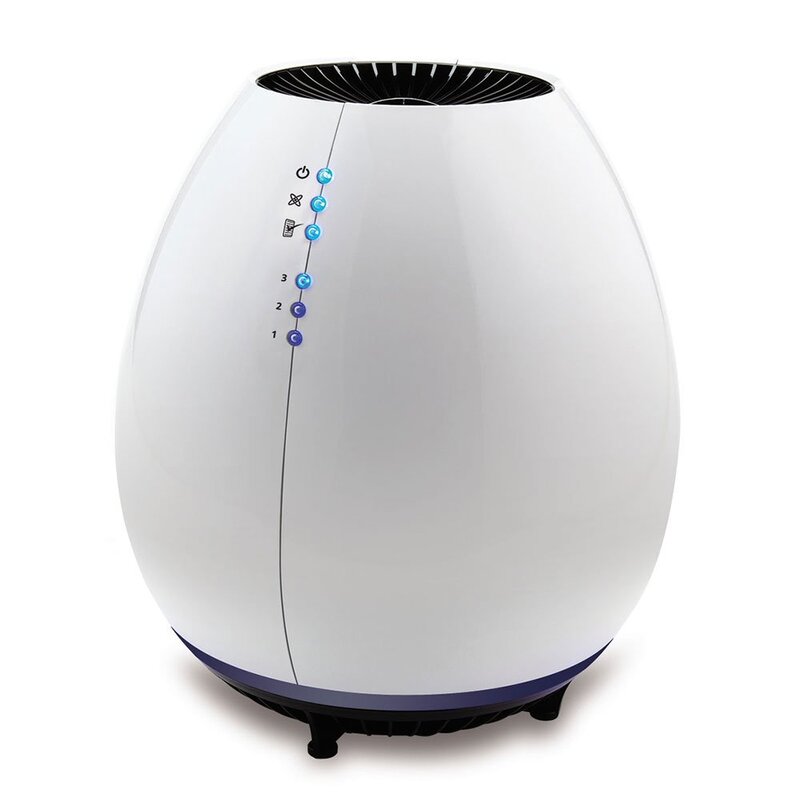
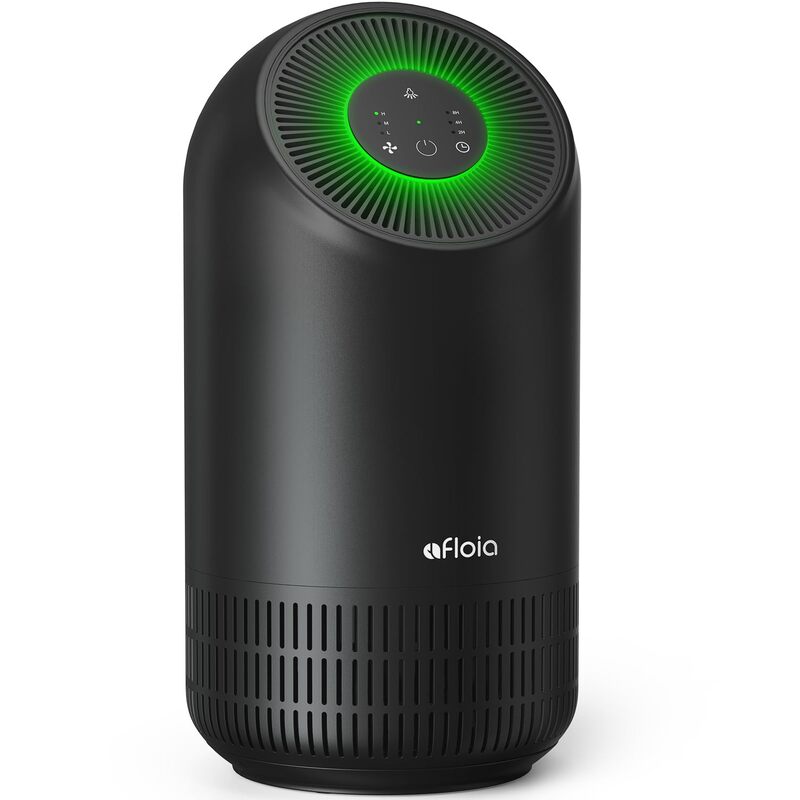
Air purifiers are devices designed to remove contaminants from the air. Many types of air purifiers use various technologies. Common methods include HEPA filtration, activated carbon filters, and UV-C light technology, among others. Each technology has its own strengths and weaknesses. Understanding how these systems work helps in assessing their effectiveness in improving indoor air quality.
Types of Air Purifiers
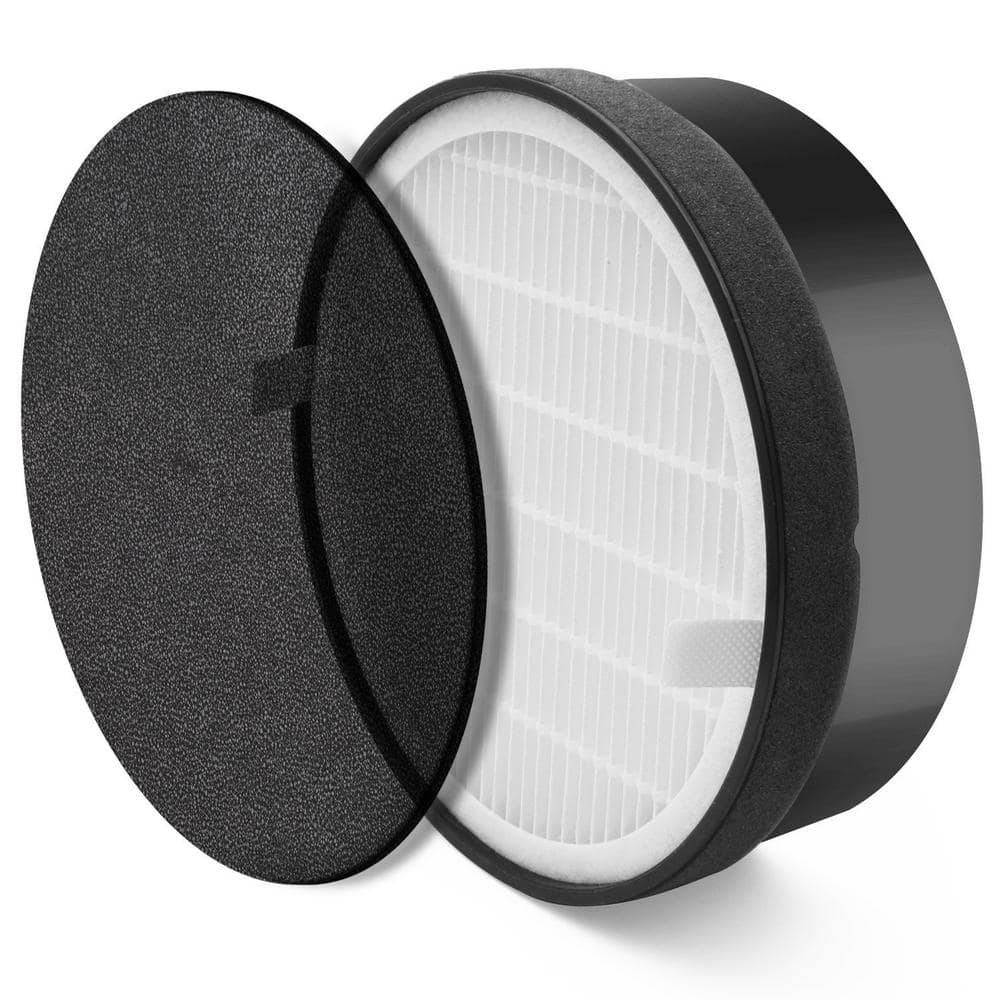
To comprehend how long it takes for an air purifier to work, consider the types available. HEPA filters capture allergens like dust, pollen, and pet dander. This technology often boasts near-complete effectiveness. On the other hand, activated carbon filters are more effective at removing odors and chemical pollutants. Both types play a crucial role in enhancing air quality. Some air purifiers even combine multiple technologies for maximum efficacy.
How Air Purifiers Work
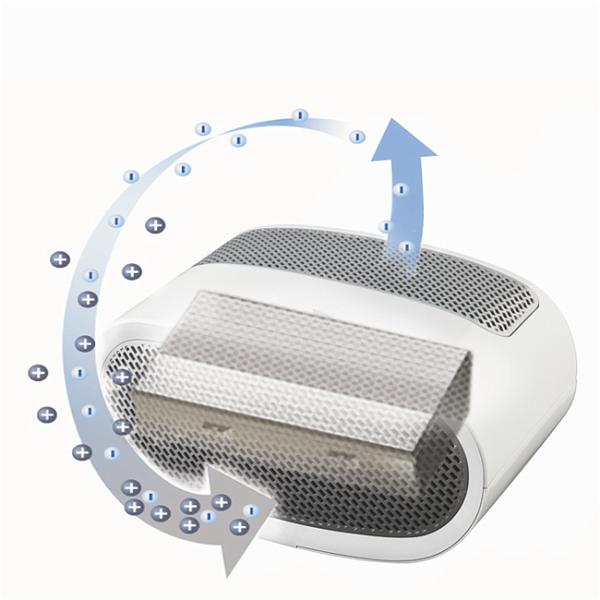
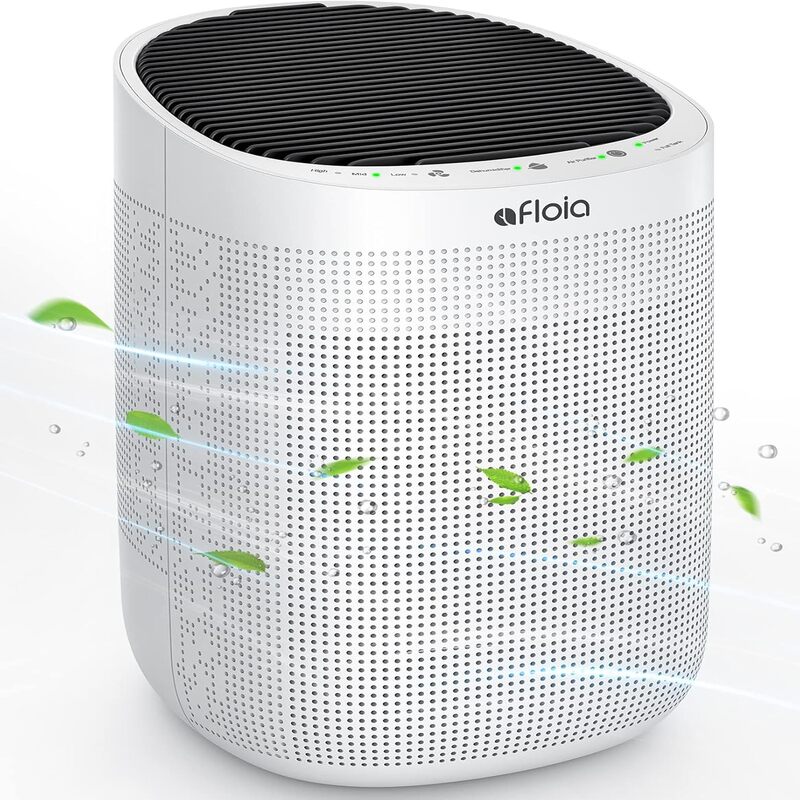
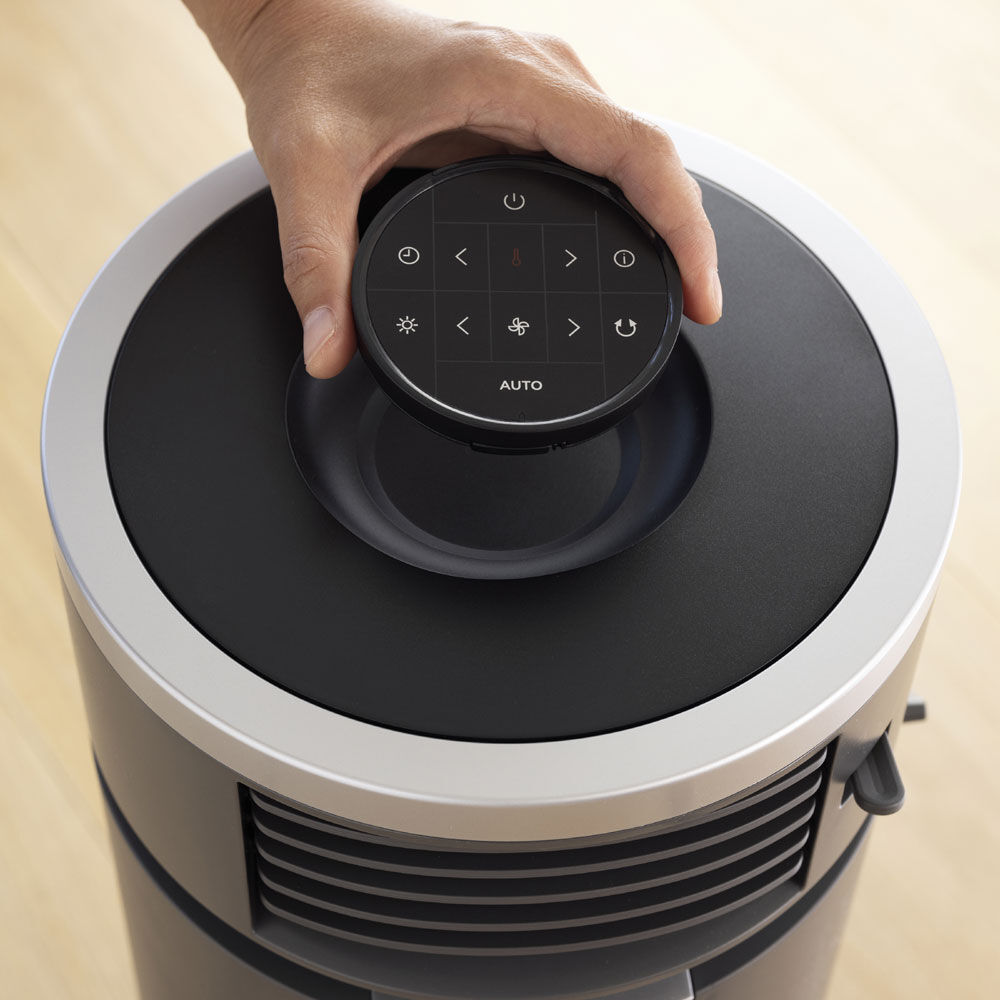
Air purifiers generally function by drawing in air and filtering it. The first step involves capturing large particles, such as hair and dust. Subsequently, smaller particles are removed through different filtration methods. Some purifiers include a fan that helps circulate air, speeding up this process. However, the time it takes to see significant improvements can vary. You may notice differences in air quality sooner than expected, depending on several factors.
Factors Influencing Air Purifier Efficiency
Multiple factors affect how quickly an air purifier works. Understanding these can optimize your experience. One key factor is room size. Another is the type of air purifier you choose. Additionally, the starting air quality plays a significant role. Each of these factors affects the overall effectiveness and speed of an air purifier.
Room Size Matters
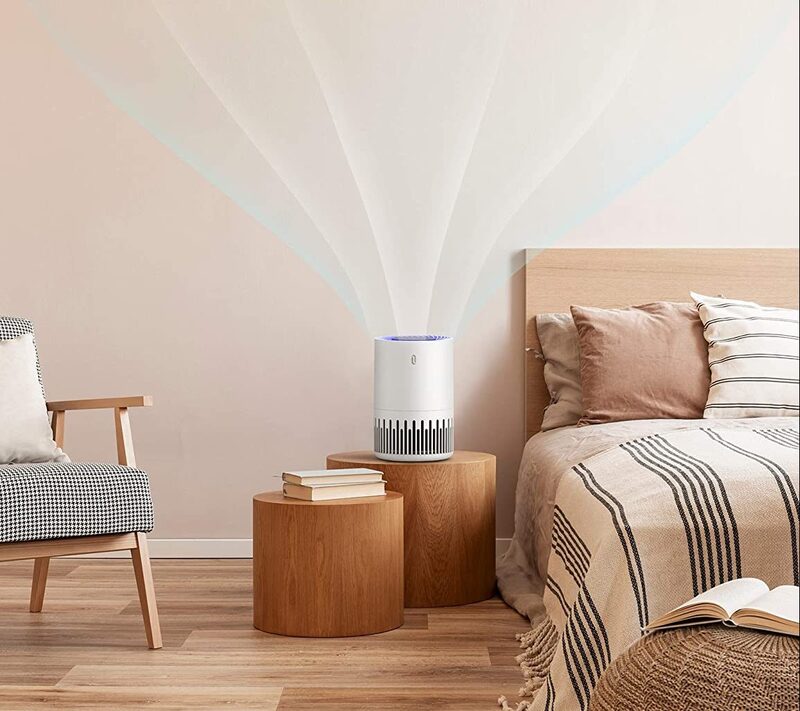
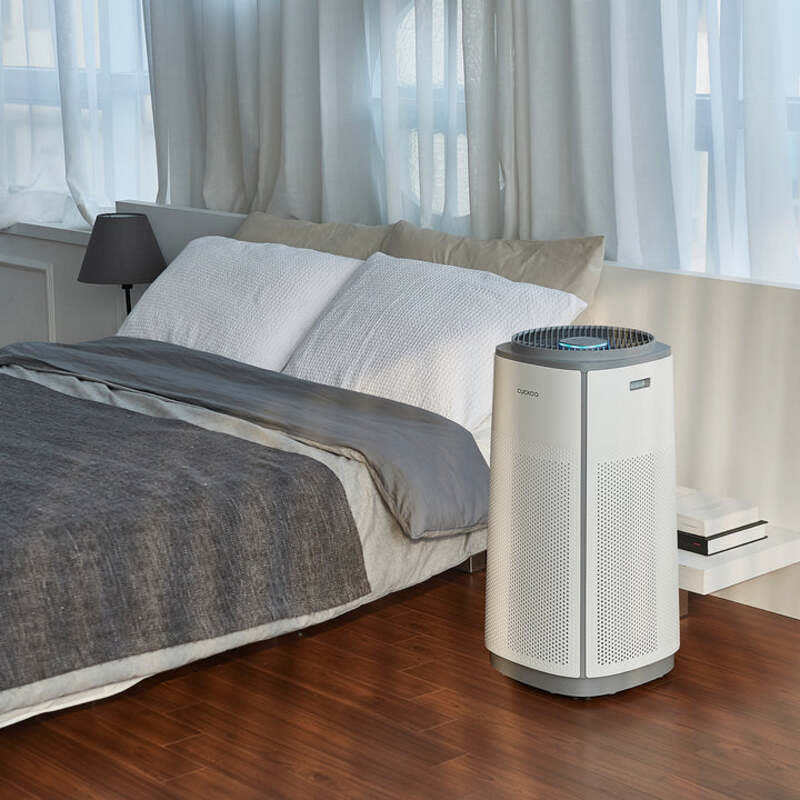
The size of the room significantly impacts how long it takes to notice improvements. Generally, larger rooms require more time and effort for effective purification. Most air purifiers are designed for specific room sizes. If you place a smaller unit in a large room, expect longer purification times. Conversely, using a more powerful air purifier in small, enclosed spaces can yield noticeable results quickly.
Type of Air Purifier
The technology behind the air purifier also dictates its efficiency. HEPA filters tend to be more effective against airborne particles compared to less advanced models. Advanced models may incorporate additional features. For example, some air purifiers utilize UV-C light to kill bacteria and viruses. This hybrid approach can expedite the purification process, leading to faster results.
Duration for Air Purifiers to Work Effectively
Timing can vary widely based on the factors discussed. Typically, many air purifiers take at least 15 to 30 minutes to start showing results. However, for complete purification, the time frame generally extends considerably longer. In most cases, you will begin to notice visible improvements within hours, yet full air purification could take several hours or even longer.
Initial Improvements
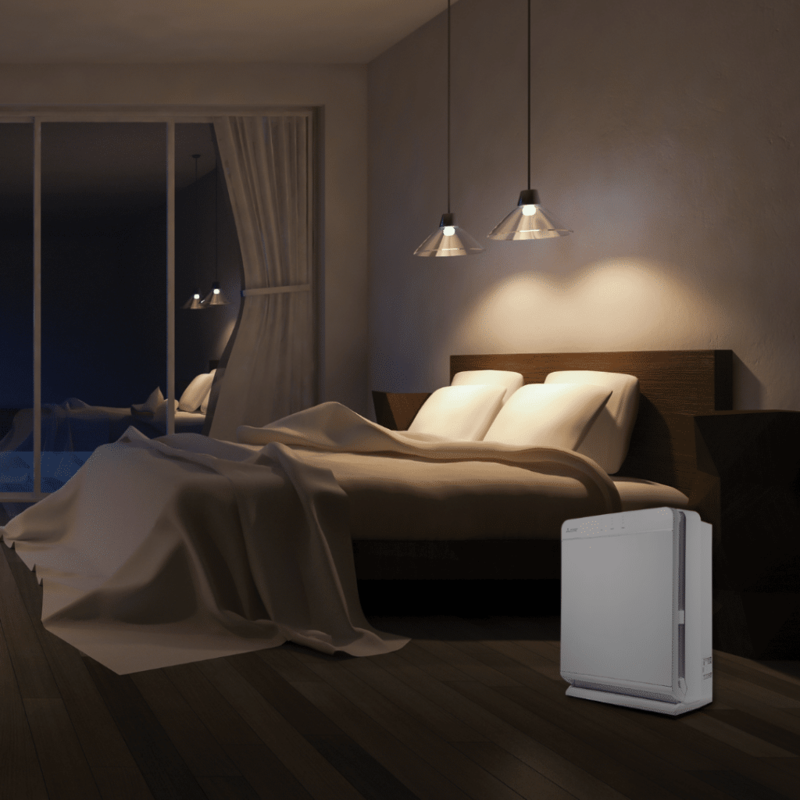
Most users will notice an initial improvement in air quality within just 30 minutes. This is particularly true if you use a high-quality air purifier in a small to medium-sized room. Our senses can often detect differences in smell and clarity. For example, odors from cooking or pets may dissipate quickly. The effectiveness of this initial change establishes a positive outlook on the device’s capacity.
Full Purification Timeline
While initial improvements are encouraging, full purification takes more time. The typical range for complete air purification is around 2 to 8 hours. Larger spaces or heavily polluted areas will require the upper end of this range. This longer timeline allows the air purifier to cycle through the room multiple times. Continual circulation is essential for achieving optimal indoor air quality.
Maintenance and Its Impact on Effectiveness
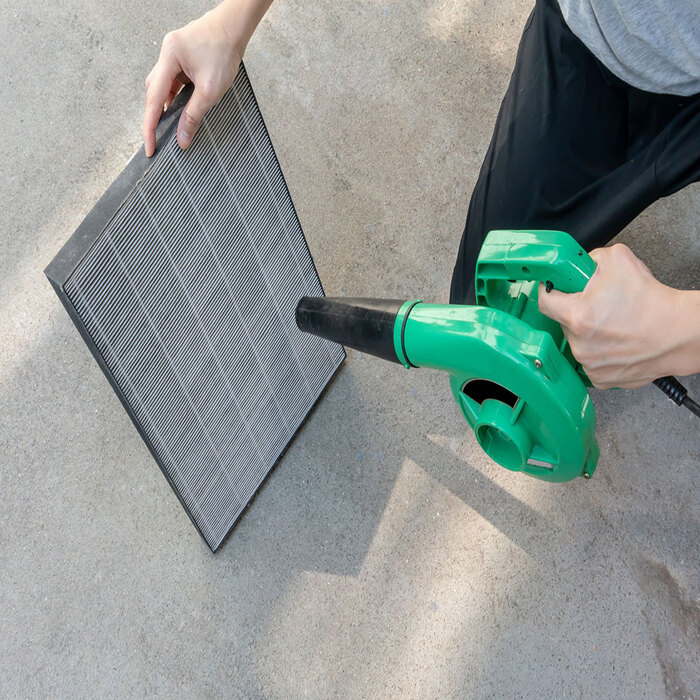
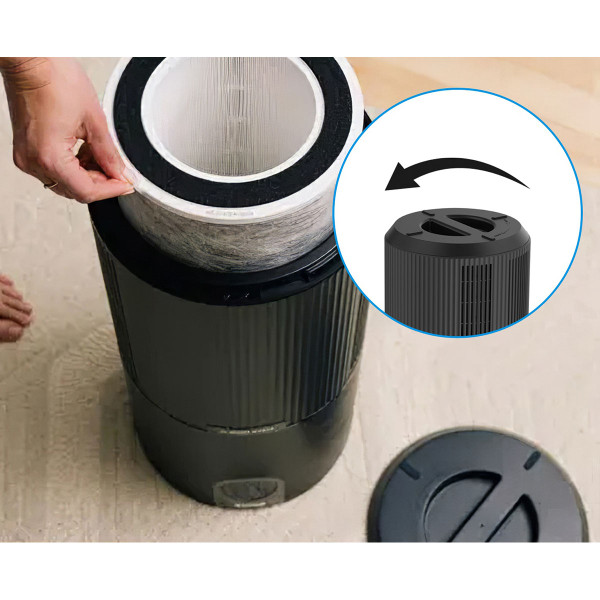
Regular maintenance of air purifiers is crucial for maintaining performance. Issues can arise without proper care. Many users overlook the importance of regular filter changes. When filters become clogged, airflow decreases, hampering purification efficiency. Therefore, keeping up with maintenance can have significant benefits for both the device and your health.
Filter Replacement Schedule
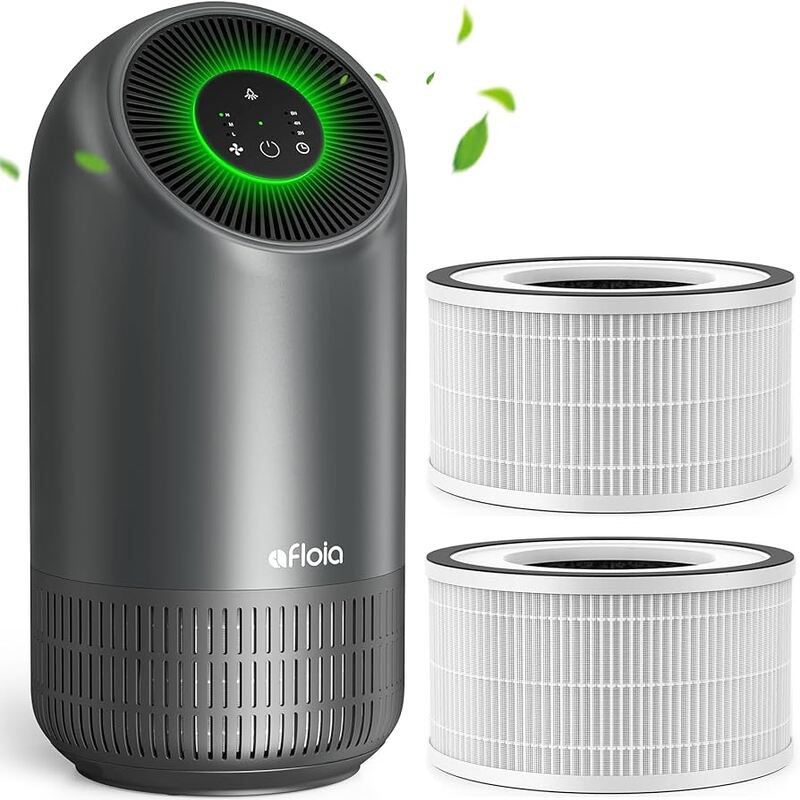
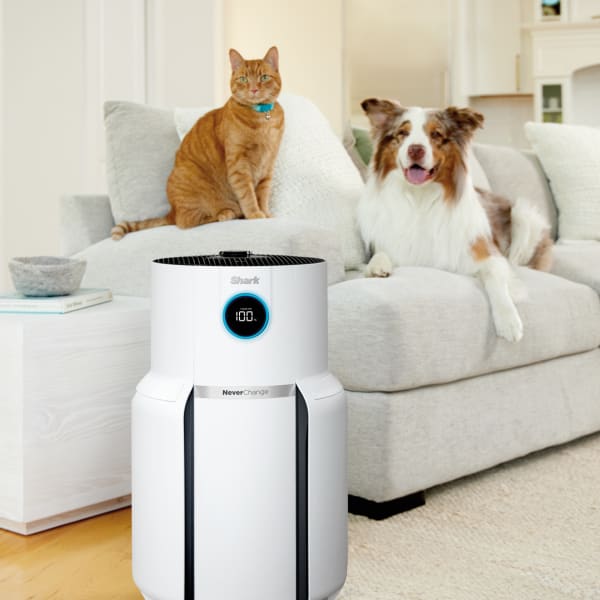
Most manufacturers recommend changing filters roughly every 6 months to 1 year. Some high-use situations may necessitate more frequent changes. It’s essential to follow the guidelines specific to your model. For example, pet owners may need to change filters sooner than those without pets. Regular inspections and timely filter replacements can drastically improve air-purifying times.
Additional Care Tips
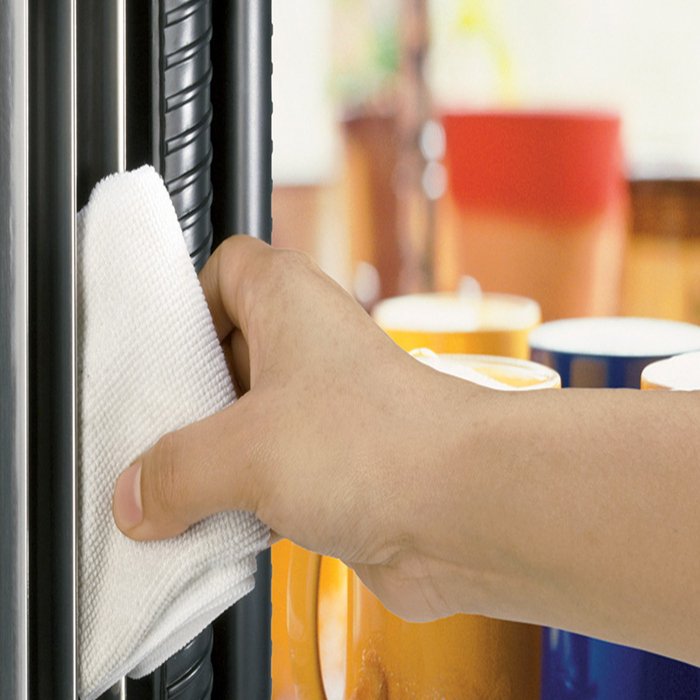
In addition to replacing filters, consider the cleanliness of the air purifier itself. Dust and grime can accumulate on the exterior, affecting overall efficiency. Regularly wiping down the unit can improve airflow and performance. Additionally, keeping your space tidy minimizes the amount of dust and allergens in the air.
Real-World Experiences
Understanding the timeline for air purifiers can be enlightening, but personal experiences provide valuable insight. Many users report immediate satisfaction upon using their air purifiers. However, some face challenges based on unique circumstances. Whether dealing with allergies, pet dander, or smoke, specifics can influence results.
Positive Testimonials
Countless users rave about their air purifiers. Many individuals with allergies find relief within hours. They notice decreased symptoms like sneezing and congestion. Others are particularly impressed by how effectively odors dissipate. Overall, the positive feedback significantly contributes to the air purifier’s appeal.
Areas for Improvement
Despite positive experiences, some users report challenges. For instance, those living in urban areas may face ongoing pollution issues. As a result, they might feel that air quality improvement is minimal. Others may struggle with finding the right unit for their specific needs. Unfortunately, this can lead to frustration when the anticipated improvements do not materialize.
How Long to Expect Air Quality Improvement
As you begin using an air purifier, you may wonder how long it truly takes for air quality to improve. Various timelines exist depending on specific factors outlined.
Immediate Effects vs. Long-term Benefits
Many users may notice immediate relief from strong odors. In contrast, long-term benefits become evident after weeks or months of use. For instance, allergy symptoms may lessen, and overall air freshness may improve.
A Week for Substantial Changes
After about a week of continuous use, people generally notice considerable air quality improvement. This timeframe allows for the purification of pollutants accumulated over time.
Long-term Monitoring of Indoor Air Quality
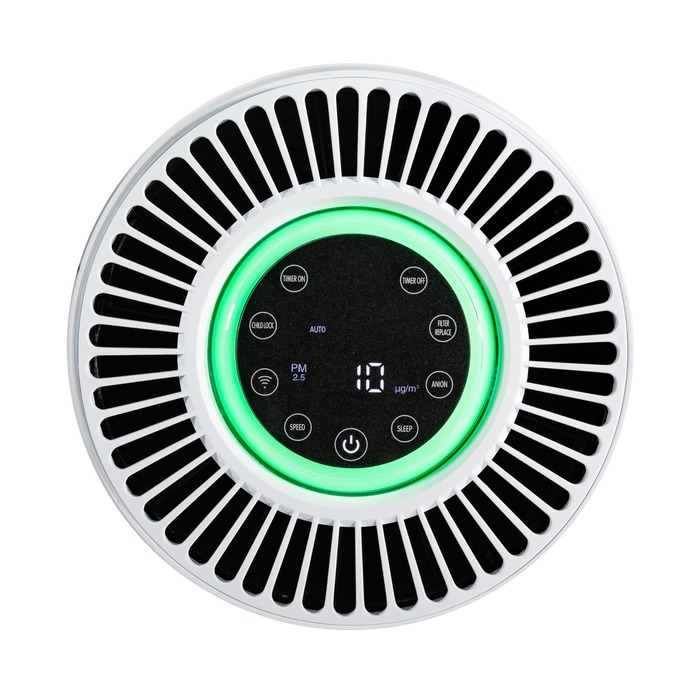
Monitoring indoor air quality over time provides valuable insights. You might consider using an air quality monitor for accuracy. It can help you gauge how well the air purifier performs.
Conclusion
Ultimately, the time it takes for an air purifier to work effectively is multi-faceted. Users typically see initial improvements in around 30 minutes. However, achieving full air purification usually requires several hours. Factors such as room size, purifier type, and specific air quality all play significant roles. For optimal results, following maintenance guidelines is essential. Regularly changing filters further ensures efficiency.
In light of this information, investing in a high-quality air purifier can significantly enhance indoor air quality. Understanding its capabilities, limitations, and maintenance needs allows for an informed purchase. Whether you’re looking to alleviate allergy symptoms or simply improve air freshness, air purifiers can be a worthwhile addition to your home.
As you consider your options, remember to evaluate your unique needs. Understanding how long it takes for an air purifier to work can make a substantial difference in your experience. With careful selection and diligent maintenance, you can enjoy the benefits of cleaner air in your living space.