Understanding what is the difference between air purifier and dehumidifier is crucial for effectively improving indoor air quality and comfort. Both devices serve unique purposes and have distinct functionalities, yet they are often confused due to their shared goal of enhancing indoor environments. Air purifiers focus on removing pollutants and allergens from the air, while dehumidifiers reduce excess moisture levels, contributing to a healthier living environment. This comprehensive guide explores the primary differences, functionalities, benefits, and suitable applications of air purifiers and dehumidifiers. By grasping these distinctions, you can make informed decisions for your home or office.
What is an Air Purifier?
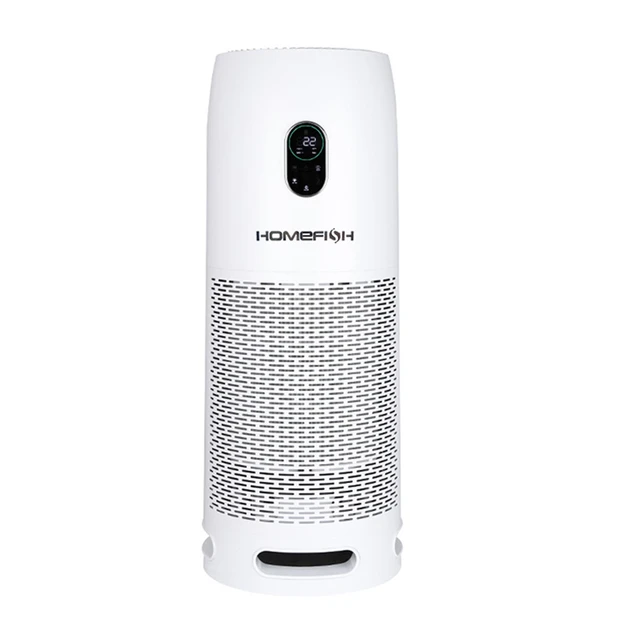
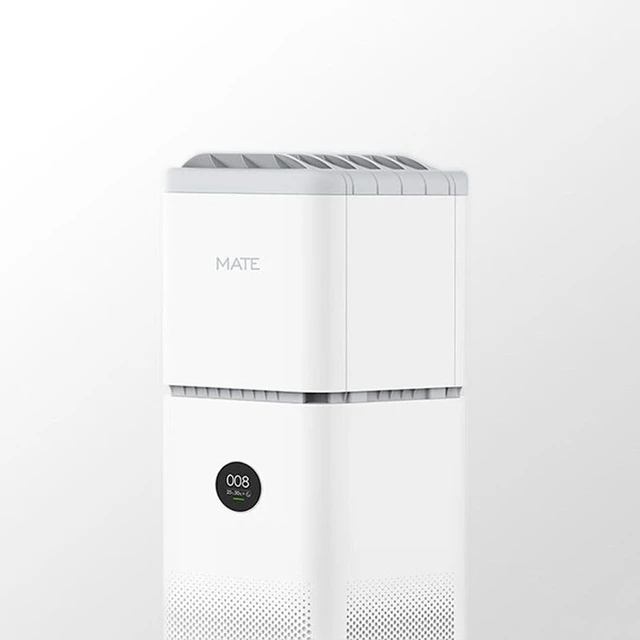
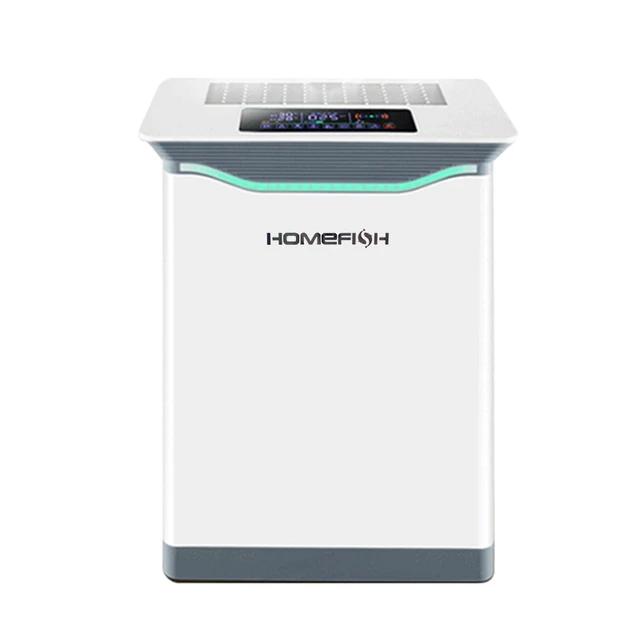
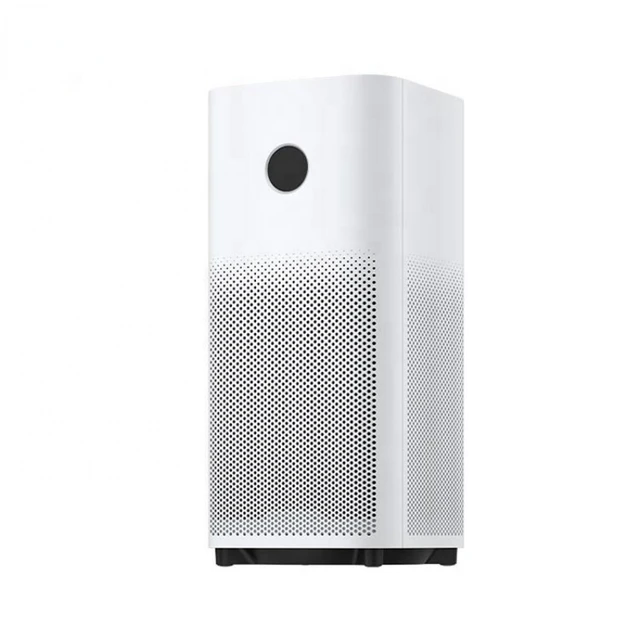
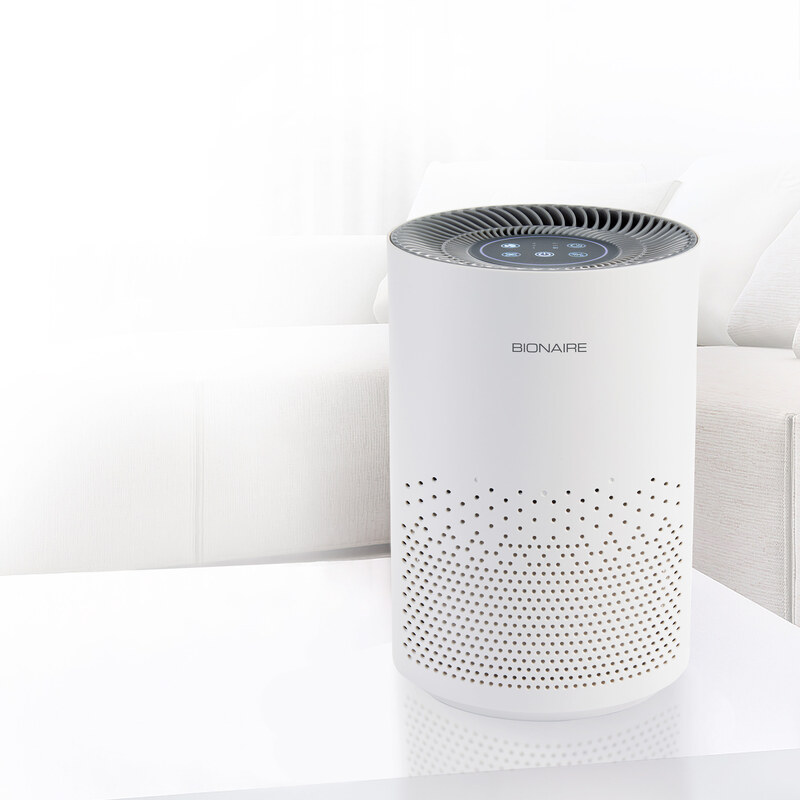
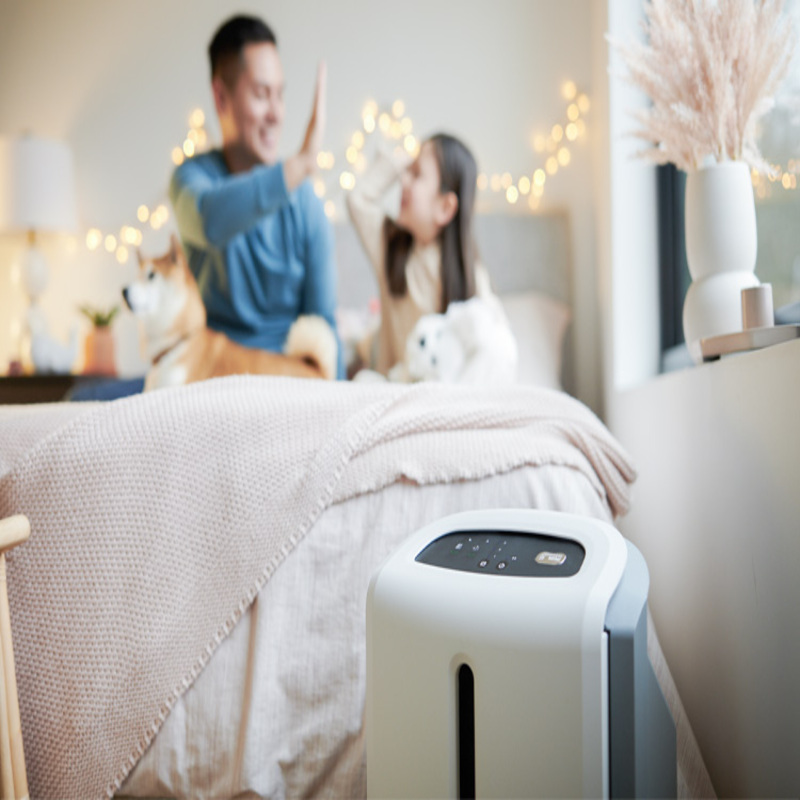
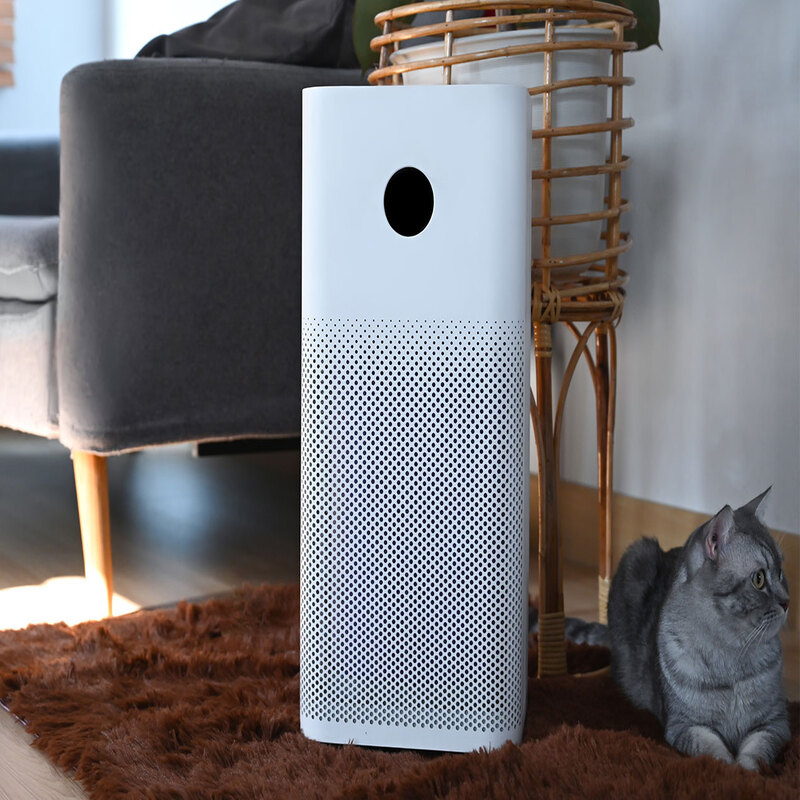
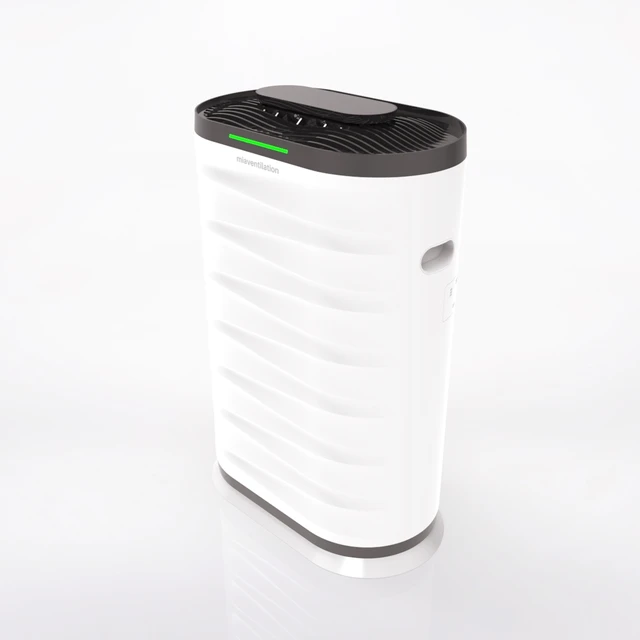
An air purifier is a device designed to remove contaminants from the air, promoting cleaner and healthier indoor air quality. To fully appreciate its capabilities, one must understand its various types and how it operates.
Types of Air Purifiers
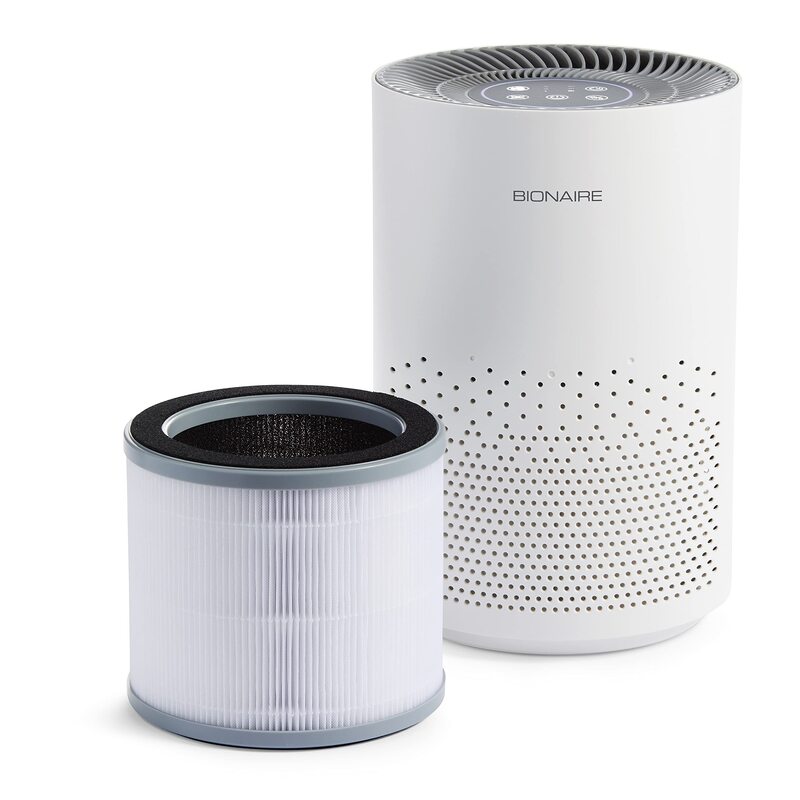
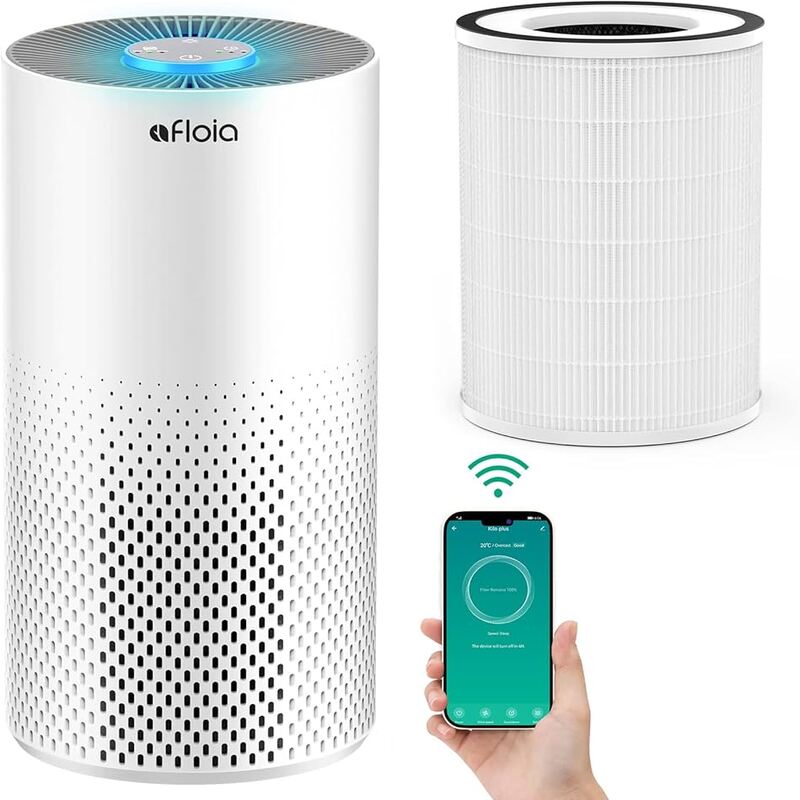
Air purifiers come in multiple types, each employing different technologies to clean the air. High Efficiency Particulate Air (HEPA) purifiers use specialized filters to trap 99.97% of particles, including dust, pollen, and pet dander. Activated carbon filters are effective at removing odors, smoke, and chemicals. Ultraviolet (UV) purifiers use UV light to kill bacteria, viruses, and mold spores. Ionizers release negatively charged ions that attach to positively charged particles, causing them to settle out of the air. Each type has unique benefits and is suited for specific air quality concerns. Therefore, understanding the types of air purifiers helps in selecting the one that best meets your needs.
How Air Purifiers Work
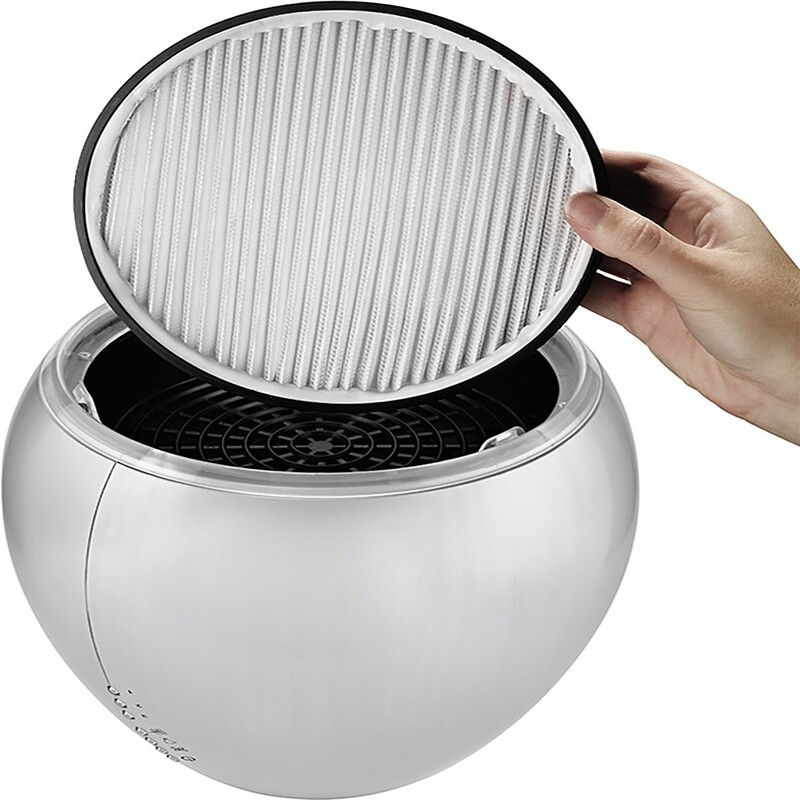
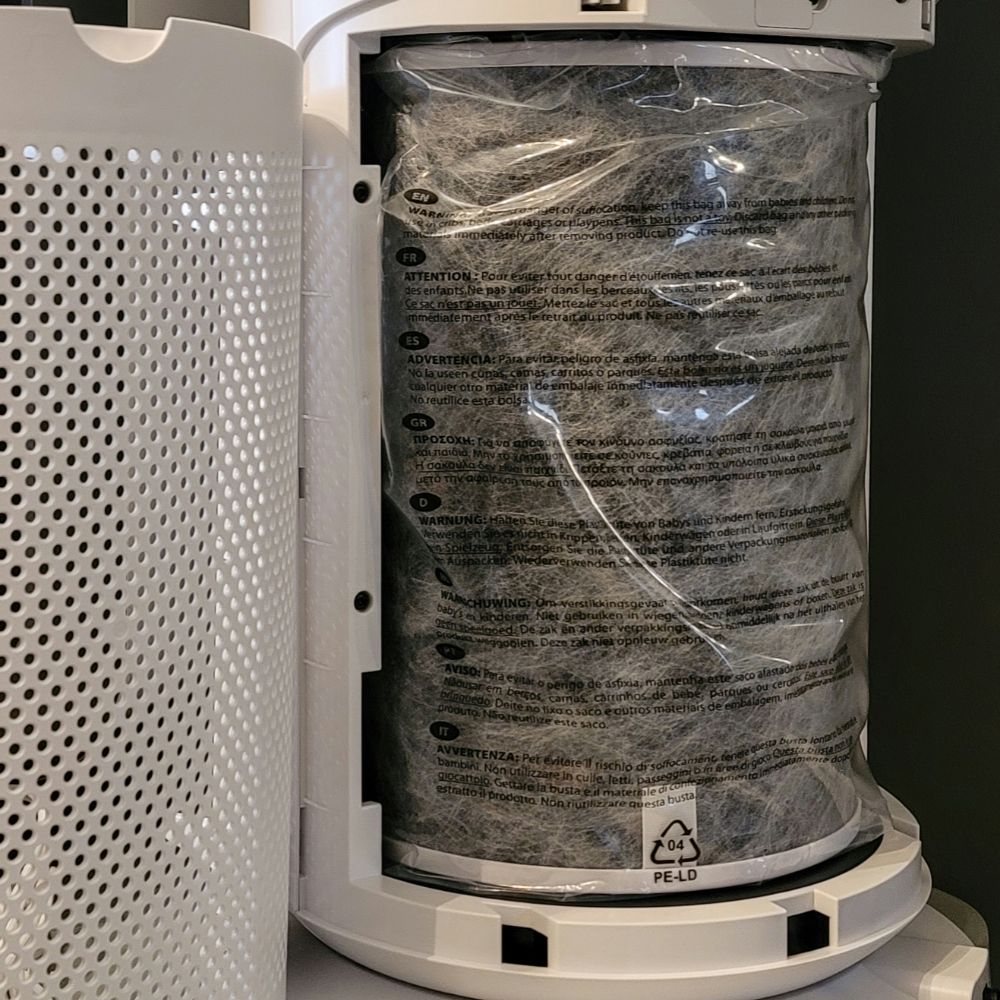
Air purifiers operate by drawing in air from the surrounding environment and passing it through various filters or purification mechanisms. For example, HEPA filters trap small particles, preventing them from re-entering the air. Activated carbon filters absorb gases and odors, leaving the air smelling fresh. UV purifiers destroy harmful microorganisms by exposing them to UV light. The purified air is then circulated back into the room, significantly improving air quality. Regular maintenance, such as replacing filters, ensures the purifier remains effective. Therefore, understanding the working mechanism of air purifiers is crucial for maximizing their benefits.
What is a Dehumidifier?
A dehumidifier is an appliance designed to reduce and maintain the humidity level in the air, creating a more comfortable and healthier indoor environment. Let’s explore its types and operational principles to gain a comprehensive understanding.
Types of Dehumidifiers
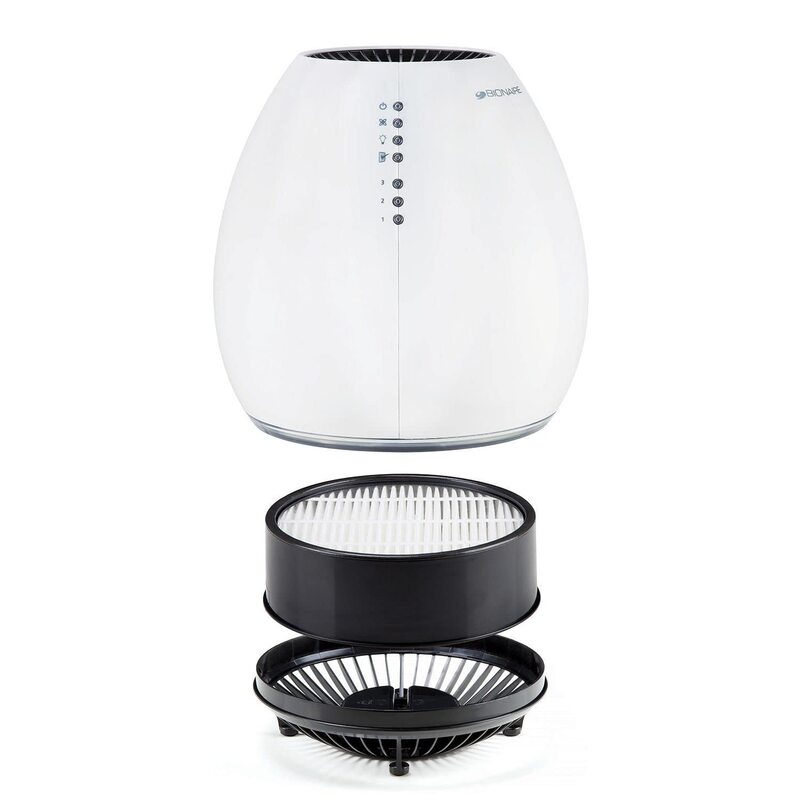
Dehumidifiers are categorized into several types, each suited for different humidity levels and room sizes. Compressor-based dehumidifiers, also known as refrigerant dehumidifiers, are effective in warm, humid conditions. They use refrigerants to cool coils, causing moisture to condense and drip into a collection tank. Desiccant dehumidifiers use moisture-absorbing materials like silica gel, making them ideal for cooler environments. Thermoelectric dehumidifiers, also called Peltier dehumidifiers, use a thermoelectric effect to remove moisture and are suitable for small spaces. Whole-house dehumidifiers integrate with HVAC systems to manage moisture levels throughout the entire home. Therefore, understanding the types of dehumidifiers aids in selecting the appropriate model for your specific needs.
How Dehumidifiers Work
Dehumidifiers operate by drawing humid air into the unit using a fan. The air is then passed over cooling coils, causing the moisture to condense into water droplets. This condensed water is collected in a tank or drained out via a hose. The now dehumidified air is reheated and circulated back into the room. Desiccant dehumidifiers, on the other hand, use moisture-absorbing materials to extract water from the air. Regularly emptying the water tank and cleaning the filters ensures the dehumidifier works efficiently. Therefore, understanding the operating mechanism of dehumidifiers is essential for optimal performance.
What’s the difference between dehumidifier and air purifier?The Key Differences
Although both devices aim to improve indoor environments, their functions and applications differ significantly. Therefore, examining their key differences provides clarity on their distinct roles.
Purpose and Functionality
The primary purpose of an air purifier is to remove airborne pollutants, allergens, and harmful microorganisms, improving overall air quality. It achieves this by using filters or purification technologies to capture and eliminate contaminants. Conversely, the main function of a dehumidifier is to reduce excess moisture in the air, preventing problems like mold growth, dust mites, and musty odors. By maintaining optimal humidity levels, dehumidifiers contribute to a more comfortable and healthier living environment. Therefore, understanding their respective functions highlights the unique benefits of each device.
Impact on Indoor Environment
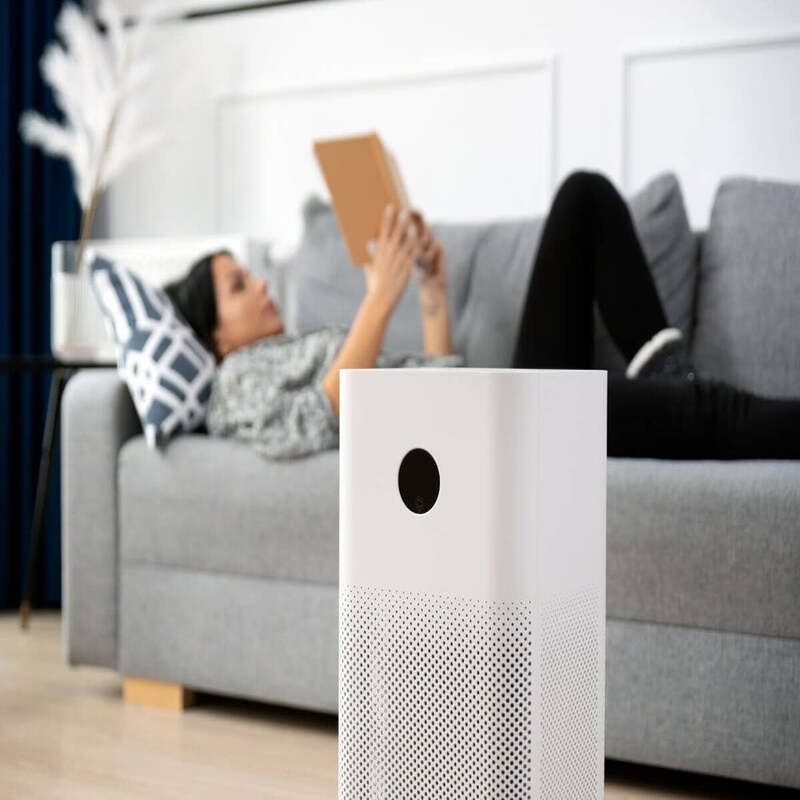
Air purifiers significantly impact indoor air quality by removing particles that can cause allergies, asthma, and respiratory issues. This results in a cleaner, fresher environment that promotes better health and well-being. On the other hand, dehumidifiers create a more comfortable indoor climate by reducing humidity, which can make the air feel cooler and less sticky. This not only prevents the growth of mold and mildew but also helps preserve furniture and building materials. Therefore, while both devices enhance indoor environments, they do so in distinct ways that address different concerns.
Benefits of Air Purifiers
Air purifiers offer several advantages that contribute to improved health and well-being. Therefore, exploring these benefits can inform your decision to invest in one.
Health Benefits
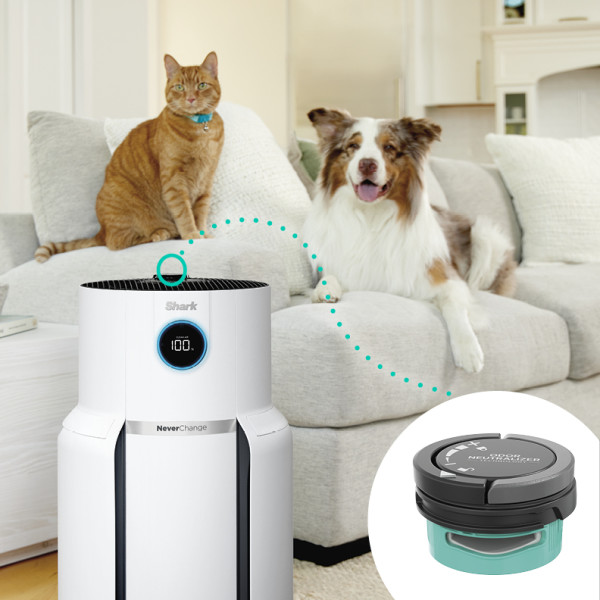
Air purifiers provide numerous health benefits by removing airborne pollutants that can cause respiratory issues, allergies, and other health problems. HEPA filters effectively capture dust, pollen, pet dander, and other allergens, reducing allergy symptoms and asthma attacks. Activated carbon filters eliminate smoke, volatile organic compounds (VOCs), and odors, improving indoor air quality. UV purifiers destroy bacteria, viruses, and mold spores, reducing the risk of infections. Therefore, the health benefits of air purifiers make them a valuable addition to any indoor space.
Additional Advantages
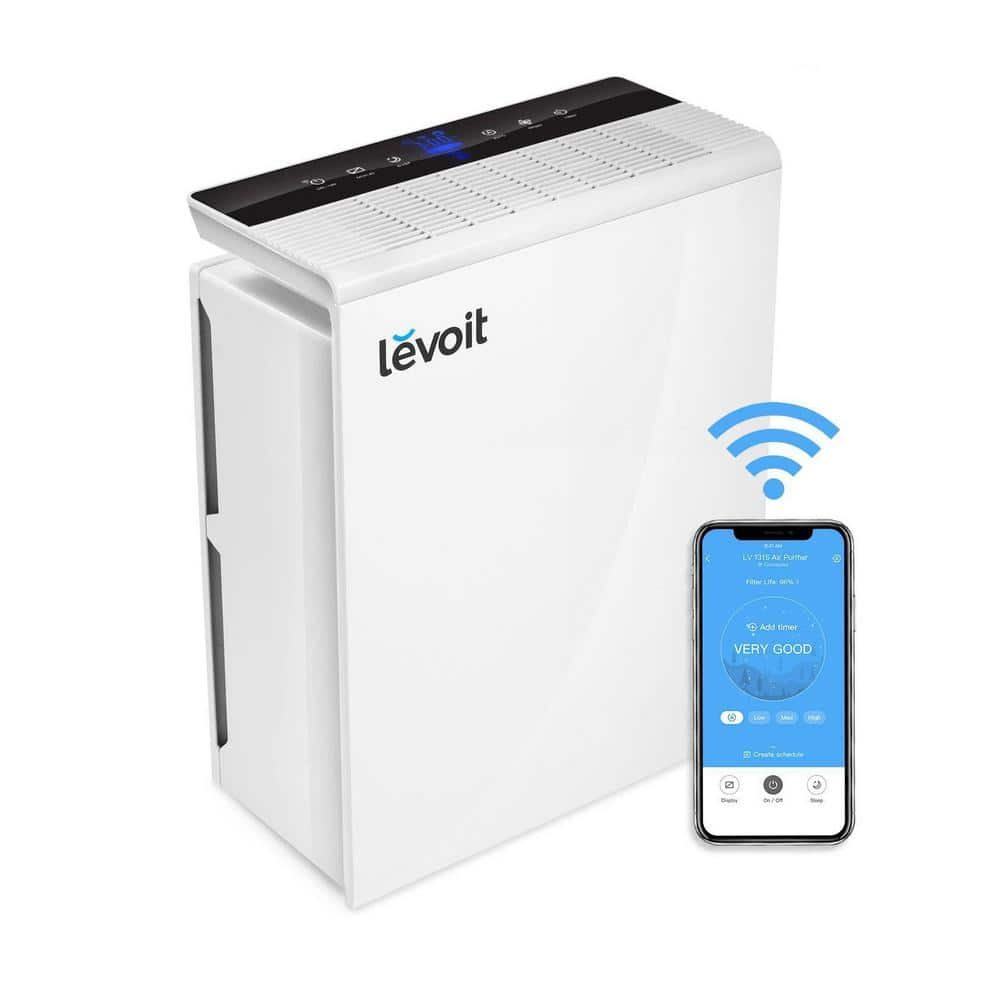
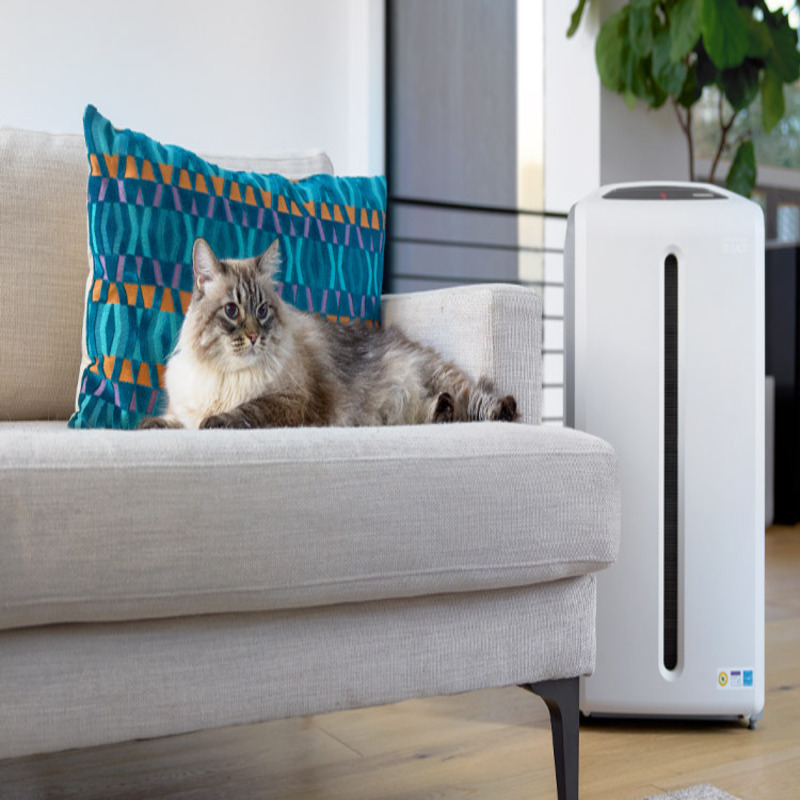
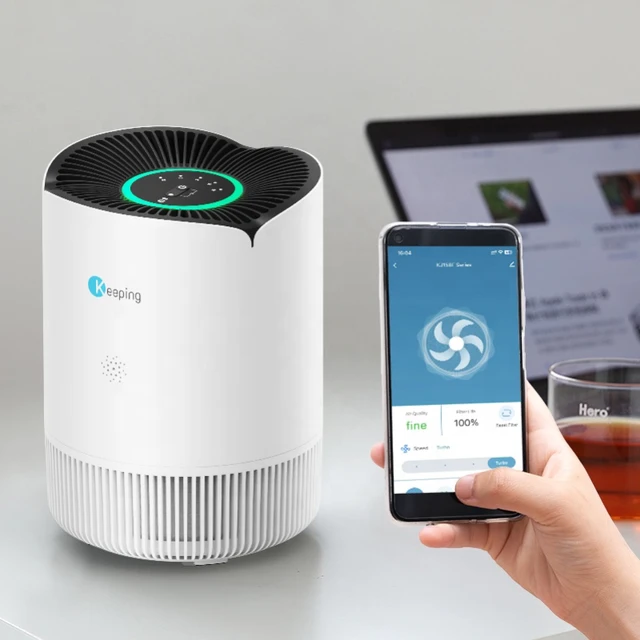
Beyond health benefits, air purifiers offer additional advantages that enhance overall comfort and convenience. By removing unpleasant odors from cooking, smoking, and pets, air purifiers create a more pleasant living environment. They also reduce the accumulation of dust on surfaces, making cleaning and maintenance easier. Advanced models with smart features, such as air quality sensors and remote control, provide added convenience and efficiency. Therefore, the additional advantages of air purifiers contribute to a more comfortable and enjoyable indoor experience.
Benefits of Dehumidifiers
Dehumidifiers offer unique advantages that address specific indoor air quality concerns. Therefore, understanding these benefits can help you determine if a dehumidifier is right for your needs.
Health Benefits
Dehumidifiers provide significant health benefits by reducing excess moisture that can lead to mold growth and dust mites. Mold and mildew can release spores into the air, causing respiratory issues, allergies, and other health problems. By maintaining optimal humidity levels, dehumidifiers prevent these issues and create a healthier living environment. Additionally, reducing humidity levels can alleviate symptoms of asthma and other respiratory conditions. Therefore, the health benefits of dehumidifiers make them an essential appliance for maintaining indoor air quality.
Additional Advantages
In addition to health benefits, dehumidifiers offer several practical advantages. By reducing excess moisture, dehumidifiers help protect furniture, electronics, and building materials from damage caused by mold and mildew. This preservation extends the lifespan of possessions and prevents costly repairs. Dehumidifiers also enhance comfort by making the indoor climate feel cooler and less sticky, particularly in hot and humid conditions. Advanced models with features like auto-drain and humidity sensors provide added convenience and efficiency. Therefore, the additional advantages of dehumidifiers make them a valuable investment for maintaining a comfortable and healthy home.
Choosing Between an Air Purifier and a Dehumidifier
Selecting between an air purifier and a dehumidifier depends on your specific indoor air quality needs. Therefore, understanding your requirements and evaluating each device’s benefits is crucial.
Assessing Indoor Air Quality Needs
The first step in choosing between an air purifier and a dehumidifier is assessing your indoor air quality needs. If you struggle with allergies, asthma, or respiratory issues, an air purifier is likely the better choice. It effectively removes airborne pollutants, allergens, and microorganisms, improving overall air quality. Conversely, if you face problems like mold growth, musty odors, or a sticky indoor climate, a dehumidifier may be more suitable. It reduces excess moisture, preventing mold and mildew while enhancing comfort. Therefore, assessing your specific needs helps determine the most appropriate device.
Combining Both Devices
In some cases, using both an air purifier and a dehumidifier may be the best solution. Combining both devices offers comprehensive indoor air quality improvement, addressing both airborne pollutants and excess moisture. This dual approach can be particularly beneficial in regions with high humidity levels and pollution. Placing both devices in different rooms or using them at different times can maximize their effectiveness. Therefore, combining both an air purifier and a dehumidifier provides a holistic solution for maintaining a healthy and comfortable indoor environment.
Conclusion
Understanding what is the difference between an air purifier and a dehumidifier is crucial for making informed decisions about improving indoor air quality. Air purifiers focus on removing airborne pollutants, allergens, and harmful microorganisms, promoting cleaner and healthier indoor air. Various types of air purifiers, such as HEPA, activated carbon, UV, and ionizers, offer unique benefits for specific air quality concerns. On the other hand, dehumidifiers reduce excess moisture in the air, preventing problems like mold growth, dust mites, and musty odors. Types of dehumidifiers, including compressor-based, desiccant, and thermoelectric, cater to different humidity levels and room sizes.
The key differences between air purifiers and dehumidifiers lie in their purpose and impact on the indoor environment. Air purifiers enhance air quality by removing contaminants, while dehumidifiers create a more comfortable climate by reducing humidity. Each device offers distinct health benefits and additional practical advantages, making them valuable for maintaining a healthy and comfortable home. Assessing your indoor air quality needs and considering the benefits of both devices can guide you in choosing the most appropriate solution. In some cases, combining both an air purifier and a dehumidifier may provide comprehensive air quality improvement.
By understanding what is the difference between dehumidifier and air purifier, you can make informed decisions for a healthier and more comfortable living environment. Therefore, whether you choose an air purifier, a dehumidifier, or both, you will be well-equipped to address your indoor air quality needs effectively.


 Does air purifiers help with smell? Unpleasant odors in your living space can significantly affect your quality of life. Whether they stem from cooking, pets, smoke, or other sources, eliminating these smells can be challenging. Consequently, many people turn to air purifiers as a solution. But do air purifiers help with smells? Therefore, this comprehensive guide explores how air purifiers function, their effectiveness in combating odors, and tips on choosing the right model. By understanding these aspects, you can make informed decisions and enjoy fresher,