Introduction of iron stain on clothes of 2024:
Iron stains on clothes can be a frustrating and stubborn problem that can make your favorite garments appear unsightly. Whether caused by rusty water, iron-rich soil, or an accidental encounter with a metal object, these stains can be a challenge to remove. In this comprehensive article, we will explore various techniques and home remedies to effectively eliminate iron stains from clothes. From understanding the nature of iron stains to step-by-step removal methods, join us as we delve into how to remove iron burn stain from clothes and reclaim the pristine condition of your garments.
 Iron marks on clothes can have several potential hazards and impacts:
Aesthetic Damage:
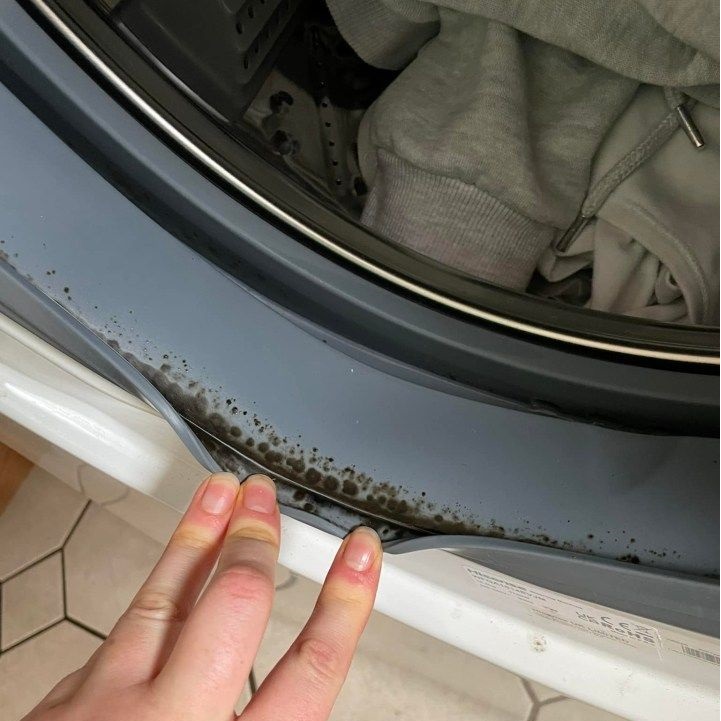
Iron stains can cause unsightly brown or orange discoloration on clothes. These stains are often difficult to remove completely, impacting the appearance and overall quality of the garments. Stained clothes may appear dirty, worn, or poorly maintained, diminishing their visual appeal.
Fabric Damage:
Iron stains can weaken the fabric fibers, leading to potential damage or deterioration. Over time, the affected fabric may become more susceptible to tearing, fraying, or developing holes, reducing the lifespan of the garments.
Care Challenges:
Removing iron stains from clothes can be challenging. The staining can become more embedded into the fabric, making it harder to remove with regular laundering or stain removal methods. This may require specialized stain removal techniques or professional cleaning services, adding extra effort and potential costs.
Increased Replacement Costs:
If iron stains cannot be effectively removed, the affected clothes may no longer be suitable for use. This can result in additional expenses to replace the stained items, especially if they are valuable or essential pieces in a wardrobe.
Negative Impression:
Wearing clothes with visible iron stains may give the perception of poor personal hygiene or lack of care. This can reflect negatively on an individual’s personal or professional image, potentially affecting confidence and social interactions.
Prevention is key to avoiding the hazards of iron stains on clothes. It is important to address the source of iron staining, such as water quality or iron particles in the iron itself. Ensuring that your iron is clean, using distilled or filtered water when necessary, and employing proper ironing techniques can help minimize the risk of iron stains on clothes. Promptly treating and removing any stains that do occur can also reduce the hazards and preserve the condition of the garments.
Understanding Iron Stains: What Causes Them and How They Behave
To effectively remove iron stains from clothes, it is important to have a basic understanding of what causes these stains and how they interact with different fabrics.
 The Culprit: Iron and Its Interaction with Fabrics:‘
Iron, a common element found in water, soil, and various everyday objects, can oxidize and leave behind unsightly stains on fabrics. When iron comes into contact with moisture, it can react with the oxygen in the air, forming rust. These rust particles can adhere to fabrics, especially porous ones like cotton or linen, resulting in visible stains. Understanding this chemical reaction is crucial for selecting appropriate stain removal techniques.
Different Types of Iron Stains and Their Characteristics:
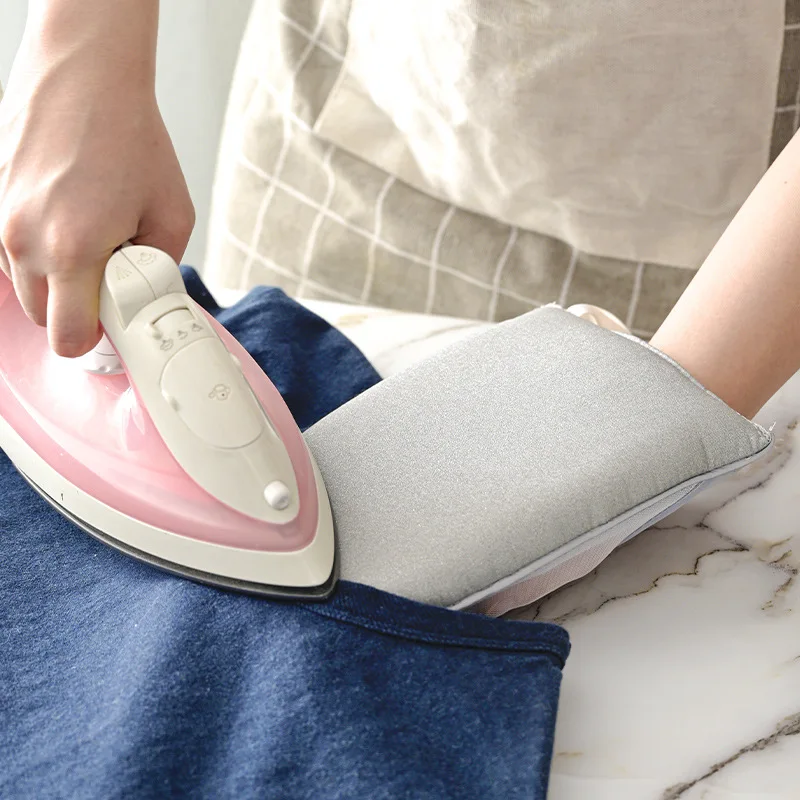
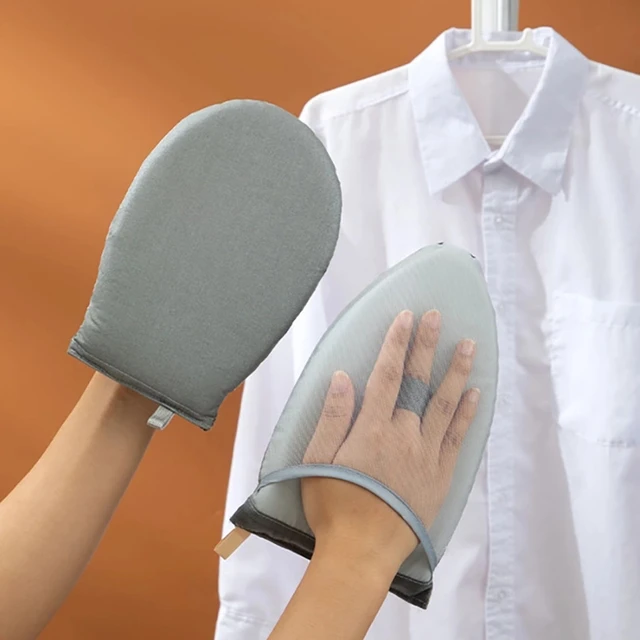
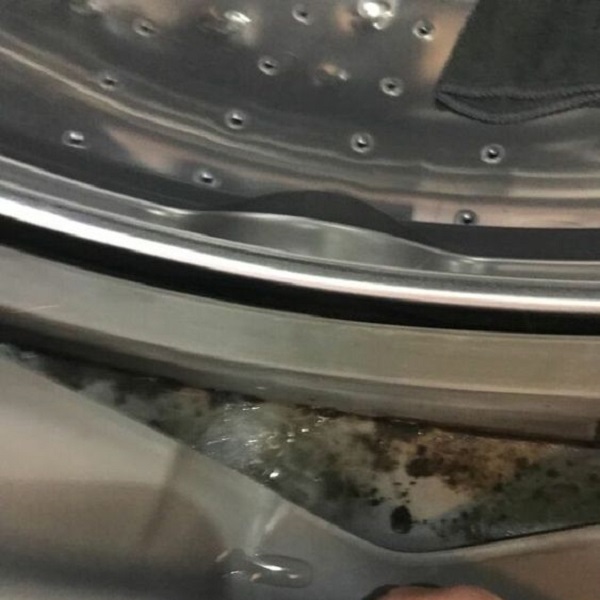
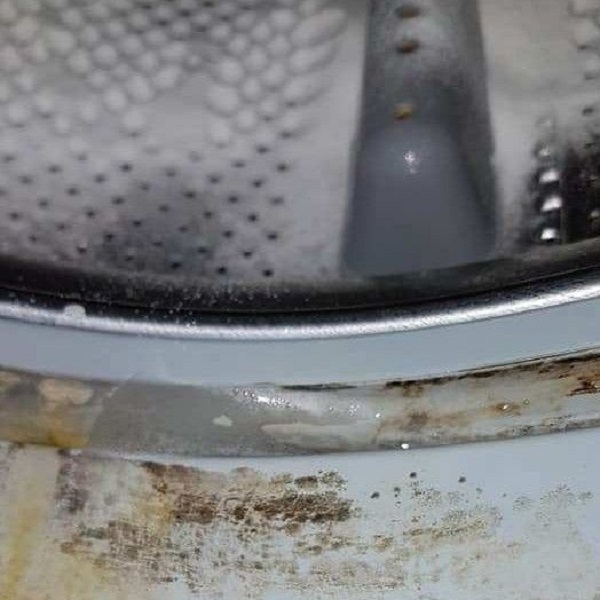
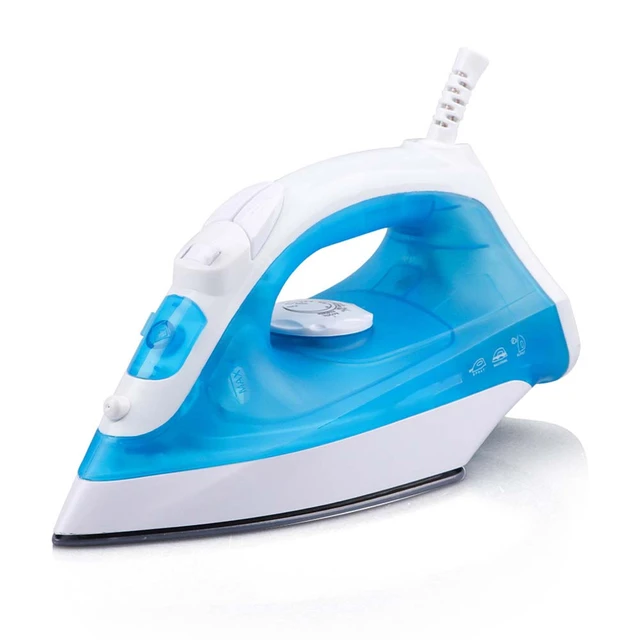
Removing iron stains from clothes
Iron stains can vary in appearance, texture, and severity depending on their source and the fabric they affect. Some stains may appear as reddish-brown spots, while others can cause yellowish discoloration. Additionally, the age of the stains and the fabric composition can affect the level of difficulty in removing them. Identifying the type and characteristics of the iron stains will enable you to choose the most suitable method to eliminate them effectively.
Tried and Tested Methods for Removing Iron Stains from Clothes
Now that we understand the nature of iron stains, let’s explore tried and tested methods for effectively removing them from clothes.
Pre-Treatment: Immediate Actions to Minimize Stain Setting:
When dealing with fresh iron stains, taking quick action can prevent the stain from setting deeper into the fabric. Rinse the stained area with cold water to flush out as much iron residue as possible. Avoid using hot water, as it can set the stain further. If the stain persists, you can move on to more targeted removal techniques.
Natural Remedies:
Harnessing the Power of Household Ingredients: Many household ingredients have stain-removing properties that can be effective in removing iron stains from clothes. For example, lemon juice, vinegar, or hydrogen peroxide can break down the rust particles and lift them from the fabric. Applying these remedies, either directly or through soaking, and allowing them to work on the stain before washing can yield positive results. However, it’s important to test these remedies on a small, inconspicuous area of the garment before using them more extensively.
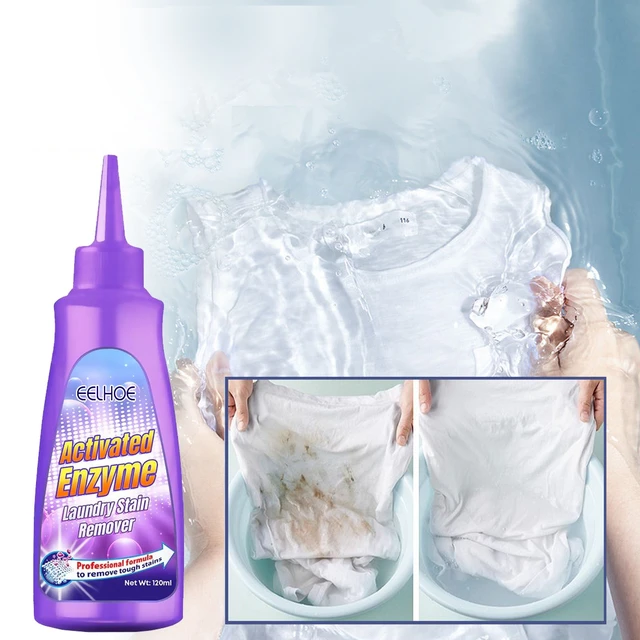
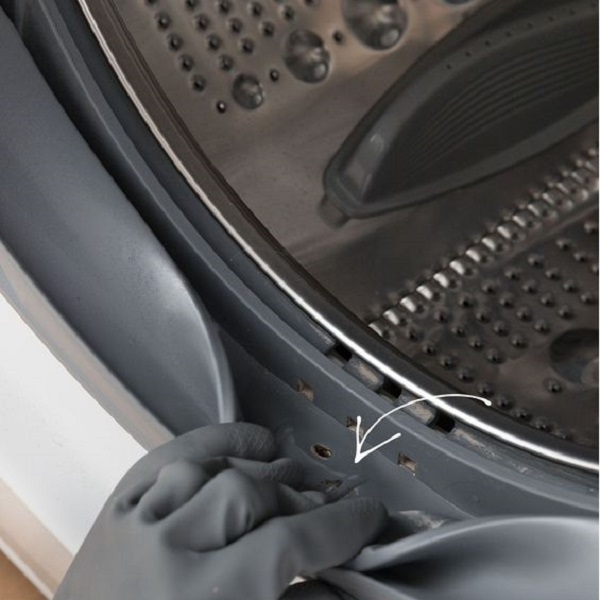
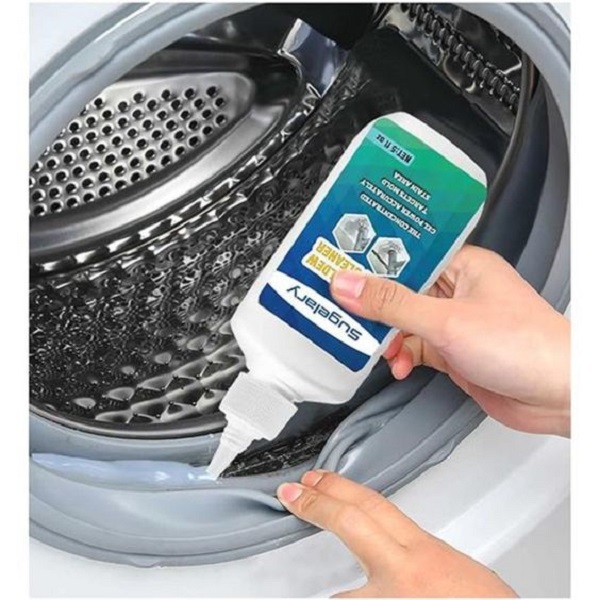
Commercial Stain Removers:
Effective Products for Iron Stain Removal: If natural remedies don’t yield satisfactory results, commercial stain removers specially formulated for iron stains can be a valuable option. Look for products that contain rust-specific ingredients to break down the stain effectively. Follow the manufacturer’s instructions for application and ensure compatibility with your fabric type. Regular laundry detergent with added stain-fighting agents can also be effective in removing iron stains.
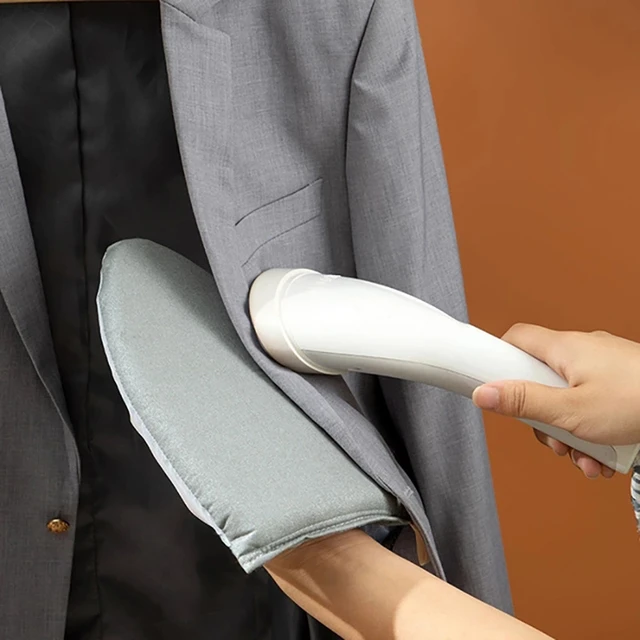
 Special Considerations for Delicate Fabrics: Iron Stain Removal Techniques
How to get iron stain out of clothes
When dealing with delicate fabrics, such as silk, wool, lace, or synthetic materials, special care must be taken to remove iron stains effectively without damaging the fabric itself.
Treating Iron Stains on Silk, Wool, and Lace:
Delicate fabrics like silk, wool, and lace require gentle stain removal techniques. It is essential to avoid using harsh chemicals or vigorous rubbing that can cause further damage. Instead, start by blotting the stained area with a clean, white cloth or paper towel to absorb any excess moisture. Next, apply a small amount of a mild detergent or enzyme-based stain remover directly to the stain and gently work it into the fabric using your fingertips or a soft-bristled brush. Allow the product to sit for a few minutes before rinsing with cool water. Repeat this process if necessary until the stain is no longer visible. Finally, hand wash or follow the fabric’s care instructions for proper cleaning and drying.
Caring for Synthetic Fabrics: Polyester and Nylon:
Synthetic fabrics, such as polyester and nylon, can be more forgiving when it comes to stain removal. Begin by pre-treating the iron stain by rinsing the affected area with cold water. To further break down the stain, apply a small amount of liquid laundry detergent directly to the stain and gently rub it in. Allow the detergent to penetrate the fabric for a few minutes before washing the garment as usual. If the stain persists, repeat the process or consider using a pre-wash stain remover specifically designed for synthetic fabrics. Always follow the fabric’s care instructions to ensure the garment’s longevity and quality are maintained.
Preventing Future Iron Stains: Tips for Care and Maintenance
How to get burn marks from iron out of clothes
To prevent future iron stains on clothes, a proactive approach to care and maintenance can make a significant difference. Implement these preventive measures to keep your garments stain-free.
Assessing Water Quality:
Installing a Water Softener or Filter: One common source of iron stains is water with high iron content. Assessing your water quality can help identify if this is a concern. Depending on the severity of the issue, installing a water softener or filter can help reduce iron particles, preventing them from staining your clothes. Consulting with a water treatment specialist can assist in determining the most suitable system for your specific needs.
Precautions during Activities:
Shielding Clothes from Potential Iron Contamination: Certain activities or environments can expose your clothes to iron-staining agents, such as iron-rich soil or metal objects. Taking precautions like wearing protective gloves, aprons, or coveralls can help keep your clothes safe from potential iron stains. Additionally, rinsing or washing outdoor clothing immediately after exposure to iron-rich elements can minimize the chances of stains setting.
 Conclusion:
How to remove iron marks from clothes
How to remove iron stain from shirt
Iron stains on clothes can be a frustrating nuisance, but with the right knowledge and techniques, you can restore your garments to their former glory. By understanding the causes and behavior of iron stains, you can select appropriate methods to eliminate them. Whether you choose to pre-treat with immediate actions, harness the power of natural remedies, or utilize commercial stain removers, persistence and patience are key. So, the next time you encounter iron stains on your clothes, armed with the information and techniques from this article, you can confidently tackle the stains and reclaim the pristine condition of your garments.
Removing iron stains from clothes requires an understanding of the fabric’s composition and selecting the appropriate stain removal techniques accordingly. Delicate fabrics, such as silk, wool, and lace, demand a gentle approach to avoid damage, while synthetic materials like polyester and nylon can tolerate slightly more robust methods. By taking preventive measures, such as water assessment and protective clothing during specific activities, you can minimize the likelihood of future iron stains on your garments. Armed with these techniques and preventive strategies, you can confidently tackle iron stains, ensuring your clothes remain clean, fresh, and stain-free.


 Fastest way to iron clothes: Preparing for Efficient Ironing