An air purifier plays a crucial role in maintaining clean and healthy indoor air by removing pollutants, allergens, and other airborne particles. To ensure optimal performance and longevity, regular cleaning and maintenance of the air purifier are essential. Therefore, understanding the proper techniques for cleaning different components of the air purifier is crucial. This comprehensive guide covers everything you need to know about cleaning an air purifier, from filter maintenance to cleaning the exterior and interior parts. By following these steps, you can ensure your air purifier operates efficiently and continues to provide clean air.
Importance of Regular Cleaning
Regular cleaning of an air purifier is vital for its efficiency and longevity. Therefore, understanding the importance of maintenance is essential.
Enhanced Performance
Regular cleaning enhances the performance of your air purifier by ensuring that it effectively captures and removes pollutants from the air. Over time, dust, dirt, and other debris can accumulate on the filters and other components, reducing their efficiency. Clean filters allow for better airflow and improve the purifier’s ability to trap airborne particles. By maintaining the cleanliness of your air purifier, you can ensure it operates at peak performance. Therefore, recognizing the importance of regular cleaning enhances the purifier’s effectiveness in providing clean air.
Extended Lifespan
Proper maintenance and cleaning can significantly extend the lifespan of your air purifier. Accumulated dirt and debris can cause wear and tear on internal components, leading to potential malfunctions and reduced efficiency. By regularly cleaning the filters, fan blades, and other parts, you can prevent premature wear and ensure the longevity of your air purifier. This proactive approach reduces the need for costly repairs and replacements. Therefore, understanding the importance of regular maintenance contributes to the extended lifespan of your air purifier.
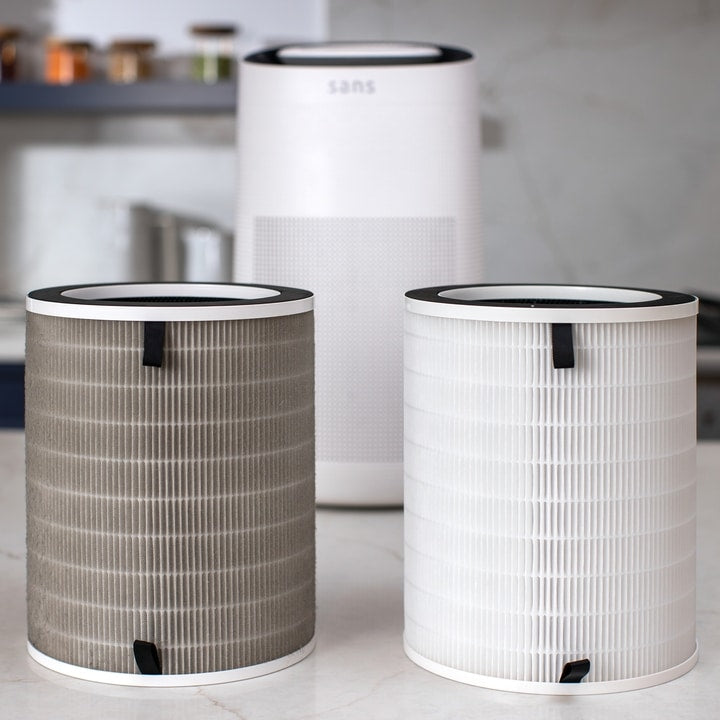
Cleaning the Filters
Cleaning the filters is a critical aspect of maintaining your air purifier. Therefore, understanding how to clean different types of filters is essential.
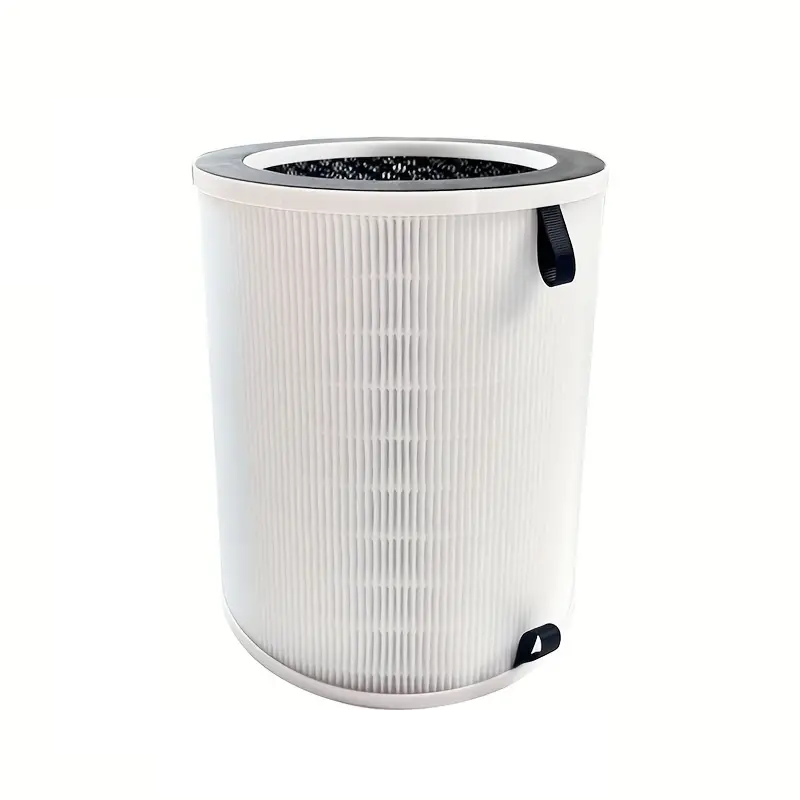
Pre-Filters
Pre-filters are the first line of defense in capturing larger particles such as dust, pet hair, and debris. These filters are typically washable and reusable. To clean a pre-filter, start by turning off and unplugging the air purifier. Remove the pre-filter according to the manufacturer’s instructions. Gently vacuum the filter to remove loose dirt and debris. If the filter is washable, rinse it under cold water and allow it to air dry completely before reinstalling. Regular cleaning of pre-filters ensures better performance and prolongs their lifespan. Therefore, recognizing the importance of pre-filter maintenance enhances your air purifier’s efficiency.
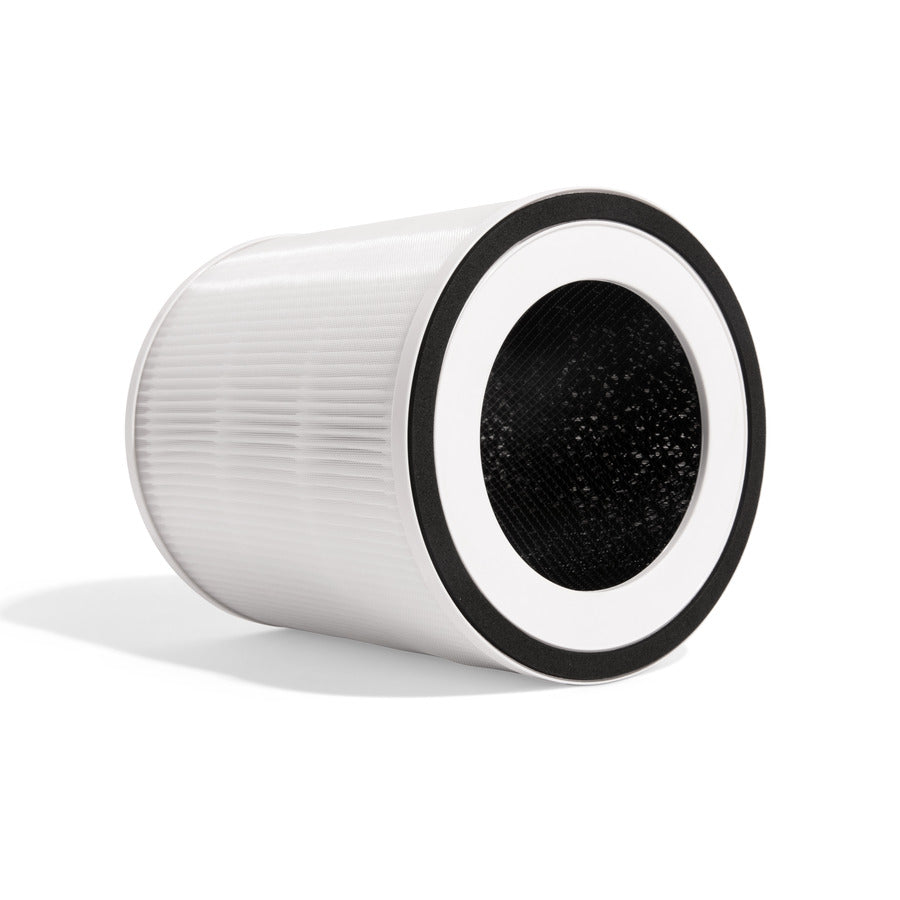
HEPA Filters
High-Efficiency Particulate Air (HEPA) filters are designed to capture small particles such as pollen, mold spores, and pet dander. HEPA filters are generally not washable and need to be replaced periodically. However, to maintain their effectiveness between replacements, gently vacuum the surface of the filter to remove excess dust and debris. Be careful not to damage the delicate filter material. Follow the manufacturer’s guidelines for replacement intervals to ensure optimal performance. Therefore, understanding the proper care and maintenance of HEPA filters ensures continuous air purification.
Cleaning the Interior Components
Regularly cleaning the interior components of your air purifier is crucial for maintaining optimal functionality. Therefore, understanding how to clean these parts is essential.
Fan Blades
Fan blades play a vital role in circulating air through the purifier. Dust and dirt accumulation on the fan blades can reduce airflow and efficiency. To clean the fan blades, start by turning off and unplugging the air purifier. Remove the front grille or access panel to expose the fan blades. Use a soft brush or a damp cloth to gently clean the blades, removing any dust and debris. Avoid using harsh chemicals or abrasive materials that could damage the blades. Therefore, recognizing the importance of cleaning fan blades ensures better airflow and performance.
Air Vents
Air vents allow the purified air to circulate back into the room. Dust and debris can clog these vents, reducing airflow and effectiveness. To clean the air vents, turn off and unplug the air purifier. Use a vacuum cleaner with a brush attachment to remove dust and dirt from the vents. Alternatively, you can use a soft brush or a damp cloth to wipe the vents clean. Ensure the vents are completely dry before turning the air purifier back on. Regular cleaning of air vents ensures uninterrupted airflow and optimal performance. Therefore, understanding the importance of vent maintenance enhances the efficiency of your air purifier.
Exterior Cleaning
Keeping the exterior of your air purifier clean is essential for maintaining its appearance and functionality. Therefore, understanding how to clean the exterior is crucial.
Housing and Control Panel
The housing and control panel of the air purifier can accumulate dust, fingerprints, and smudges over time. To clean these surfaces, turn off and unplug the air purifier. Use a soft, damp cloth to wipe the exterior housing and control panel. Avoid using harsh chemicals or abrasive materials that could damage the surfaces. For stubborn stains, a mild detergent solution can be used, but ensure you carefully wipe away any residue. Regular cleaning of the housing and control panel maintains a clean and attractive appearance. Therefore, recognizing the importance of exterior cleaning enhances the overall maintenance of your air purifier.
Cord and Plug
The power cord and plug can also accumulate dust and dirt, which may impact their functionality and safety. To clean the cord and plug, turn off and unplug the air purifier. Use a soft, damp cloth to wipe the entire length of the cord, being careful around the plug area. Ensure the cord and plug are completely dry before reconnecting the air purifier to a power source. Regular cleaning of the cord and plug ensures safe and efficient operation of the air purifier. Therefore, understanding the importance of cleaning these components enhances the overall maintenance.
Troubleshooting and Maintenance Tips
Regular maintenance and troubleshooting can prevent potential issues and ensure the optimal performance of your air purifier. Therefore, understanding these tips is essential.
Regular Maintenance Schedule
Establishing a regular maintenance schedule for your air purifier ensures consistent performance and longevity. Follow the manufacturer’s recommendations for cleaning and replacing filters. Keep a log of maintenance activities, including filter replacements and cleanings, to stay organized and proactive. Regularly inspect the air purifier for signs of wear or damage and address any issues promptly. By adhering to a regular maintenance schedule, you can prevent potential problems and ensure continuous air purification. Therefore, understanding the importance of a maintenance schedule enhances the efficiency of your air purifier.
Addressing Common Issues
Addressing common issues promptly can prevent further damage and ensure the smooth operation of your air purifier. If you notice reduced airflow, unusual noises, or decreased effectiveness, check for clogged filters or obstructions in the vents. Clean or replace filters as needed and ensure all components are properly aligned and secured. If the issue persists, consult the manufacturer’s troubleshooting guide or contact customer support for assistance. By addressing common issues promptly, you can maintain the optimal performance of your air purifier. Therefore, recognizing the importance of quick troubleshooting ensures continuous efficiency.
Environmental and Health Benefits
Regular maintenance of your air purifier not only ensures its performance but also contributes to environmental and health benefits. Therefore, understanding these benefits highlights the importance of proper care.
Improved Indoor Air Quality
A well-maintained air purifier efficiently removes pollutants, allergens, and harmful particles from the air, improving indoor air quality. Clean filters and components ensure better airflow and more effective particle capture. Improved air quality can reduce respiratory issues, allergies, and other health problems caused by indoor pollutants. By regularly cleaning and maintaining your air purifier, you can create a healthier living environment for you and your family. Therefore, recognizing the health benefits of a clean air purifier underscores the importance of proper maintenance.
Reduced Environmental Impact
Proper maintenance and regular cleaning of your air purifier can reduce its environmental impact. Efficient air purifiers use less energy and require fewer replacements and repairs. By extending the lifespan of your air purifier, you reduce electronic waste and contribute to environmental sustainability. Additionally, many modern air purifiers use eco-friendly materials and technologies, further reducing their environmental footprint. Therefore, understanding the environmental benefits of maintaining your air purifier emphasizes the importance of responsible care.
Conclusion
Understanding how to clean an air purifier involves exploring regular maintenance, filter cleaning, and troubleshooting tips. Proper knowledge ensures optimal performance and longevity of your air purifier.
Exploring elements like enhanced performance, extended lifespan, and the importance of cleaning filters and interior components provides valuable insights. Recognizing the significance of exterior cleaning, regular maintenance schedules, and addressing common issues further enriches your understanding.
By engaging with the environmental and health benefits of a well-maintained air purifier, you can create a cleaner and healthier indoor environment. Therefore, whether you are a novice or experienced air purifier user, understanding these techniques offers practical and valuable insights. Embrace the opportunity to improve your air quality with a well-maintained air purifier, knowing you have the knowledge and resources to ensure its optimal performance!