How to Clean Ultrasonic Humidifier: Tips for Easy Maintenance

ultrasonic humidifier

Introduction to Ultrasonic Humidifiers

Ultrasonic humidifiers are gadgets that add moisture to the air. They are popular for their ease of use and maintenance. With the right care, they make your home more comfortable for years. How to clean ultrasonic humidifier?

how to clean ultrasonic humidifier

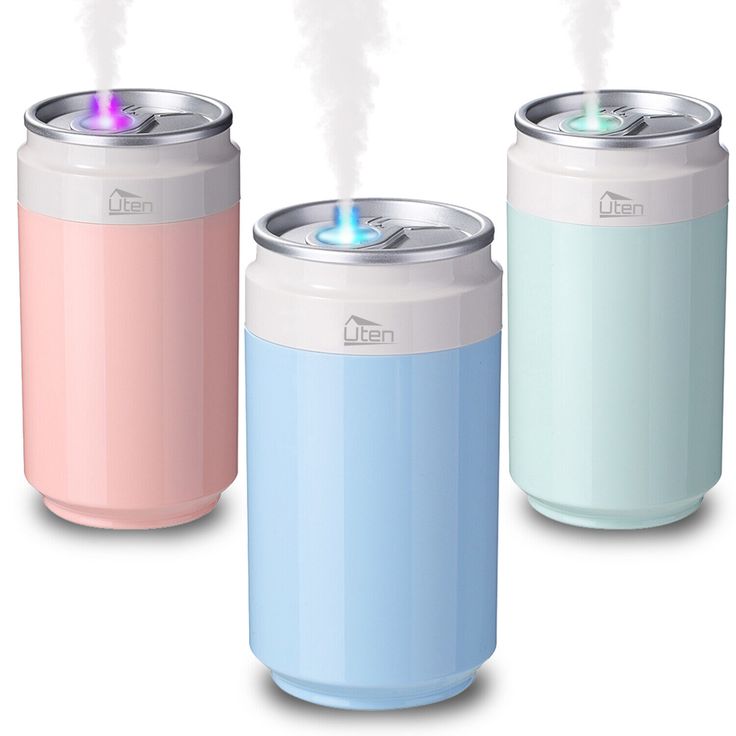
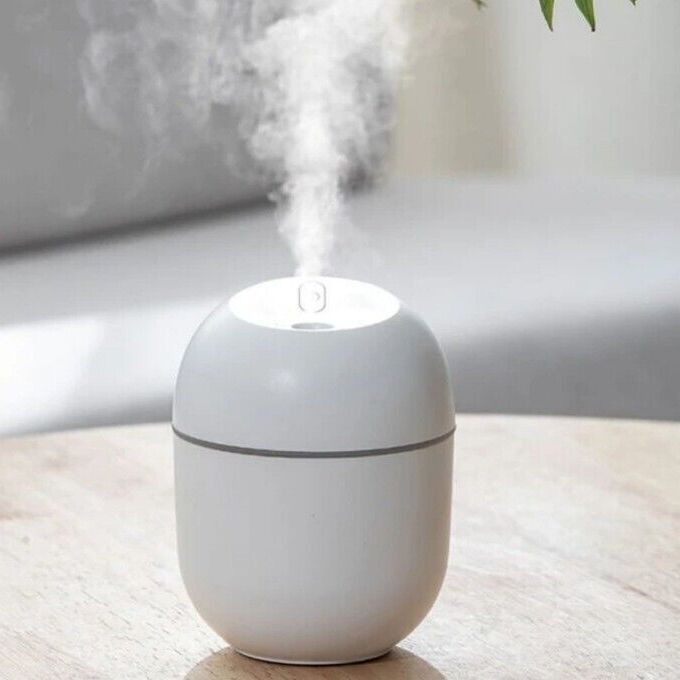
An ultrasonic cool mist humidifier turns water into a fine mist. This mist spreads throughout a room, bringing many health benefits. For those with dry skin, allergies, or respiratory issues, these humidifiers can be a game-changer.

Ultrasonic devices use high-frequency vibrations to create mist. Unlike warm mist humidifiers, they do not heat water. This means they are safer and more energy-efficient. Many people choose ultrasonic models for these advantages.

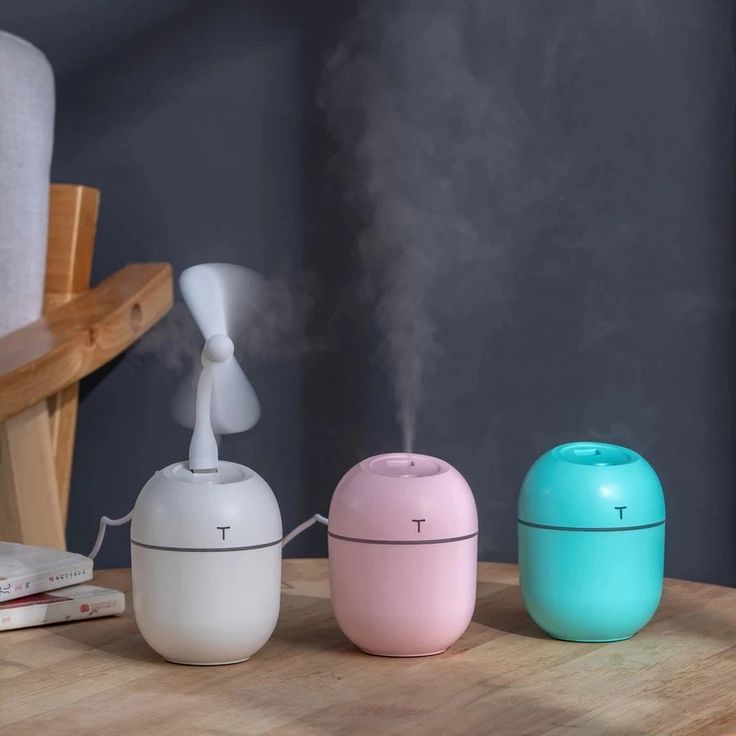
These humidifiers come in different sizes for various spaces. Smaller units might be enough for a single room, while larger ones can handle an entire home. Knowing how to use and maintain your air humidifier will help you get the best results.

Benefits of Using an Ultrasonic Cool Mist Humidifier

The use of an ultrasonic cool mist humidifier brings a multitude of benefits for your health and comfort. Here are some key advantages:

  • Relief for Dryness: These humidifiers moisten the air, which can soothe dry sinuses and throats. This can be particularly helpful during the dry seasons or in air-conditioned spaces.
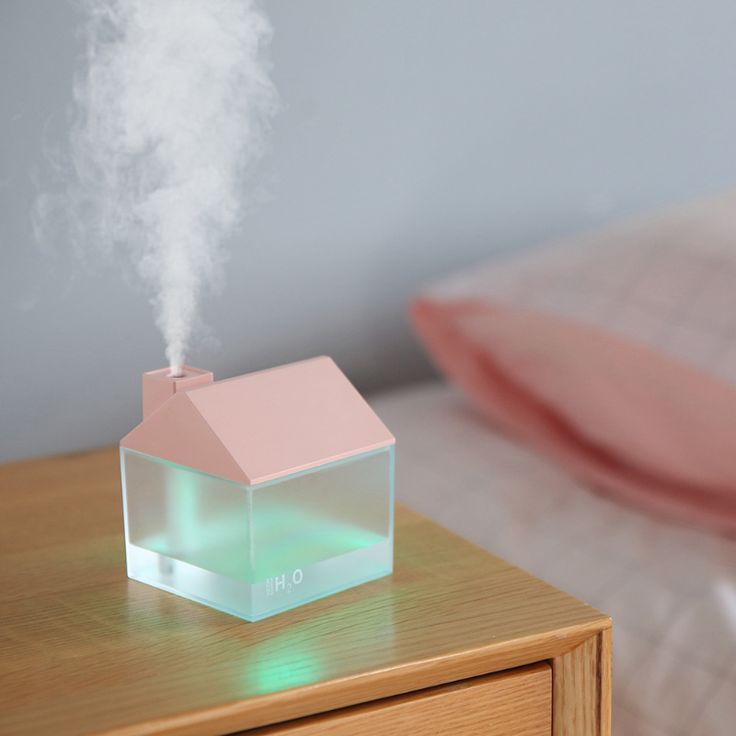
  • Improvements in Skin and Hair Condition: Regular exposure to a moisturized environment can prevent skin dryness and reduce hair brittleness. Keeping a humidifier in your bedroom could help maintain better skin and hair health.
  • Reduction of Airborne Germs: By maintaining a higher humidity level, these devices can hinder the survival of germs in the air. This could potentially reduce the frequency of illness in your home.
  • Comfort During Illness: When sick, humidified air can make breathing easier. It won’t cure you, but it will help ease the discomfort caused by congestion or a sore throat.
  • Safety: Without boiling water, an ultrasonic cool mist humidifier is safer, particularly around children and pets. There is no risk of scalding accidents compared to warm mist humidifiers.

These benefits outline why an ultrasonic cool mist humidifier is a valuable addition to any home. Just remember, to maintain these benefits, regular cleaning and proper usage are essential.

ultrasonic humidifier

Comparing Cool Mist vs. Warm Mist Humidifiers

When deciding between a cool mist and a warm mist humidifier, it’s essential to understand their differences and implications for use. Both types aim to increase humidity levels, but they do so in distinctly different ways.

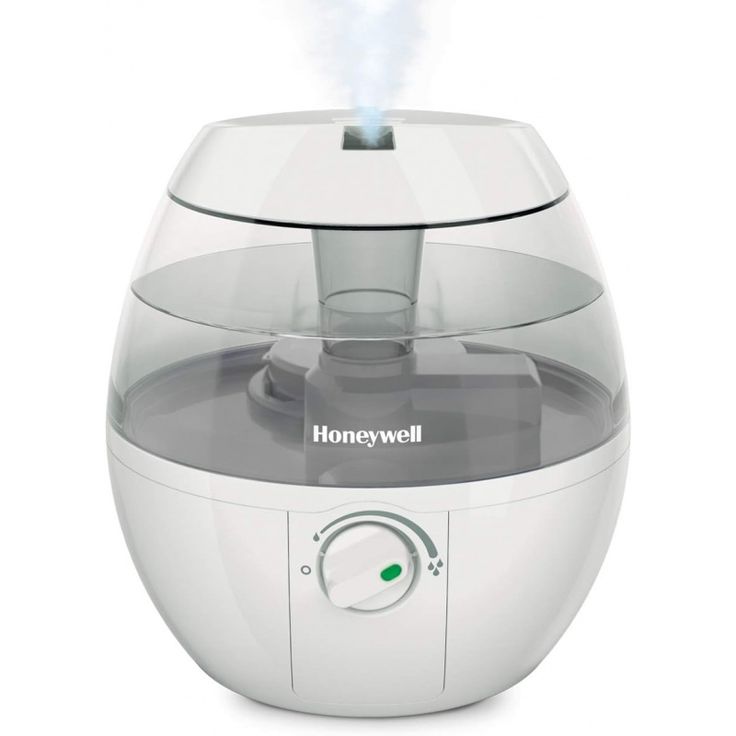
Cool Mist Humidifiers: Safety and Ease of Use

Cool mist humidifiers use a method that involves no heating of water. This makes them safer, especially in homes with children or pets. There’s no risk of hot water accidents, which can be a concern with warm mist types. Additionally, they are generally easier to clean because they do not involve hot water that can cause mineral deposits to harden within the unit.

Warm Mist Humidifiers: Potential Risks

Warm mist humidifiers work by boiling water, which creates steam. This method can help to kill germs in the water, but it also poses several risks. The boiling process can be a hazard if the unit is knocked over, potentially causing burns. Furthermore, since warm mist humidifiers emit heat, they can make a room uncomfortably warm, particularly in warmer climates. They also tend to require more frequent cleaning due to mineral buildup from the boiling process.

In conclusion, while both humidifier types effectively moisturize the air, cool mist versions generally offer greater safety and ease of maintenance. They are a preferable choice for most households, especially those with safety concerns. Remember, when making your decision, consider the specific needs of your environment and weigh the pros and cons of each type.

Proper Usage of Ultrasonic Cool Mist Humidifiers

To get the best performance from your ultrasonic cool mist humidifier, follow these guidelines:

  1. Choose the Right Location: Place your humidifier on a flat, stable surface. Avoid direct sunlight and keep it away from electronic devices.
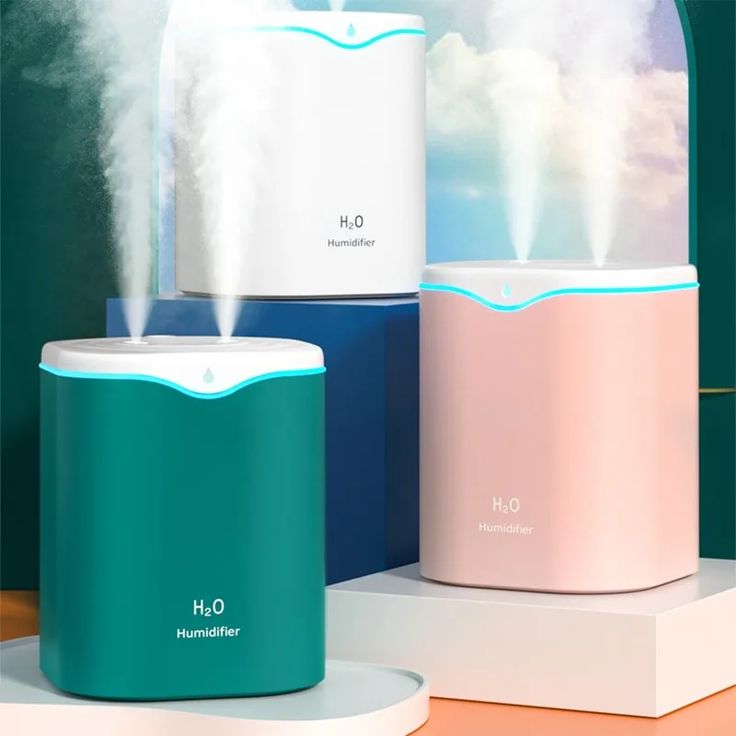
  2. Use Distilled Water: Tap water can have minerals that build up in your humidifier. Distilled water helps prevent this buildup.
  3. Adjust Humidity Levels: Start with a low setting and adjust gradually. The ideal indoor humidity level is between 30% and 50%.
  4. Keep It Running: For continuous comfort, keep the humidifier running as long as needed. Ensure the water tank is always full.
  5. Use a Timer: If you’re forgetful, a timer can help. Set it to turn off the humidifier after a few hours.

By following these simple steps, you can enhance your indoor air quality and enjoy the benefits of your ultrasonic humidifier without any hassle.

clean ultrasonic humidifier

Step-by-Step Cleaning Instructions

Cleaning your ultrasonic cool mist humidifier is essential for its efficiency and longevity. Here’s how you can do it effectively:

  1. Turn Off and Unplug: Safety first. Always make sure the humidifier is turned off and unplugged.
  2. Disassemble the Unit: Carefully take apart your humidifier. Remove the water tank from its base. Most models allow you to lift it straight up.
  3. Empty and Rinse the Water Tank: Dump out any old water. Rinse the tank with clean water to flush out residue.
  4. Clean with Vinegar or Mild Soap: Fill the tank with a mixture of water and a few tablespoons of white vinegar. Let it sit for 30 minutes; this helps remove mineral deposits. Alternatively, use a mild soap for a gentle scrub.
  5. Scrub Away Residue: Use a soft brush or a sponge to scrub the tank and other components. Focus on any mineral deposits or build-up areas.
  6. Rinse Thoroughly: Make sure all soap or vinegar is completely rinsed away to avoid inhaling any residues.
  7. Wipe the Base: With a damp cloth, wipe down the base of the unit. Avoid getting electrical components wet.
  8. Dry and Reassemble: Allow all parts to air dry completely before reassembling the humidifier.
  9. Refill with Fresh Water: Once reassembled, fill the tank with fresh water, ideally distilled to minimize mineral buildup.
  10. Resume Operation: Plug in and turn on your humidifier, and adjust settings as necessary.

Following these steps every two to three weeks will help maintain your ultrasonic cool mist humidifier and ensure it’s working optimally.

Maintenance Tips for Ultrasonic Cool Mist Humidifiers

Maintaining your ultrasonic cool mist humidifier is simple but crucial. Regular upkeep prevents issues and keeps air quality high. Here are some tips:

  • Check Filters Regularly: Some models have filters. Inspect them monthly and replace as the manual suggests.
  • Prevent Mineral Buildup: Use distilled water instead of tap. It has fewer minerals that can collect inside the humidifier.
  • Dry It Out: Let the humidifier air out sometimes. Doing this between uses stops mold and bacteria growth.
  • Change Water Daily: Always empty the tank and fill with fresh water before use.
  • Inspect for Damage: Look for cracks or other damage. Repair or replace damaged parts to ensure safety.
  • Keep It Away From Walls: Place your humidifier away from walls and furniture. This prevents moisture damage.

By following these maintenance tips, you can extend the life of your ultrasonic cool mist humidifier, ensuring that it continues to provide a comfortable atmosphere in your home.

Safety Precautions and Tips

Ensuring the safe operation of your ultrasonic cool mist humidifier is key. Here are some precautionary steps and tips.

  • Place Correctly: Keep your humidifier on a flat, stable surface. This prevents tipping.
  • Electrical Safety: Position away from direct sunlight and electronics. Prevent damage and risks.
  • Regular Checks: Inspect your humidifier for damage. Look for leaks or cracks regularly.
  • Avoid Overfilling: Fill the tank to the correct level. Overfilling can cause malfunction.
  • Clean Hands: Always handle with clean hands. Prevent dirt and germs from entering.
  • Use Safe Water: Prefer distilled water to tap; it’s better for your health and humidifier.
  • Monitor Humidity: Too much moisture can cause issues. Use a hygrometer to check levels.
  • Children and Pets: Keep the device out of their reach. This helps avoid accidents.
  • Power Off Before Cleaning: Always turn off and unplug. This ensures your safety.

These simple tips help prevent accidents and ensure your humidifier operates smoothly. They also contribute to the device’s longevity, keeping your home’s air clean and comfortable.

Conclusion: Ensuring Longevity of Your Humidifier

Maintaining your ultrasonic cool mist humidifier is key to its longevity. By keeping up with routine cleaning and care, you ensure it operates effectively for years. Always use distilled water to avoid mineral deposits. Check and clean filters if your model has them. Keep the humidifier on a flat surface, away from walls and electronics. Regularly empty and refresh the water to prevent bacterial growth. Properly positioning and safely operating your device will prevent accidents. Follow these simple steps to ensure a healthy, comfortable atmosphere at home. With care, your ultrasonic humidifier will be a lasting source of relief and comfort.

How to Clean Mold Out of Humidifier: Step-by-Step Guide

humidifier

Importance of Cleaning Humidifiers

Maintaining the cleanliness of your humidifier is essential for several reasons. Firstly, it ensures that the air you breathe is healthy. A clean humidifier works efficiently to add moisture to the air, which can alleviate dry skin, lips, and sinuses, and can contribute to better sleep. More importantly, regular cleaning prevents the growth of mold, bacteria, and other harmful microbes. How to clean mold out of humidifier?

Regular cleaning directly impacts the air humidifier‘s longevity and performance. Neglecting this simple task can lead to a buildup of minerals and dirt that can clog the system and reduce its effectiveness. Users who suffer from asthma or allergies are especially at risk of health issues if their humidifiers are not maintained properly.

Another critical aspect is the prevention of foul odors and unhealthy air that could result from a dirty humidifier. When left unchecked, these issues can turn what is supposed to be a device for health improvement into a source of air contamination. As such, adopting a consistent cleaning routine helps to ensure that your humidifier remains a beneficial addition to your home. So, dedicate time each week to clean your humidifier, and you’ll reap the rewards of pure, moist air that can help keep your family healthy and comfortable.

how to clean mold out of humidifier

Identifying Mold in Your Humidifier

Detecting mold in your humidifier is crucial for maintaining air quality. Look for these signs:

Visual Indicators of Mold

Check for visible mold growth. This often appears as black, green, or brown spots, usually in the water tank or on the surface of the humidifier’s interior components.

Musty Smells

A moldy smell coming from your humidifier is a clear sign of mold presence. Mold emits a distinct, earthy, musty odor that is hard to miss.

Respiratory Irritations

If you experience coughing, sneezing, or worsened asthma symptoms, these may be responses to mold spores from the humidifier.

Humidifier Malfunctions

Poor performance or reduced mist output can indicate mold growth in the device, as mold can block or damage internal components.

By staying alert to these mold indicators, you can take prompt action to clean your humidifier and keep your indoor air healthy. Remember, weekly cleaning is the best prevention against mold buildup.

Weekly Cleaning Routine

Creating a weekly cleaning routine for your humidifier helps prevent mold and extends its life. Here are simple steps you can follow each week:

Empty and Rinse

Start by unplugging the humidifier and removing any water. Rinse the tank with clean water.

Vinegar Solution

Mix a solution of one part distilled white vinegar to two parts water. Fill the tank with this solution.

Soak Components

Place all the humidifier parts that came in contact with water into this solution. Let them soak for at least 30 minutes.

Scrub and Clean

Use a small brush to scrub the nooks and crannies. This removes any buildup or mold.

Rinse Thoroughly

After soaking and scrubbing, rinse all parts with clean water until the vinegar smell is gone.

Air Dry Completely

Before reassembling, ensure all components are completely dry. This prevents mold from growing.

Reassemble and Refill

Once dry, put the humidifier back together. Fill it with fresh water, and it’s ready to use.

By following these steps, you ensure the air moisture from your humidifier is clean. This routine is key to maintaining air quality and health at home. Keep mold at bay by staying consistent with your weekly cleanings.

humidifier

Daily Maintenance Tips

To keep your humidifier mold-free, practice these daily maintenance routines:

Drain and Clean the Tank

Empty the tank every day. Wipe it with a clean cloth to remove any residue.

Fresh Water Usage

Always fill your humidifier with fresh water before each use. This prevents mold growth.

Regular Visual Checks

Look for mold signs every day. Clean spots right away if you find any.

Dry the Exterior

After each use, dry the outside of your humidifier. Avoid damp surfaces where mold thrives.

By incorporating these simple steps into your daily routine, you can significantly prevent the conditions that allow mold to develop in your humidifier. Regular attention to cleanliness will keep your device safe and extend its lifespan. Remember, a little daily care can make a big difference.

Deep Cleaning with Vinegar

To effectively clean mold out of your humidifier, vinegar is your ally. This common household item has natural disinfectant properties that tackle mold and bacteria buildup. Here’s a step-by-step guide for deep cleaning with vinegar:

Disassemble and Empty

Turn off and unplug your humidifier. Take it apart according to the manufacturer’s instructions. Pour out any remaining water.

Prepare Vinegar Solution

Mix equal parts of distilled white vinegar and water. This solution will loosen and remove mold.

Soak Parts in Vinegar

Submerge all non-electrical components in the vinegar solution. Let them soak for at least 30 minutes. This helps break down the mold.

Scrub Components Clean

After soaking, use a small brush to gently scrub the parts. Focus on areas with visible mold.

Rinse with Water

Once you’ve scrubbed away the mold, rinse the parts with clean water. Do so until all traces of vinegar are gone.

Air Dry Completely

Lay out all components on a clean towel. Allow them to air dry completely to prevent new mold growth.

Reassemble Humidifier

Once all parts are dry, reassemble your humidifier. It’s now ready for use with fresh, clean water.

Deep cleaning with vinegar should be part of your regular maintenance. It removes mold and ensures that your humidifier operates effectively.

clean humidifier

Using Bleach for Stubborn Mold

For tough mold, bleach is a strong cleaner. But, use it carefully. Here is how:

Mix Bleach with Water

Take one gallon of water. Add one teaspoon of bleach to it.

Pour into Humidifier

Only fill half the tank with this mix. Do this with care.

Let It Sit

Leave the solution in for at least 20 minutes. Let the bleach work.

Scrub if Needed

If mold is still there, gently scrub. Use a brush.

Rinse Well

Rinse the tank until there’s no bleach smell. It must be fully clean.

Dry the Parts

Let every part of the humidifier dry. Don’t rush this part.

Reassemble Carefully

Once dry, put your humidifier back together. Follow the manual.

Remember, use bleach only for strong mold. Otherwise, stick to milder cleaners like vinegar. And always handle bleach with care, wearing gloves and ensuring good ventilation. Avoid using it too often to keep your humidifier safe.

Replacement and Maintenance of Humidifier Filters

To keep your humidifier in top shape, proper filter care is vital. Filters trap minerals and impurities, preventing them from entering the air. Over time, these filters can become clogged and less effective. Here’s a straightforward approach to replacing and maintaining your humidifier filters:

Recognize When to Replace Filters

Watch for signs that it’s time to replace your filter. These include:

  • A noticeable drop in moisture output.
  • An unpleasant smell from the humidifier.
  • Visible dirt or grime on the filter.

Generally, replacing filters every 1-2 months is a good rule, but check the manual for your specific humidifier.

Steps for Replacing Filters

Follow these easy steps to replace your humidifier filter:

  1. Unplug and disassemble your humidifier.
  2. Remove the old filter.
  3. Insert a new filter as directed.
  4. Reassemble and plug in your unit.

Always use the right filter type for your model. This ensures your humidifier works well and lasts longer.

Cleaning Filters

Some filters can be cleaned instead of replaced. Here’s a cleaning method:

  1. Remove the filter.
  2. Rinse it under cold water to remove debris.
  3. Let it air dry completely before placing it back.

Do not use cleaning agents as they can damage the filter material.

Tips for Long Filter Life

Extend your filter’s life with these tips:

  • Use distilled water to reduce mineral buildup.
  • Flip the filter with each water refill for even usage.
  • Never run your humidifier with a dry or damaged filter.

By regularly replacing and maintaining your humidifier filters, you prevent mold growth and ensure you’re breathing clean, healthy air. Keep these tips in mind and consult your humidifier’s manual for the best care practices.

When to Replace Your Humidifier

Knowing when to replace your humidifier is important for maintaining air quality. Look out for these signs that suggest it’s time to get a new one:

Decreased Efficiency and Performance

If your humidifier takes longer to humidify a room or the mist output has dropped, it could be a sign of aging.

Frequent Repairs

Frequent malfunctions or the need for constant repairs can indicate that your humidifier is reaching the end of its lifecycle.

Difficulty Removing Buildup

When mineral buildup or mold becomes hard to remove despite regular cleaning, consider replacement.

Changes in Noise Level

An increase in noise or strange sounds during operation suggest internal problems that might not be fixable.

Persistent Bad Smells

Bad odors that persist after cleaning could mean that bacteria or mold has infiltrated areas that can’t be cleaned.

Water Leakage

Leakage from the humidifier is a clear sign that it is malfunctioning and may need replacement.

Before replacing your humidifier, ensure that you have attempted proper cleaning and maintenance. Sometimes, simple fixes like deep cleaning or replacing the filter can extend its life. However, if the issues persist, investing in a new humidifier can enhance your air quality and ensure your health and comfort. Consult your manual and consider the age and condition of your current humidifier when deciding to replace it.

How to Clean a Humidifier with Vinegar: Step-by-Step Guide

humidifier

Why Vinegar is Effective for Cleaning Humidifiers

Vinegar is a popular choice for cleaning many household items, and humidifiers are no exception. The acidic nature of vinegar makes it highly effective at dissolving mineral deposits and mold, which commonly accumulate in humidifiers. When water sits in the humidifier, it can lead to the build-up of these unwanted substances. Vinegar, particularly white distilled vinegar, penetrates and breaks down these residues without the need for harsh chemicals. How to clean a humidifier with vinegar?

Moreover, vinegar contains natural antibacterial and antifungal properties. This is crucial for maintaining a clean humidifier. As you may know, a humidifier functions by adding moisture into the air, and an unclean humidifier can actually disperse harmful microorganisms into your environment. Regular cleaning with vinegar helps inhibit the growth of these microorganisms, ensuring that your machine not only operates more efficiently but also supports a healthier indoor air quality.

When learning how to clean a humidifier with vinegar, you ensure that you’re using a non-toxic, accessible, and inexpensive option. Vinegar is safe to handle and does not leave harmful residues, making it an environmentally friendly choice for your regular cleaning routines. It’s a simple yet effective way to maintain your device, ensuring that it continues to function properly and contribute to your home’s comfort.

how to clean a humidifier with vinegar

Signs Your Humidifier Needs Cleaning

It’s important to recognize when your humidifier needs a thorough cleaning. Without regular maintenance, it can become a source of air contamination. Here are some signs that suggest it’s time to clean your device with vinegar:

  • Unusual Smells: If you notice a musty or sour smell coming from your humidifier, it’s a clear indication that mold or bacteria may be growing inside.
  • Visible Mold or Mildew: Check for any visible signs of mold or mildew, especially in areas where water tends to collect.
  • Reduced Mist Output: When the mist output decreases, it may signal that mineral deposits are clogging the machine’s components.
  • Discolored Water Tank: A change in the color of the water tank can mean algae or mold growth. This discoloration often appears as slimy residue or spots on the tank’s interior.
  • Noisy Operation: Listen for any changes in the sound of your humidifier. Increased noise levels can be due to internal blockages or the need for lubrication.
  • Frequent Water Tank Refills: Needing to refill the water tank more often than usual is a sign that the humidifier is not operating efficiently.

Promptly addressing these signs by learning how to clean a humidifier with vinegar will help maintain the device’s effectiveness and ensure the air you breathe is clean.

humidifier

Preparing to Clean Your Humidifier

Before you start the cleaning process, it’s important to gather all the necessary items and prepare your workspace. First, ensure your humidifier is unplugged and placed on a flat, waterproof surface. Clear the area around your humidifier to avoid any accidents or spillage during cleaning.

Next, gather all the cleaning supplies you’ll need for the task. You’ll need white distilled vinegar, a soft brush or sponge, clean cloths, and a large basin or sink for soaking parts. Having gloves may also be useful to protect your skin from the vinegar’s acidity during prolonged contact.

If your humidifier contains a filter, remove it. Check the manufacturer’s instructions to see if it may be cleaned or if it needs replacing. Remember, not all filters are washable, and some might disintegrate when coming into contact with vinegar.

Ensure you have all the tools on hand to disassemble your humidifier. Some humidifiers require a screwdriver or other tools to open them. Read through the user manual to understand how to properly take your humidifier apart without causing damage.

Lastly, make sure you have enough time to complete the cleaning process without rushing. Taking shortcuts could lead to improper cleaning and reassembly, which might cause issues with the operation of your humidifier.

With everything prepared, you’re now ready to begin the actual cleaning process.

clean humidifier

Safety Tips Before You Start Cleaning

Before delving into how to clean a humidifier with vinegar, it’s vital to prioritize safety. Here are some key safety tips to ensure that your cleaning process is not only effective but safe:

  • Unplug the Device: Always unplug your humidifier before you start cleaning. This prevents any risk of electric shock.
  • Wear Protective Gear: Consider wearing gloves to protect your hands from the acidity of the vinegar. If you have sensitive skin or allergies, also think about wearing a mask.
  • Use the Right Materials: Ensure you’re using non-abrasive tools for cleaning. A soft brush, sponge, or cloth will do the job without scratching your humidifier.
  • Ventilate the Area: While vinegar is not toxic, its smell can be strong. Work in a well-ventilated area to avoid breathing in the fumes for too long.
  • Keep Materials Away from Children and Pets: Store your vinegar and cleaning materials out of reach to prevent accidental ingestion or contact.
  • Avoid Mixing Chemicals: Never mix vinegar with bleach or other chemicals. This can create toxic gases that are harmful to inhale.
  • Handle Electronics with Care: If your humidifier has electronic parts, avoid exposing them to liquids. Consult the manual to understand the best way to clean these components.

By following these safety tips, you’ll ensure a risk-free cleaning experience when using vinegar to clean your humidifier.

Step-by-Step Cleaning Process

Embarking on the cleaning journey, it’s essential to follow a meticulous sequence to ensure thoroughness and safety. Below, a detailed guide awaits to simplify the task of how to clean a humidifier with vinegar.

Gather Your Cleaning Materials

Commence by collecting all necessary cleaning supplies. You will need white distilled vinegar, a soft-bristled brush or sponge, several clean cloths, and a sizeable basin or tub for soaking. Donning gloves is a smart choice to shield your skin from the acidic nature of the vinegar.

Disassemble Your Humidifier

Carefully take apart your humidifier. Remove any detachable components such as the water tank, the mist nozzle, and any removable filters or screens. Check your manual for guidance on disassembling these parts properly, avoiding damage.

The Vinegar Soaking Method

Fill your basin or tub with a mix of one part white distilled vinegar to one part water. Submerge the main parts of your humidifier in the solution. Let them soak for at least 30 minutes to loosen mineral deposits.

Cleaning the Small Parts

For tinier parts and hard-to-reach crevices, dampen your brush or sponge with vinegar. Gently scrub these areas until clean. This step ensures that no spot is left untreated.

Rinsing and Reassembling

After the soak and scrub, rinse all parts thoroughly with clean water. It’s crucial to remove all traces of vinegar to prevent any odor when the humidifier is back in use. Reassemble the clean components, ensuring everything is secure and fits as intended.

With these steps, your humidifier will not only be clean but also in prime condition to enhance your home’s air quality safely.

Frequency of Cleaning Your Humidifier

Knowing how often to clean your humidifier is key to its upkeep and efficiency. Regular cleaning prevents the build-up of harmful organisms and keeps the unit running smoothly. Here’s how frequently you should engage in cleaning your humidifier with vinegar:

  • General Guideline: Aim to clean your humidifier at least once a week. This routine maintenance ensures it remains free of mold and bacteria.
  • Under Heavy Use: If you use your humidifier daily or live in an area with hard water, consider cleaning it twice a week. Increased usage or mineral-rich water can hasten residue accumulation.
  • During Flu Season: Heighten your cleaning frequency during flu season or when household allergy symptoms increase. Keeping your humidifier clean may reduce the spread of germs and allergens.
  • After Extended Storage: Always clean your humidifier thoroughly after it has been stored for a long period. This wash removes any stagnant water or mildew that may have formed.

Performing regular maintenance by cleaning your humidifier with vinegar not only extends its life but also supports healthier indoor air quality.

Maintaining Your Humidifier Post-Cleaning

After learning how to clean a humidifier with vinegar, it’s just as crucial to maintain your device for lasting use. Here are steps to keep your humidifier in top shape after cleaning:

  • Dry All Parts Completely: Before reassembling, make sure all components are fully dry. This prevents mold growth.
  • Check Seals and Filters Now: This is a good time to check if seals are tight and filters need replacing. Doing so ensures efficient operation.
  • Avoid Hard Water: Use distilled water to fill your humidifier. It has fewer minerals that can build up in your device.
  • Regularly Empty the Tank: Don’t let water sit in the tank for too long. Replace it daily to keep it fresh and clean.
  • Monitor for Signs of Wear: Look out for wear and tear. Replace worn-out parts to avoid malfunctions.
  • Store Properly: If not in use, empty the tank and dry the humidifier. Store it in a cool, dry place.

Following these maintenance tips after you clean a humidifier with vinegar will help prolong its lifespan. Regular upkeep ensures that your humidifier stays clean and efficient, contributing to better indoor air quality.