Introduction: Understanding Dehumidifiers with Drain Hoses
Installing a dehumidifier with drain hose can greatly enhance your home’s comfort by effectively managing indoor humidity levels. If you live in a damp area or frequently face moisture problems in your basement or crawl spaces, a dehumidifier can make a significant difference. This guide will take you through the step-by-step process to install your dehumidifier with a drain hose, ensuring that you achieve optimal results from your device. Let’s dive into the world of moisture control and create a more comfortable living environment!
Why Consider a Dehumidifier?
Before delving into the installation process, it’s essential to understand the core benefits of a dehumidifier. These appliances play a critical role in maintaining healthy humidity levels in your home, usually between 30% and 50%. Excess humidity can lead to various problems, including:
- Mold and Mildew Growth: Moist environments can promote the growth of mold and mildew, which can cause both structural damage and health risks.
- Increased Allergens: Higher humidity levels can lead to increased allergens, such as dust mites and mold spores, contributing to respiratory issues and allergies.
- Unpleasant Odors: Damp areas like basements may develop musty odors that linger throughout your home.
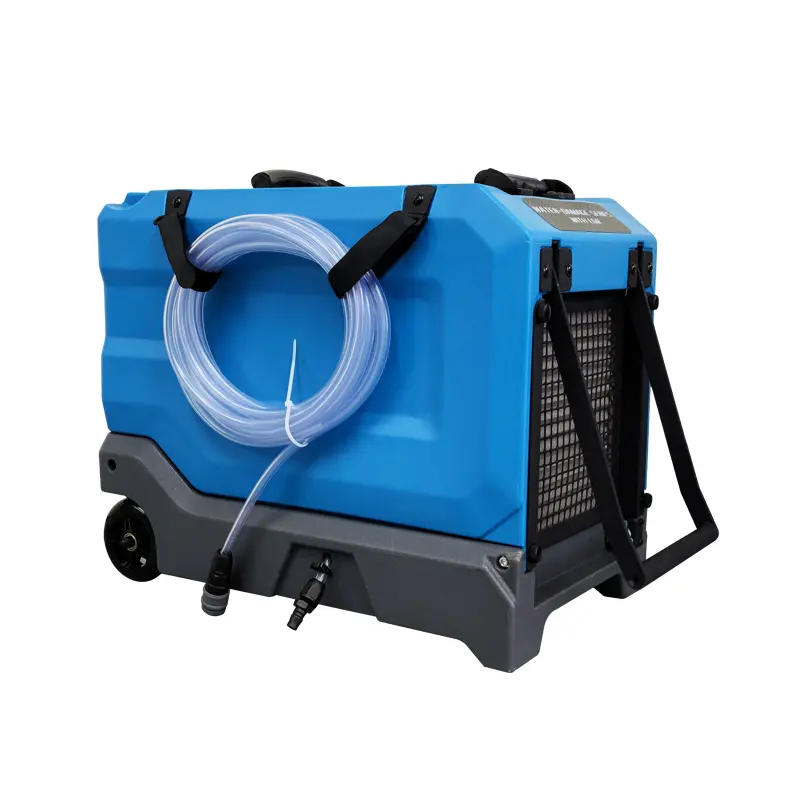
Using a dehumidifier not only enhances comfort but also protects your home and health. A model equipped with a drain hose can effectively address these concerns without the hassle of manual water removal.
 Benefits of Using a Dehumidifier with a Drain Hose
When considering a dehumidifier, one question frequently arises: Why opt for a model with a drain hose? Dehumidifiers that offer this feature provide several advantages:
Convenience
A dehumidifier with a drain hose alleviates the need for emptying the water reservoir constantly. If you live in a humid area, the water tank can fill up quickly. Consequently, a direct drain—using the hose—allows you to set it and forget it, running continuously without interruption.
Reduced Risk of Overflow
Additionally, with a continuous draining setup, you minimize the risk of overflow, which can lead to costly water damage. Ensuring that the water is directed out of the unit properly minimizes the chance of spills affecting your floors or walls.
Better Energy Efficiency
Moreover, continuous drain setups can function more effectively than those relying solely on a full tank. This generally leads to energy savings, as the unit operates efficiently without cycling frequently.
Time-Saving
Not only does a drain hose save time, but it also provides peace of mind. No one wants to spend time monitoring and emptying a water tank. With a drain hose, your dehumidifier can run for hours or days without intervention, which proves invaluable during peak humidity seasons.
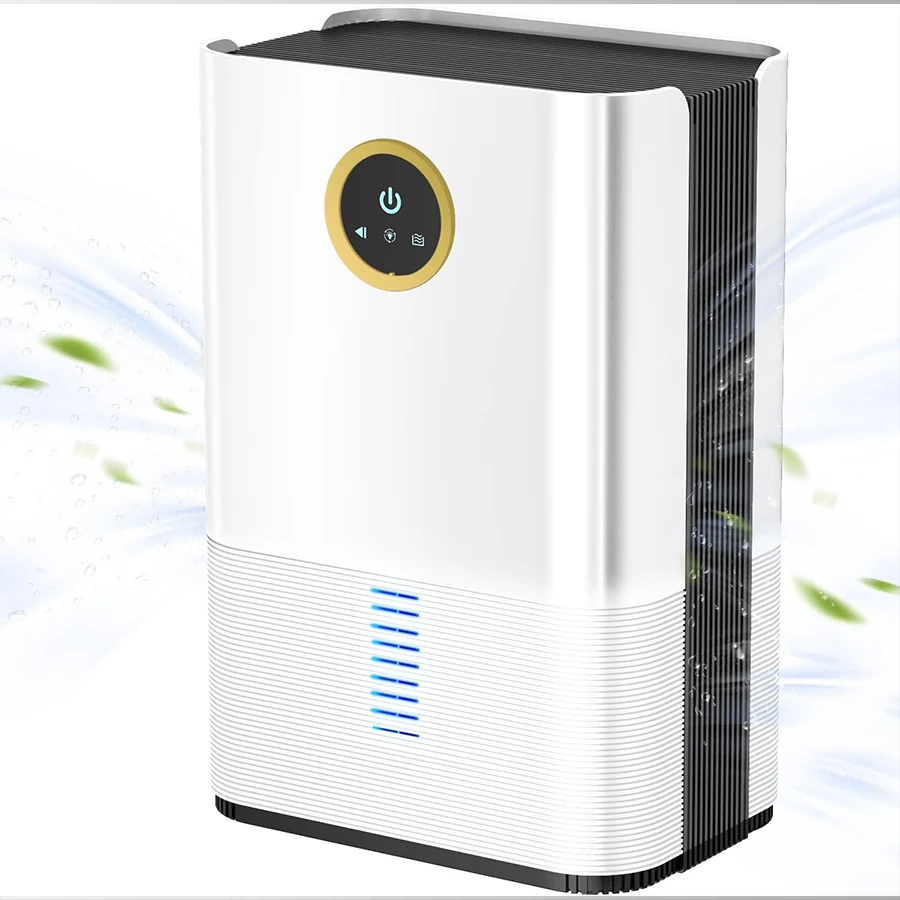
 Tools and Materials You’ll Need
Before beginning the installation process, it is crucial to gather all necessary tools and materials. This preparation will streamline the installation and ensure you have everything on hand. You will need:
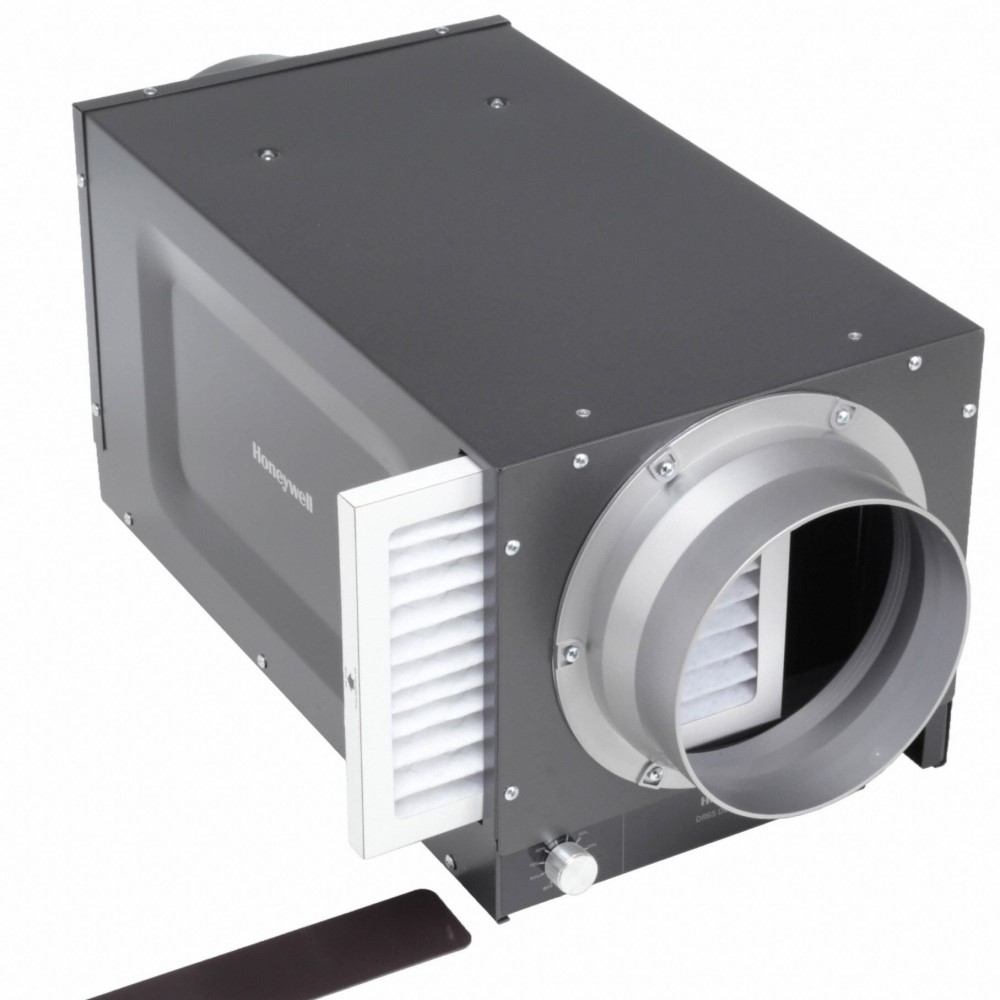
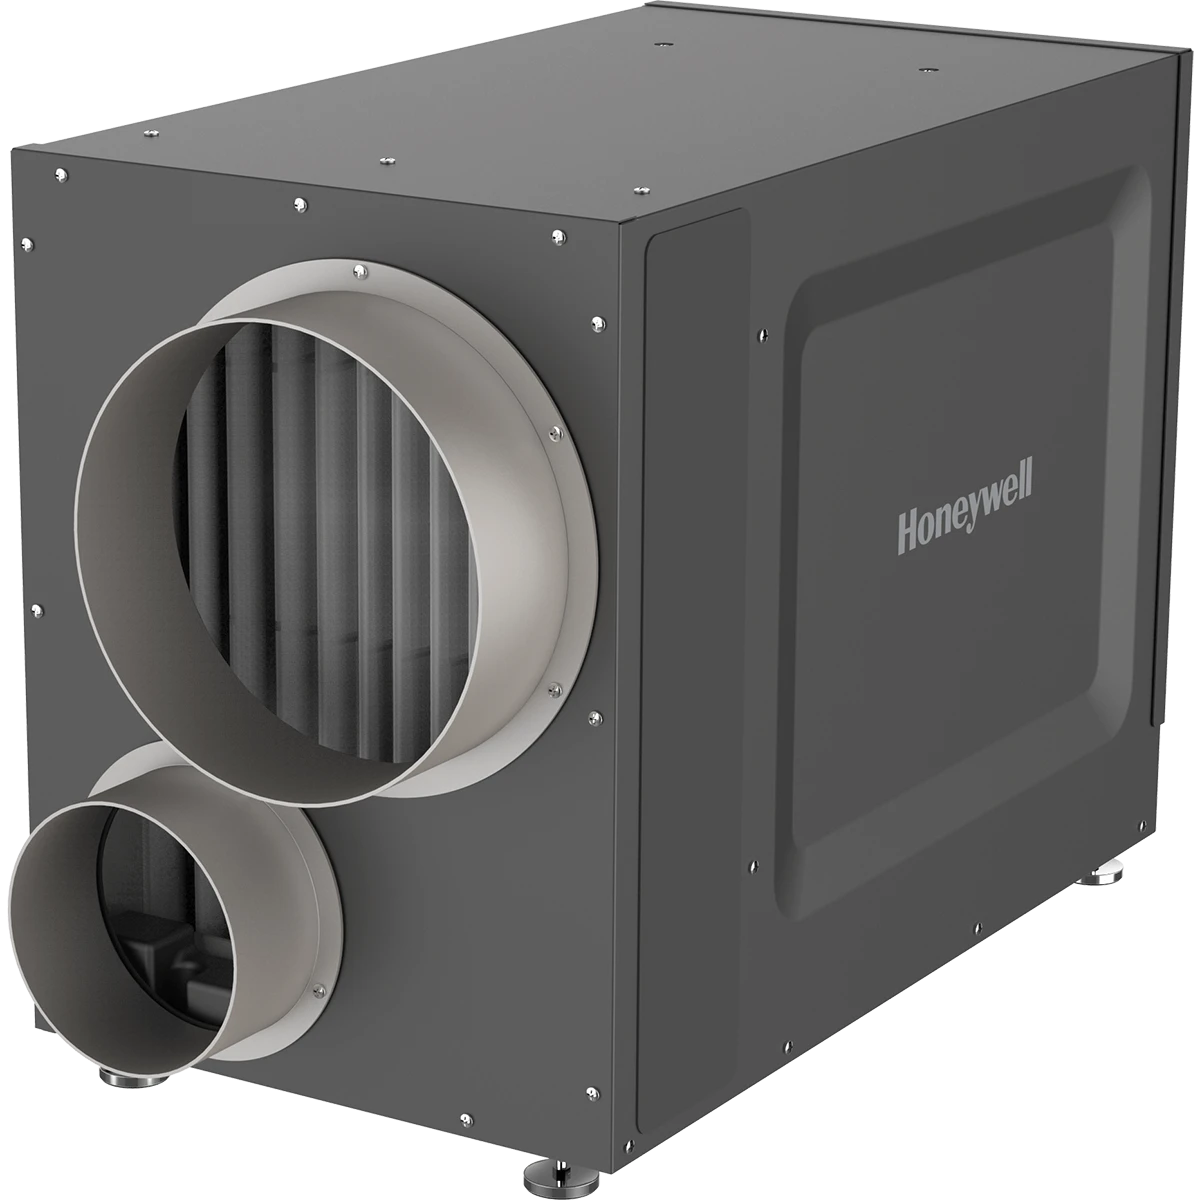
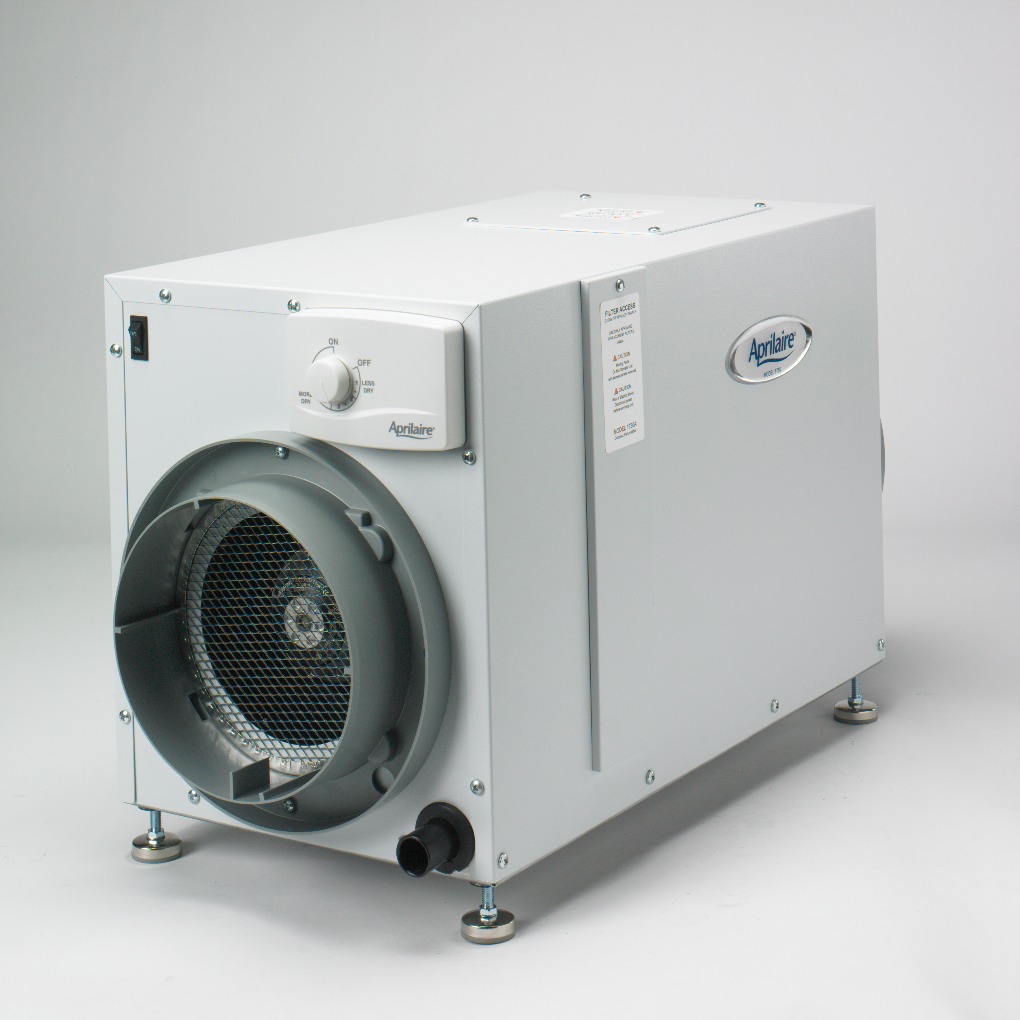
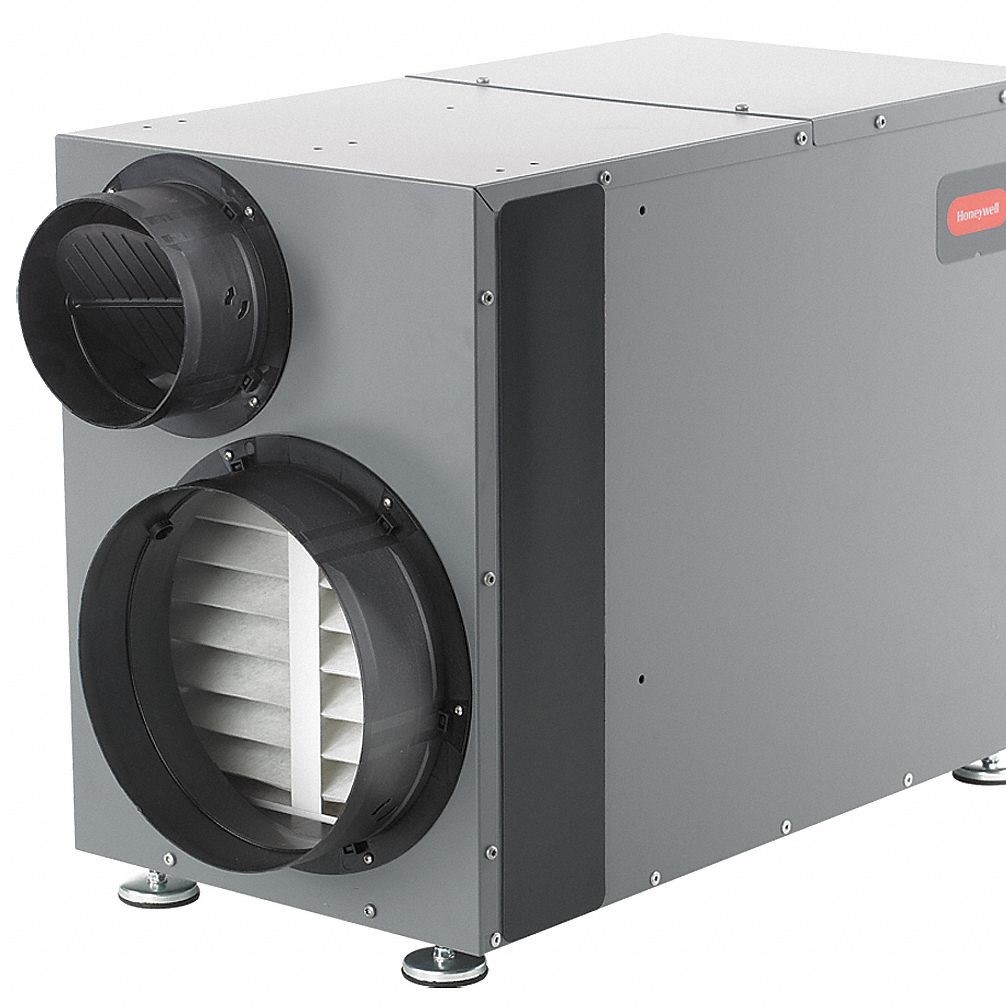
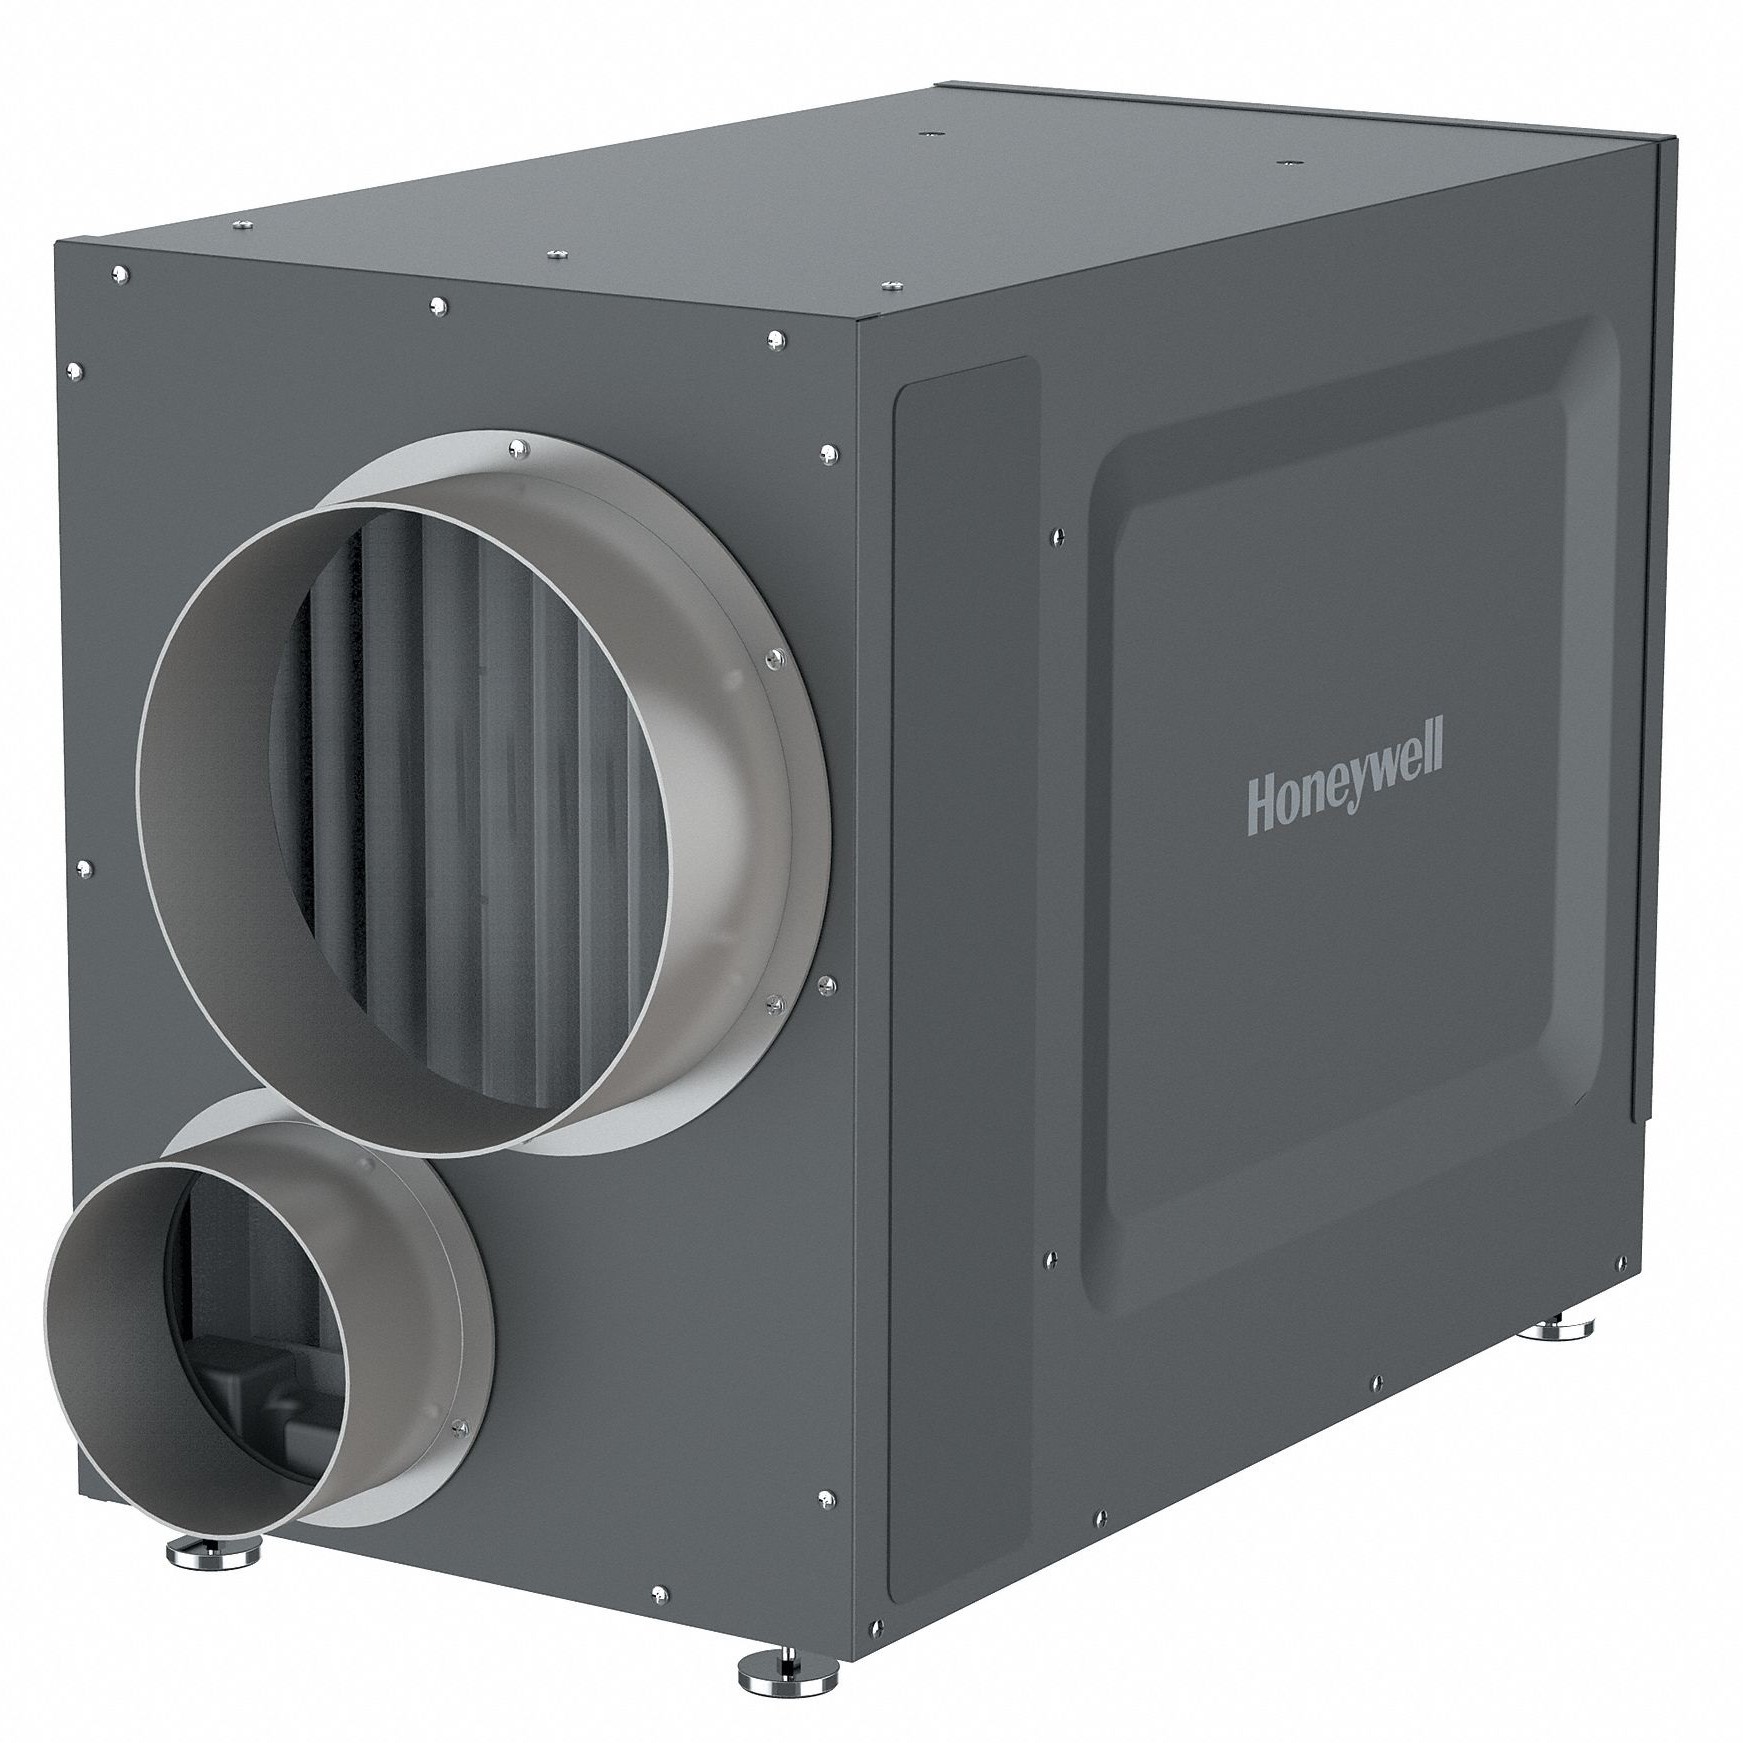
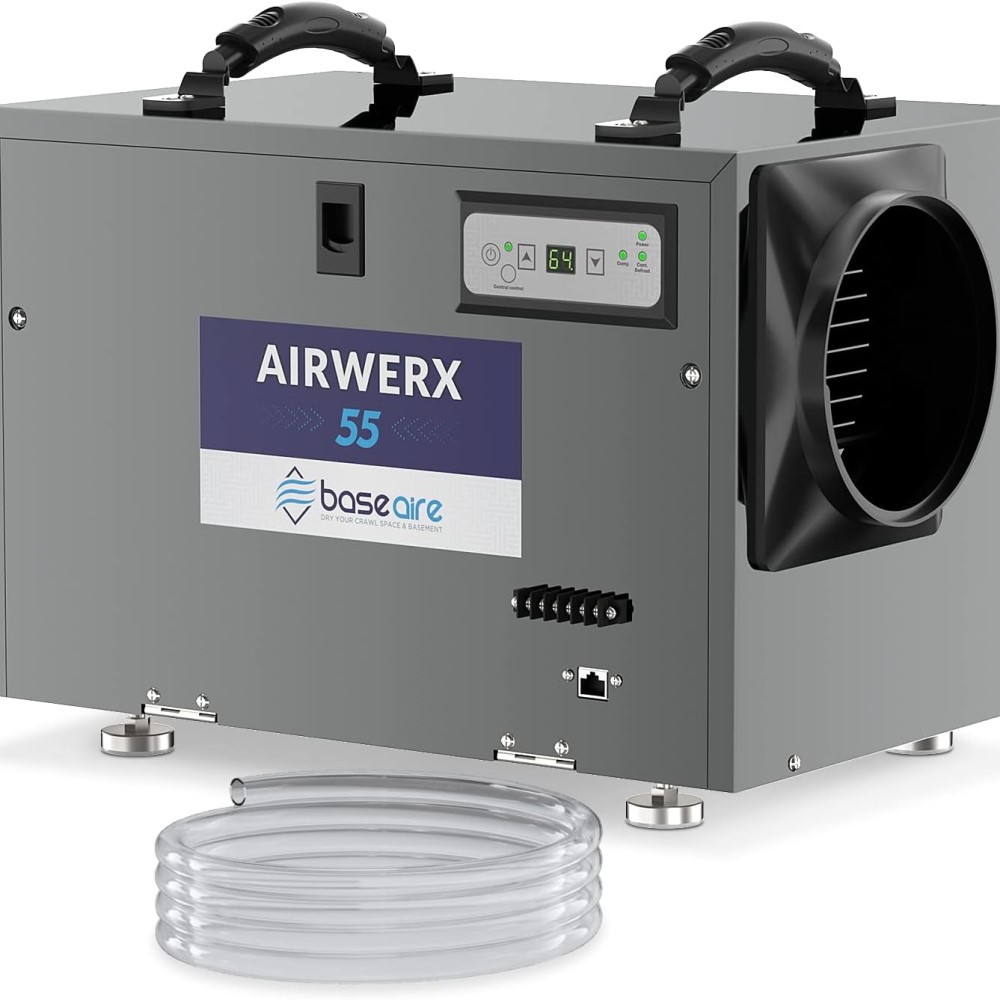
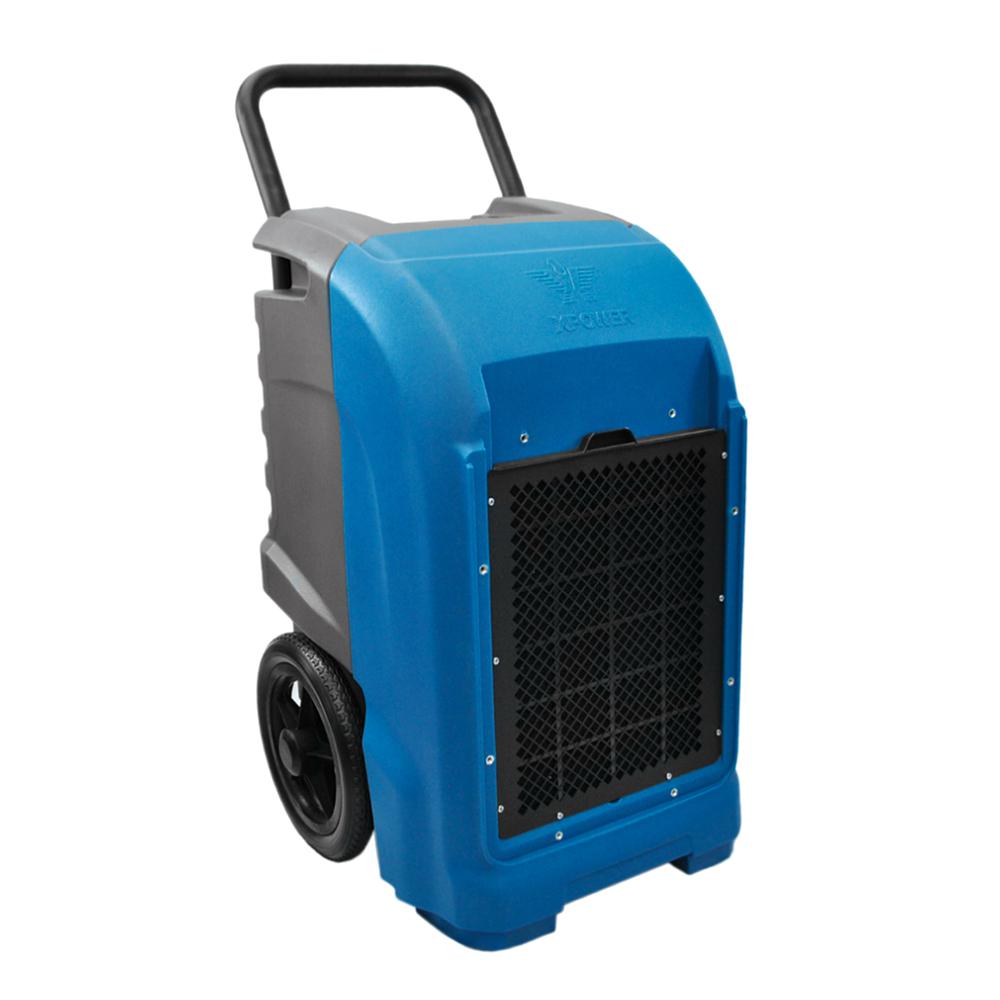
- Dehumidifier with Drain Hose: Ensure it’s the right model for your space.
- Drain Hose: Typically supplied with your dehumidifier, but ensure it’s long enough for your specific setup.
- Teflon Tape: To secure all connections and prevent leaks.
- Screwdriver: For securing any mounts if your dehumidifier requires them.
- Level: To ensure your dehumidifier is set correctly.
- Drill (optional): If you need to create any holes for drainage.
- Utility Knife: In case you need to trim the drain hose.
- Bucket or Container: To catch any excess water during installation.
Having these items prepared will contribute to making the installation smoother and more efficient.
Step 1: Choose the Right Installation Location
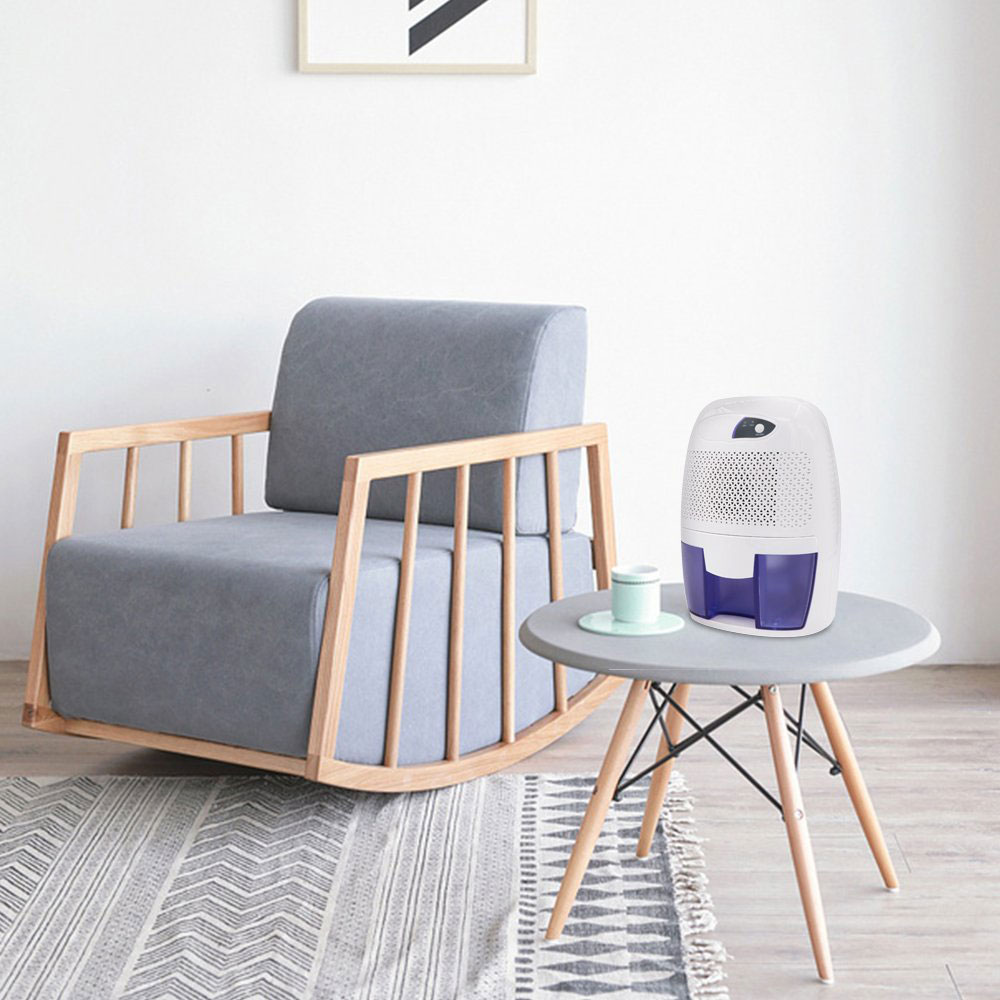
The location of your dehumidifier is crucial for optimum performance. Ideally, place it in an area that experiences the most humidity, such as a basement, bathroom, or laundry room.
Important Considerations
- Avoid Corners: Therefore, place the unit in a central location within the room to ensure maximum airflow.
- Power Source: Make sure there’s an accessible outlet nearby, as your unit will need power to operate.
- Room Temperature: Furthermore, avoid placing the unit in an area where it may be exposed to extreme temperatures, as this can affect performance.
- Floor Level: Confirm that the floor is level; an uneven surface can hinder proper drainage.
By carefully selecting the right installation site, you set the foundation for effective moisture control, ultimately enhancing your home environment.
 Step 2: Setting Up the Drain Hose
Once you’ve selected the perfect spot for your dehumidifier, it’s time to set up the drain hose. Most units come with a drainage outlet located at the back or side.
Steps to Follow
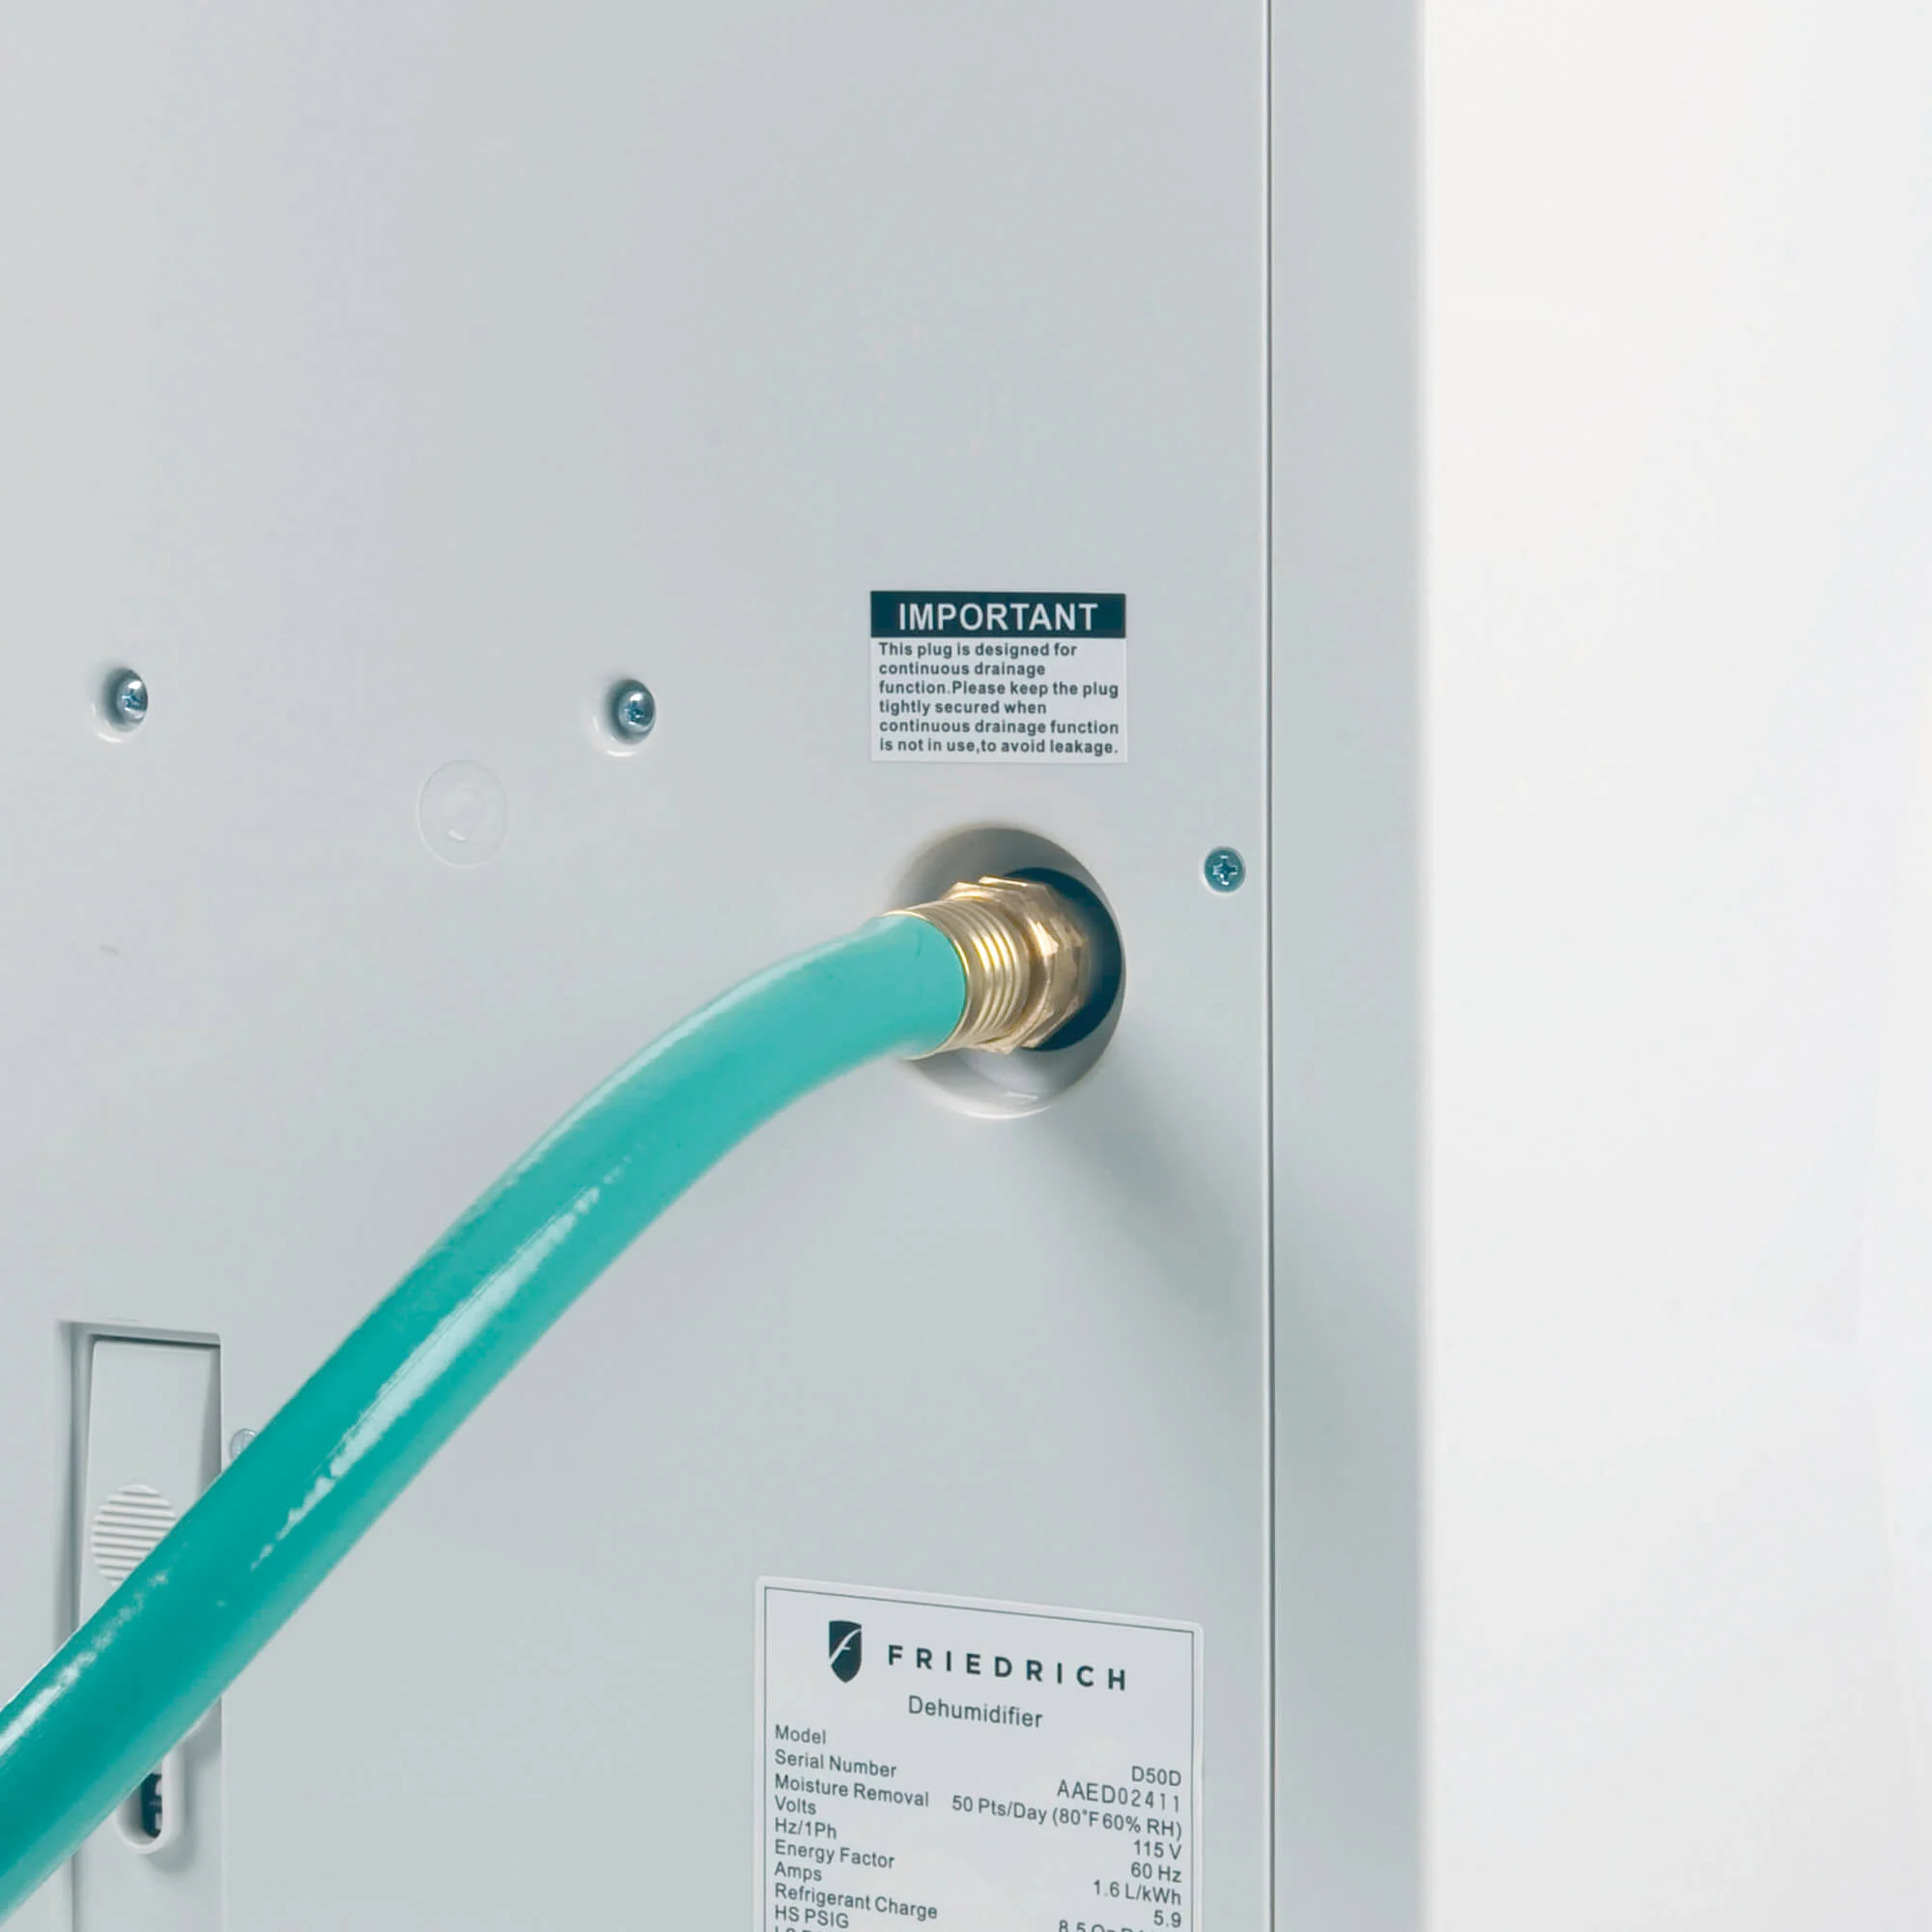
- Attach the Drain Hose: First and foremost, connect the drain hose to the designated outlet. Ensure that it fits snugly.
- Seal Connections: If your unit has a threaded outlet, use Teflon tape to create a watertight seal. This step is crucial to prevent leaks.
- Determine Drain Path: Then, decide the direction in which the water will flow. Ideally, lead the hose toward a floor drain. If using a sink, ensure the hose reaches without kinking.
Important Note
It’s critical to ensure the hose has a downward slope, as gravity will help water flow effectively.
Step 3: Connecting to a Floor Drain or Outdoor Outlet
This step involves connecting your dehumidifier to a drainage point, whether indoor or outdoor.
Indoor Connection
- Secure the Hose to the Drain: When connecting to a floor drain, ensure that the hose fits snugly and is secured to prevent any disconnect during operation.
- Use Support Clamps: In cases where the hose extends a distance to the drain, consider using clamps to hold the hose in place.
Outdoor Connection
- Extend the Hose: If routing outside, ensure that the drain hose extends far enough away from the foundation of your house to prevent water accumulation.
- Protect Against Freezing: In colder climates, insulation of the external hose is vital to prevent freezing, which could block the drainage.
Double Check Connections
Before proceeding to the next step, thoroughly inspect all connections to ensure they are secure and free from leaks. It’s best to verify now rather than face complications later.
Step 4: Testing the System
Once the drain hose is in place, it’s time to test your dehumidifier.
Steps to Execute
- Plug it in: Connect the dehumidifier to an electrical outlet.
- Turn it on: Set the desired humidity level; if unsure, starting at around 50% is a safe bet.
- Monitor the Unit: Over the first few hours, keep an eye on the device to ensure that it’s operating correctly and that the water flows smoothly through the hose.
- Check for Leaks: Finally, watch for any pooling water around the dehumidifier or along the drain hose.
Troubleshooting
- If Water is Not Draining: In such cases, double-check the hose for kinks or clogs. Ensure it remains sloping downward to allow gravity to assist drainage.
- Check the Unit: Listen for unusual noises or inspect for error messages. Your unit’s manual can offer guidance in troubleshooting.
 Step 5: Maintaining Your Dehumidifier
Once installed, ongoing maintenance is essential to keep your dehumidifier running efficiently. Regular upkeep can prolong its lifespan and maintain optimal operation.
Regular Maintenance Tasks
- Clean the Filter: Generally, you should clean or replace the filter every few weeks, according to the manufacturer’s recommendations. Clogged filters can impede airflow and reduce performance.
- Inspect the Drain Hose: Monthly, check the drain hose for clogs or any stagnant water. If necessary, clean it to maintain effective drainage.
- Wipe Down the Unit: Regularly using a soft cloth to remove dust and debris from the unit enhances its air circulation capabilities.
- Monitor Humidity Levels: Use a hygrometer to check indoor humidity levels. Maintaining levels between 30% and 50% helps prevent mold growth and keeps the air comfortable.
- Seasonal Check-Ups: Furthermore, before and after humid seasons, conduct thorough inspections to ensure everything functions correctly.
Seasonal Preparation Tips
- Cold Weather: Before winter, double-check outdoor connections or insulation.
- Summer Maintenance: Clean the surroundings and ensure no debris blocks airflow.
 Conclusion: Enjoying a Comfortable Home Environment
In conclusion, a dehumidifier with drain hose is an excellent investment for anyone looking to enhance their home’s indoor air quality and comfort. The installation process is straightforward, and by following these step-by-step instructions, you can enjoy the benefits of a properly functioning dehumidifier in no time.
When it comes to home comfort, managing moisture levels is crucial. With the knowledge and tools at your disposal, you can take control of your indoor environment. Not only does this enhance comfort, but it also contributes to a healthier living space.
Say goodbye to dampness, mold, and allergen build-up. With these strategies in place, your home will be an oasis of comfort and health.
 Understanding the Importance of a Dehumidifier
 Top Models of the Small Dehumidifiers
 Comparing the Top Small Dehumidifiers
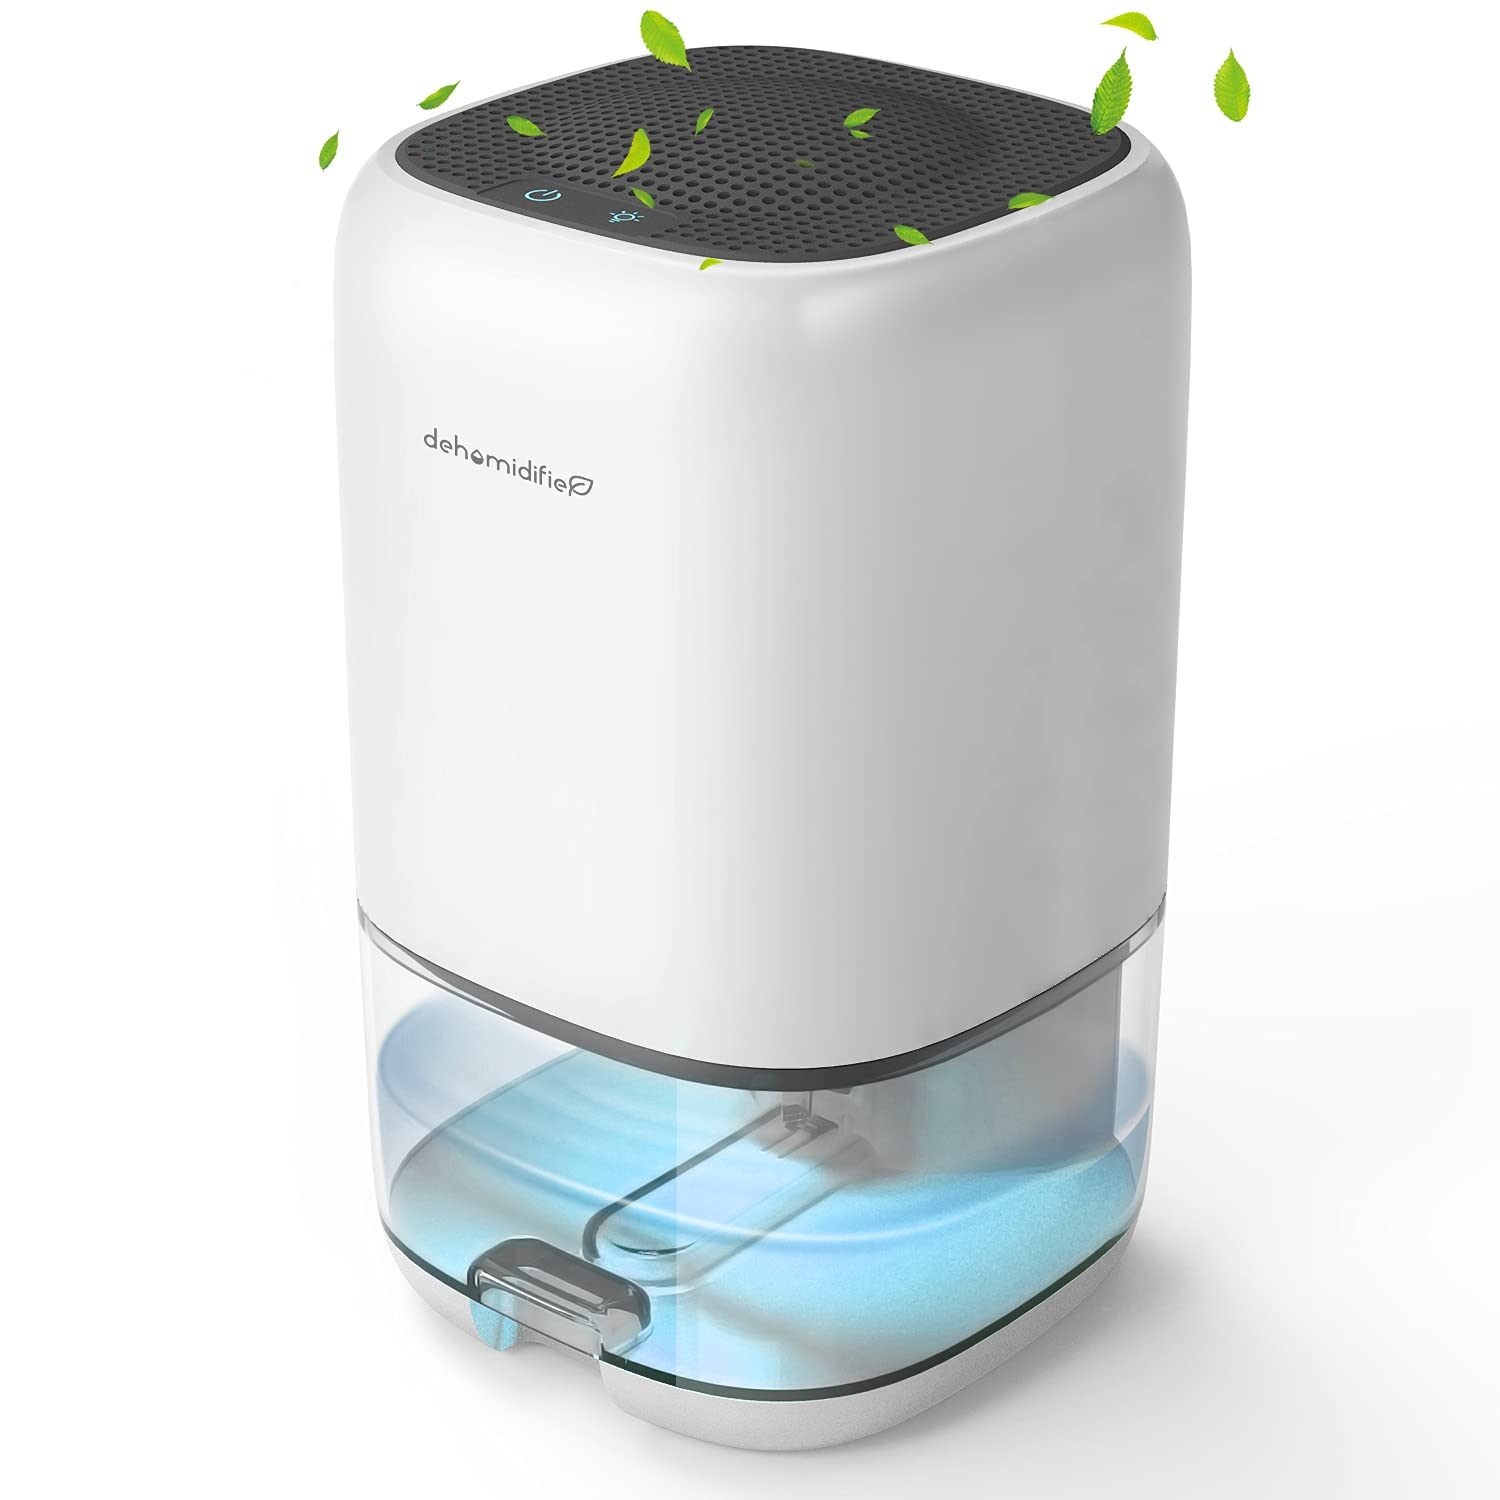 Benefits of Using the Small Dehumidifier
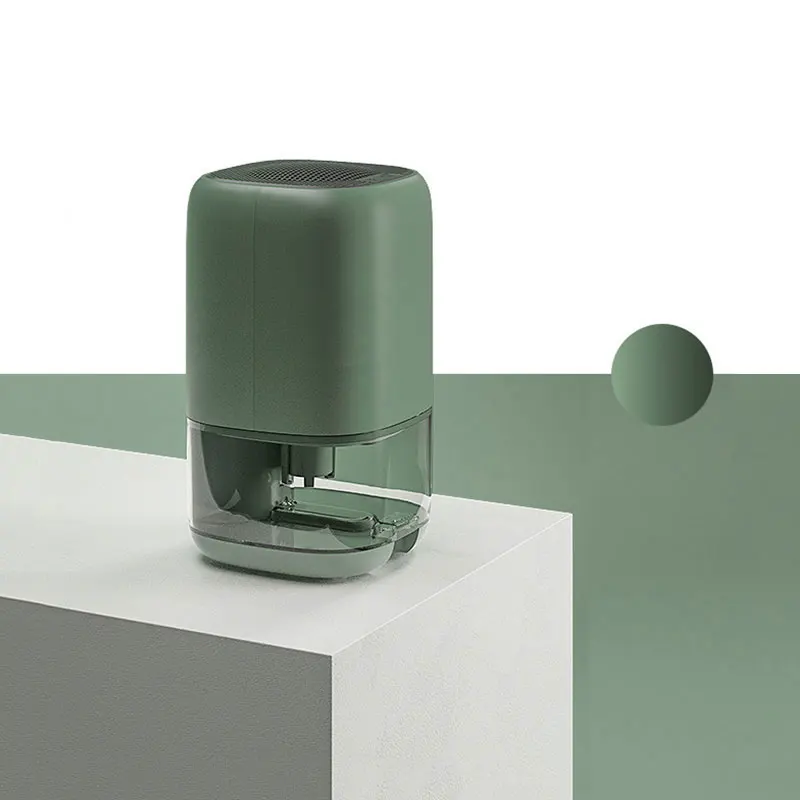
 Understanding the Importance of Dehumidifiers
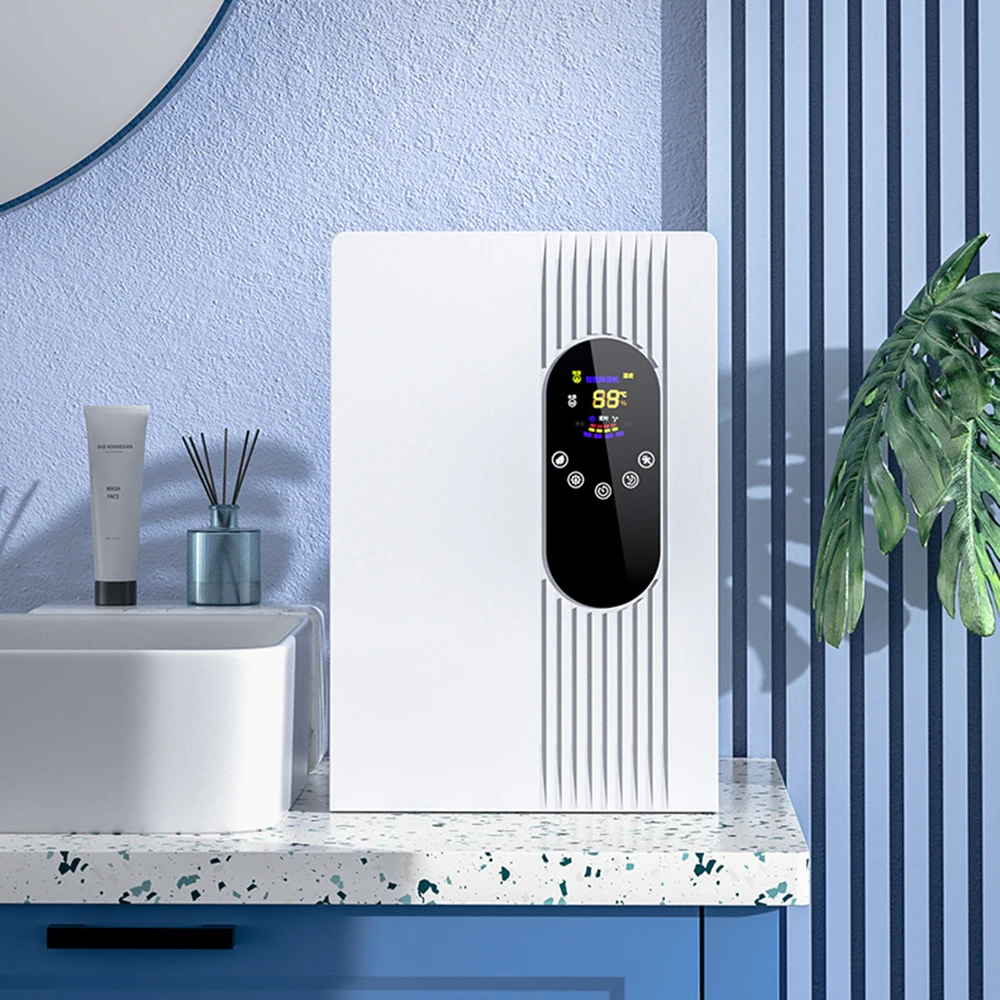 Top Dehumidifiers of 2025
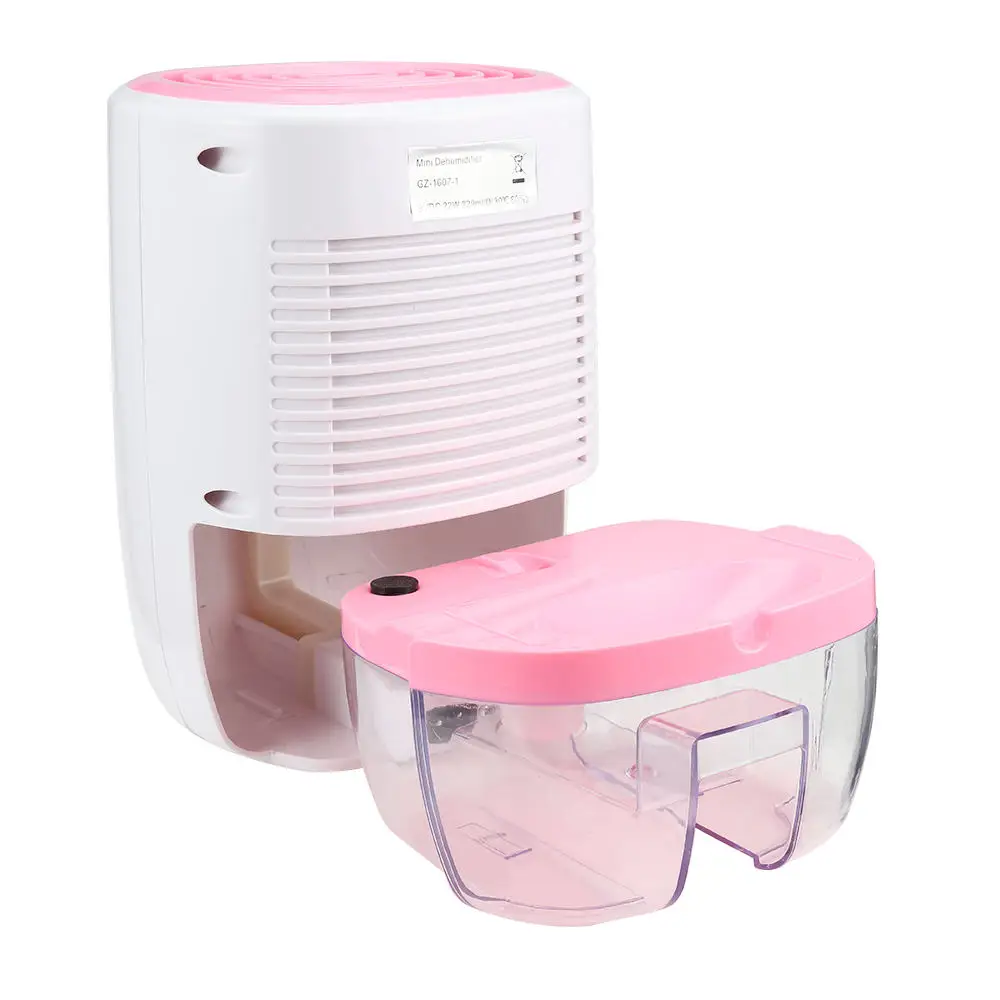 Buying Guide: How to Choose the Right Dehumidifier
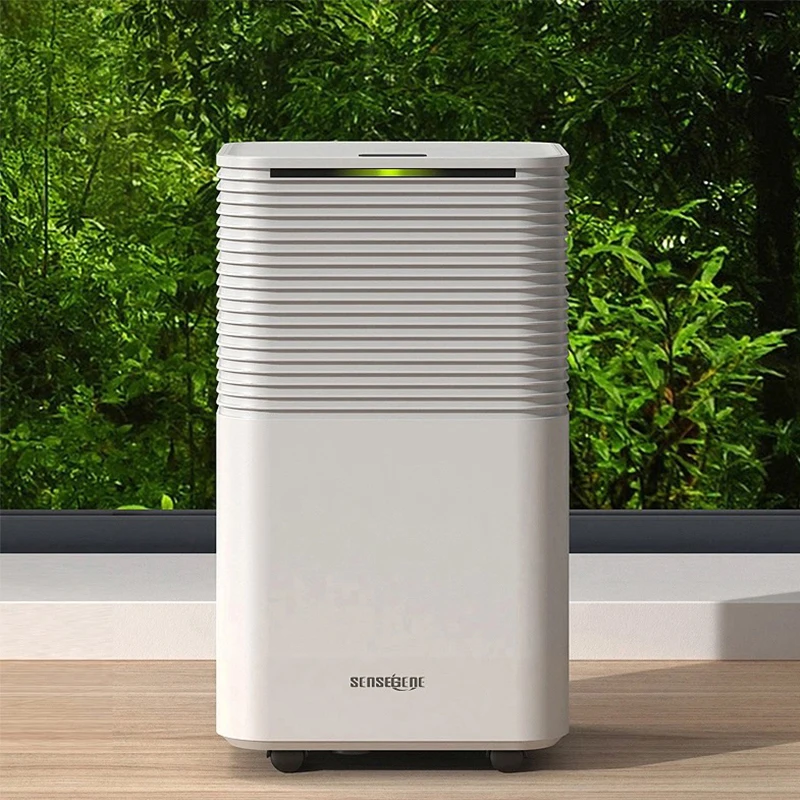 Common Mistakes to Avoid When Buying a Dehumidifier