Introduction to Oven Cleaning with Ammonia
When you tackle oven cleaning, you might picture hours of scrubbing and inhaling harsh chemicals. However, ammonia offers a simpler and more efficient way to make your oven sparkle. Although it may sound daunting at first, learning how to clean oven with ammonia can transform this dreaded chore into an effortless task.
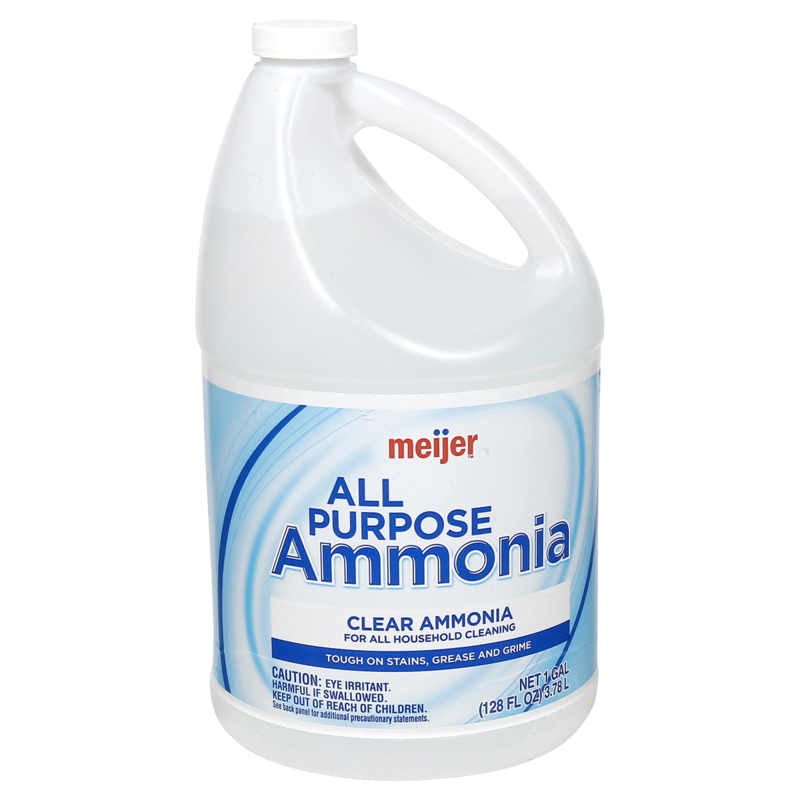
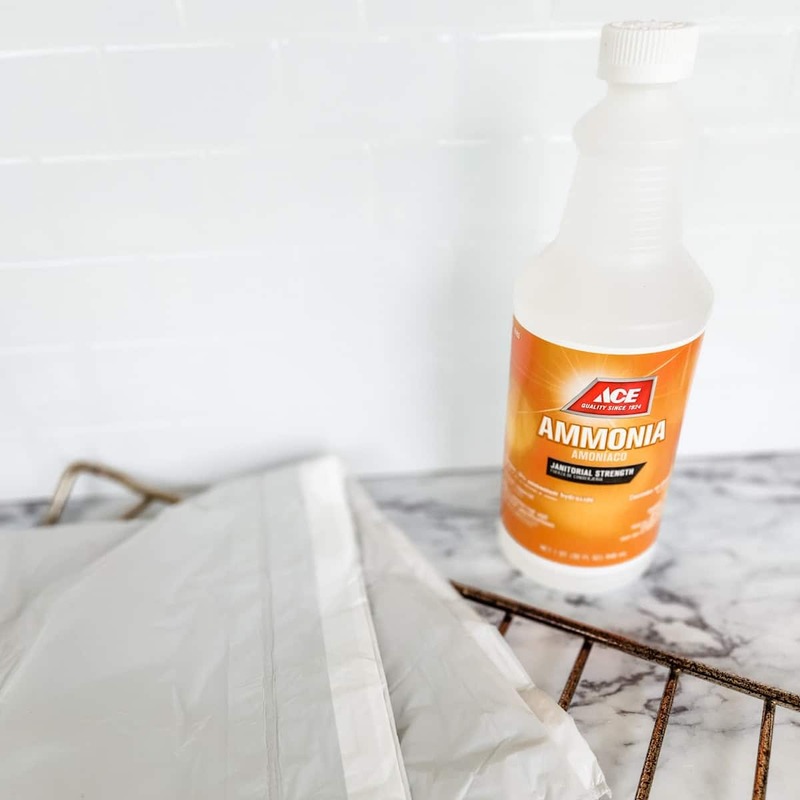
Ammonia is known for its potent cleaning abilities. It’s a household item that doubles as a powerful degreaser, capable of slicing through oven grime and grease with ease. Its chemical properties are ideal for those tough-to-clean oven messes, making it a go-to solution for many homeowners.
One of the biggest draws to clean oven with ammonia is its cost-effectiveness. Unlike many commercial oven cleaners that can be pricey, ammonia is relatively inexpensive and readily available. Plus, it’s versatile enough to handle different oven types, from gas to electric.
This guide will lead you through each step to clean your oven with ammonia. From the necessary safety precautions to the actual cleaning process, and finally on maintaining your appliance’s cleanliness. We’ll show you how to leverage ammonia’s remarkable cleaning powers safely and effectively.
So, grab your gloves and get ready for an easier way to clean — let’s dive into the simplicity to clean oven with ammonia.
Ammonia: An Effective Oven Cleaner
Ammonia’s cleaning properties make it ideal for oven maintenance.
Chemical Properties and Cleaning Power
Ammonia is a strong alkaline solution, perfect for dissolving stubborn oven grease and food residue. Its ability to turn into a vapor helps loosen and lift grime when heated. This makes it great for tackling the spectrum of oven spills.
Here are key aspects of ammonia that enhance cleaning:
- Alkaline Nature: Breaks down acidic stains easily.
- Solubility: Mixes with water to reach all oven parts.
- Gas Release: Heated ammonia vaporizes, easing residue removal.
- Odor Neutralization: Deodorizes the oven while cleaning.
In essence, ammonia reacts with the oven mess, turning a tough chore into an easier one.
Advantages Over Commercial Cleaners
Using ammonia in oven cleaning offers several benefits:
- Economical: It is more affordable compared to brand cleaners.
- Efficacy: Cleans as well, if not better than, many chemical products.
- Versatility: Suitable for different oven models and types.
- Safety: With proper use, it is a safe home cleaning alternative.
- Simplicity: Straightforward application without extra tools.
Ammonia stands out as a practical and potent option for oven cleaning, providing benefits that commercial cleaners might not match.
DIY Oven Cleaner with Ammonia
Creating your DIY oven cleaner is simple and effective. It allows you to take charge of your cleaning routine while saving money.
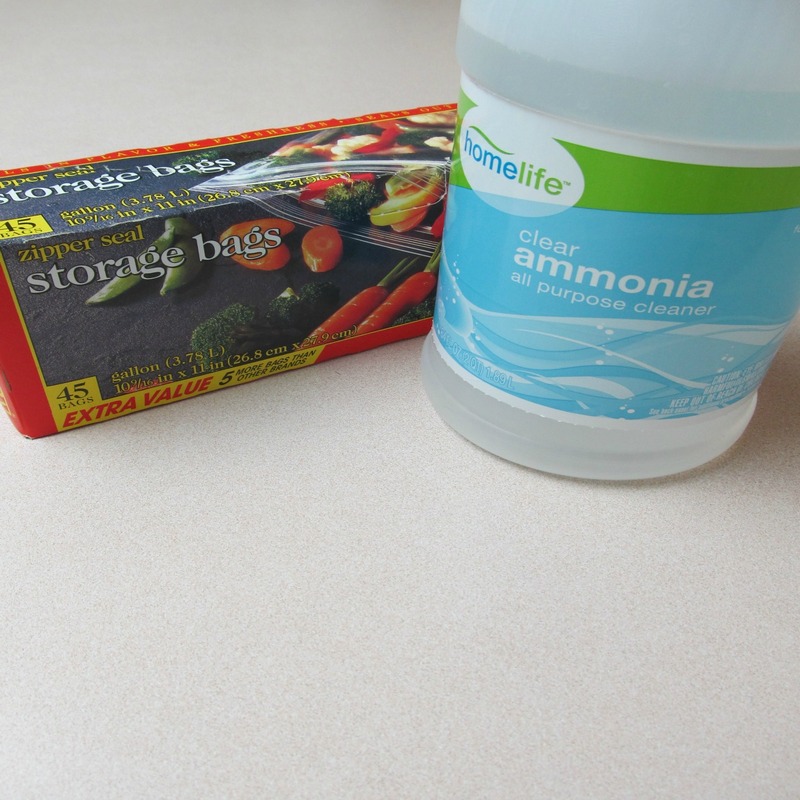
Necessary Ingredients
To make this potent cleaner, you’ll need:
- 1 cup of ammonia
- 1 cup of water
- 1 tablespoon of baking soda
- A few drops of dish soap
Steps to Create Your Own Ammonia-Based Oven Cleaner
Follow these easy steps:
- Combine the ammonia, water, baking soda, and dish soap in a spray bottle.
- Shake it well to mix the ingredients thoroughly.
- Your DIY oven cleaner is now ready for use.
Use this homemade solution to cut through oven grime. Apply, let it work, and then simply wipe away the dirt. Remember, work in a well-ventilated area and wear gloves to protect your hands.

Pre-Cleaning Preparation
Before clean oven with ammonia, preparing the area is key to a safe and effective cleaning process.
Safety Tips and Ventilation
Ammonia is a potent cleaner but requires careful handling. Here are tips to ensure your safety:
- Open windows or turn on an exhaust fan to keep air moving.
- Wear gloves to protect your skin from the ammonia.
- Use eye protection to prevent splashes in your eyes.
- Read and follow all warnings on the ammonia bottle.
- Don’t mix ammonia with other cleaning agents, especially bleach.
Ensuring good ventilation is crucial when working with ammonia to avoid inhaling fumes.
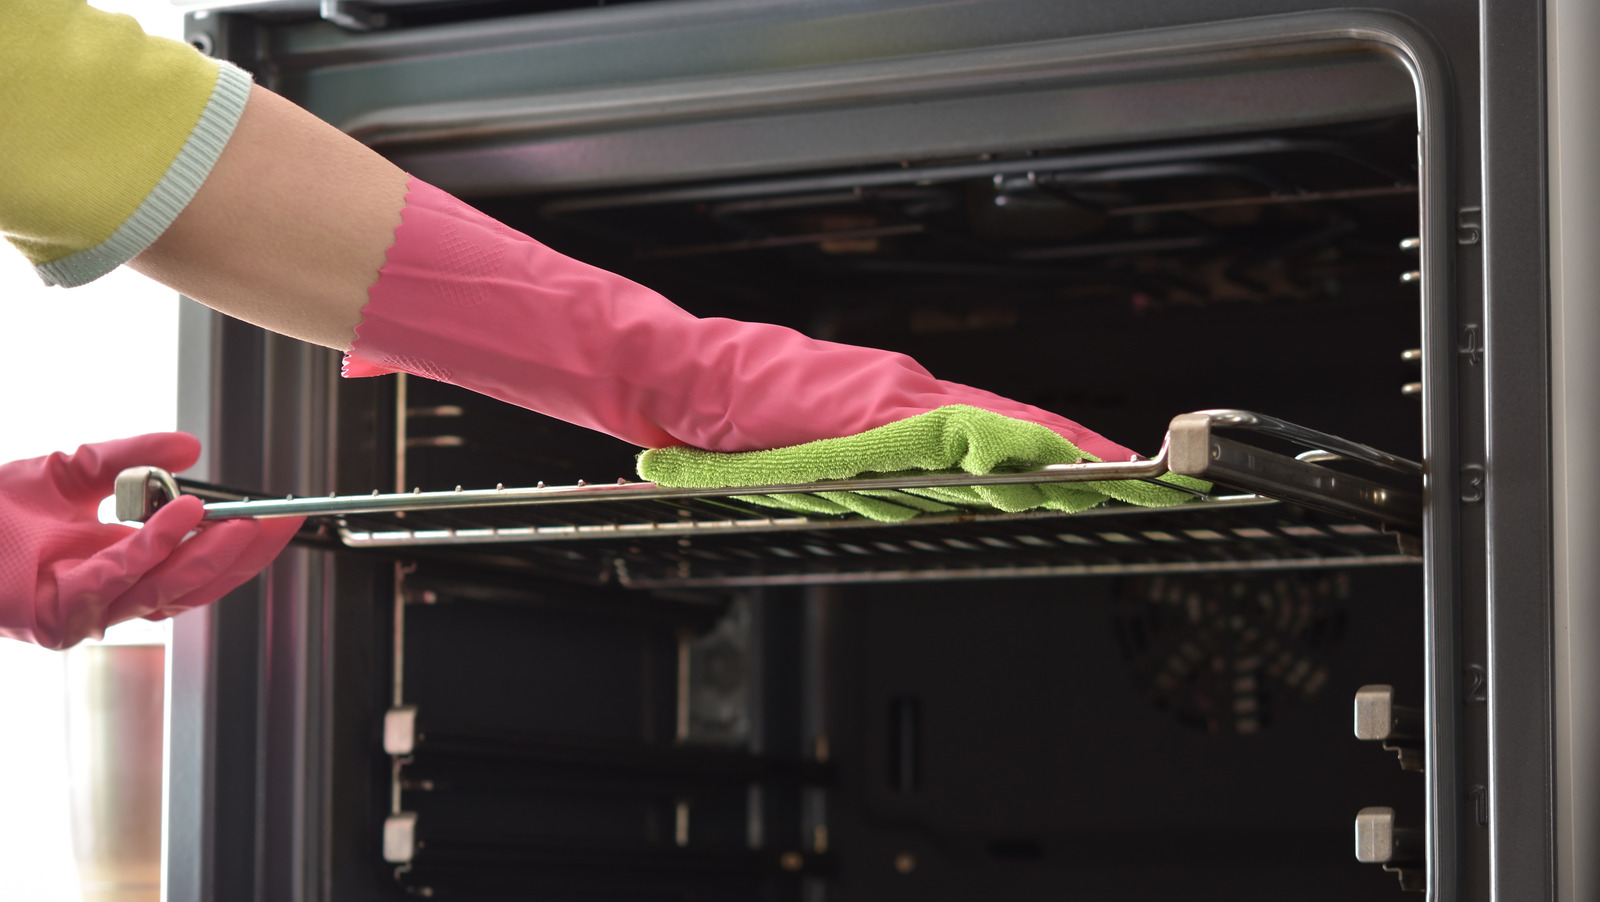
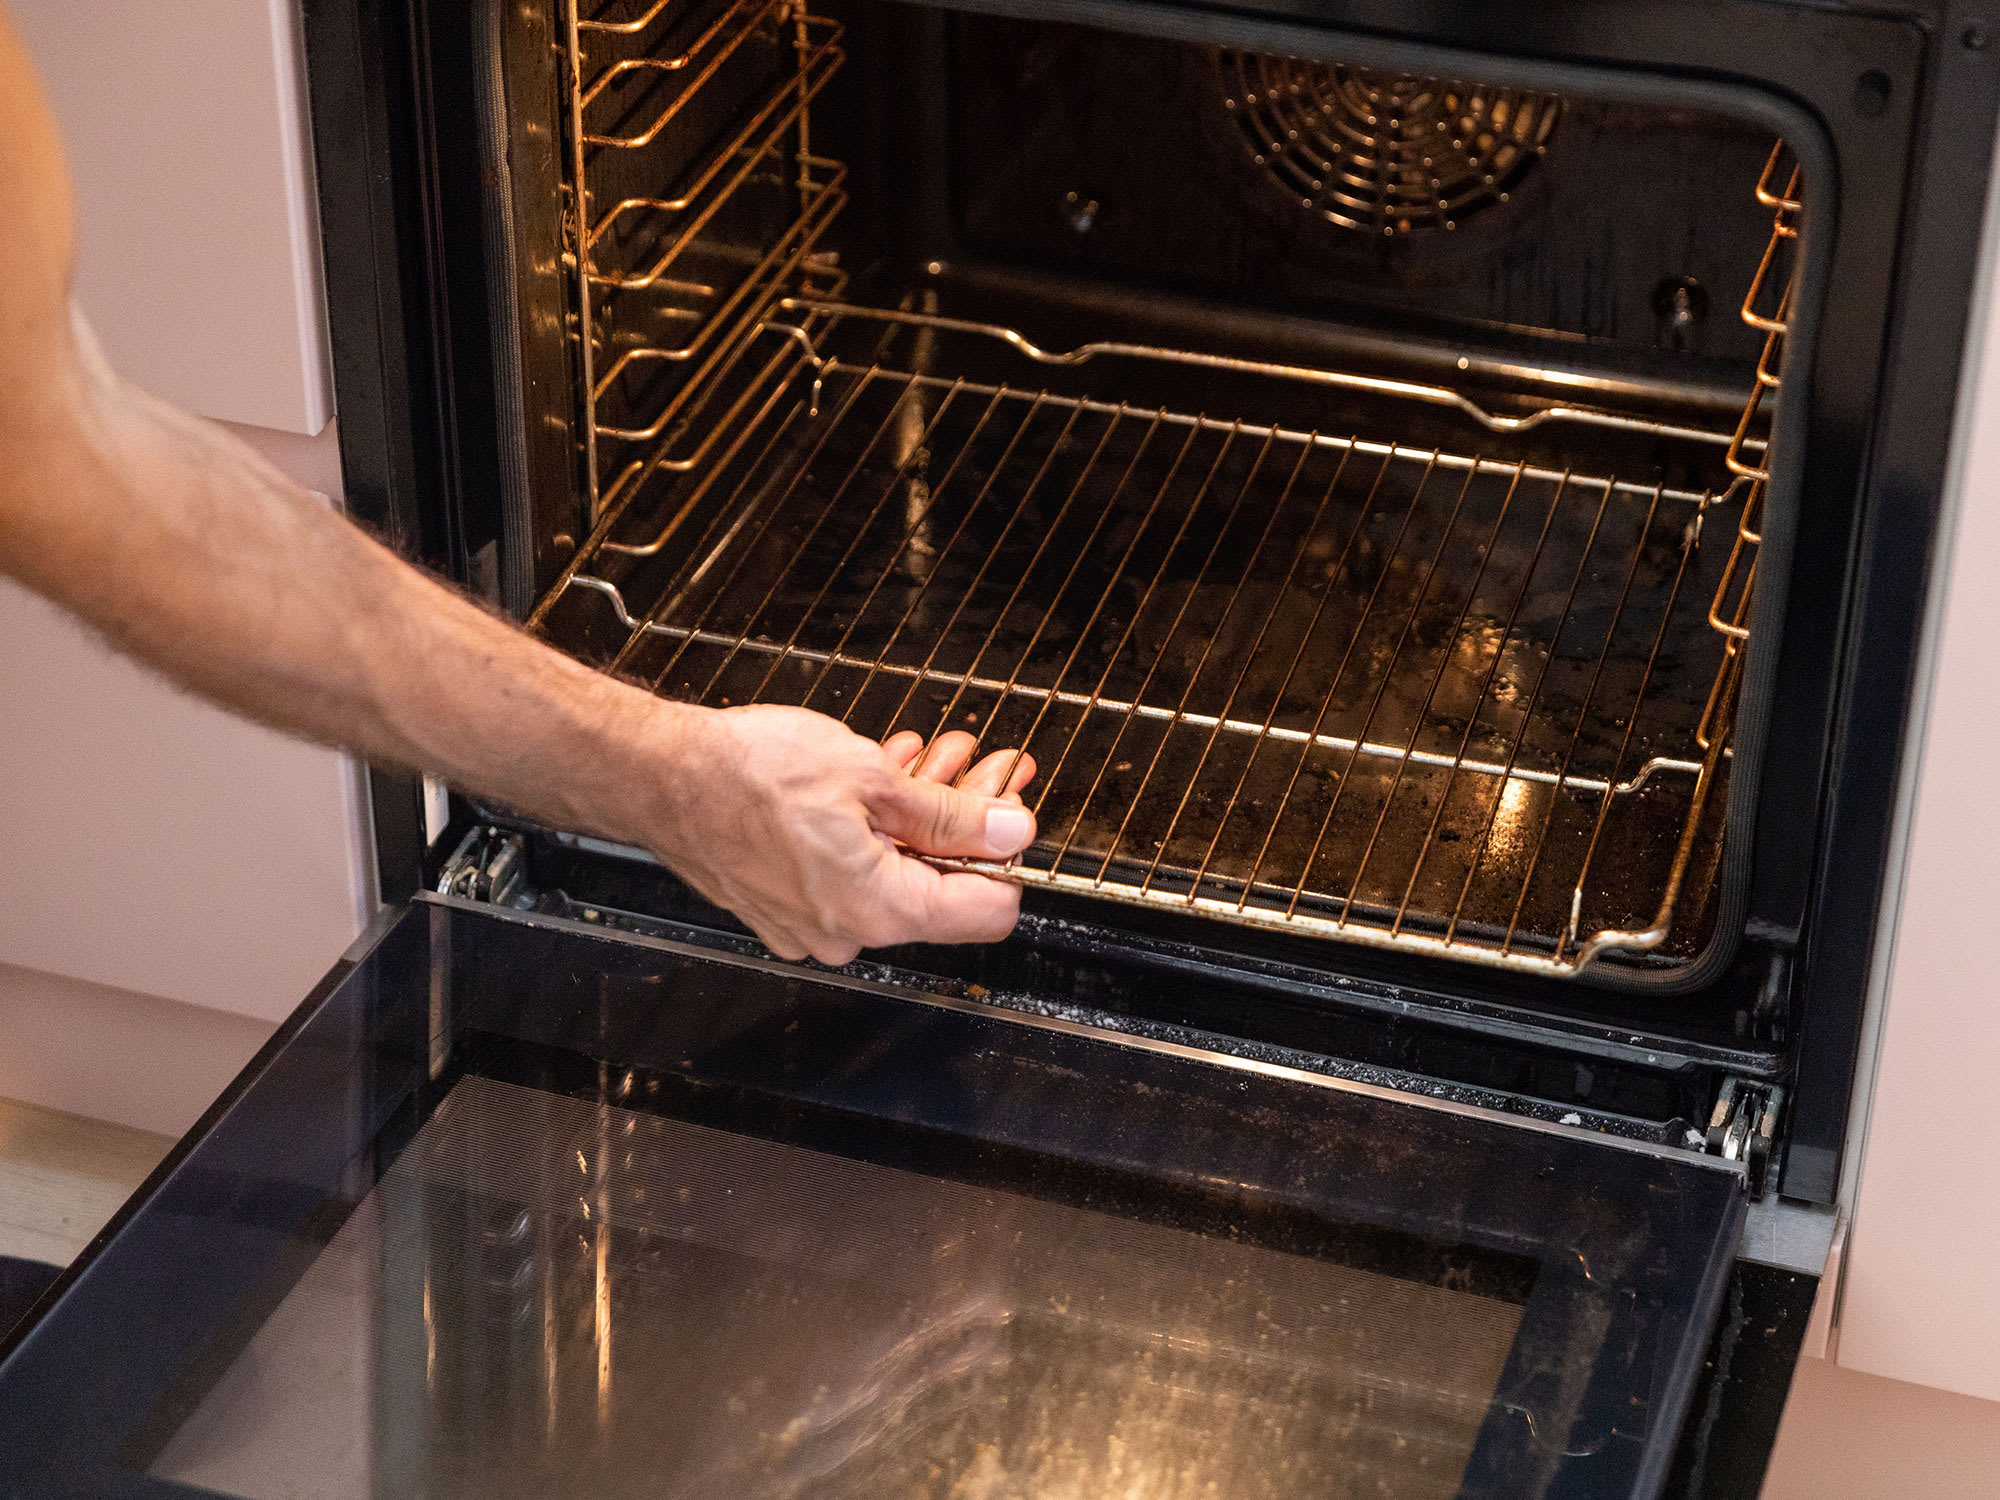
Removing Oven Racks and Other Items
Preparing the oven is the first step to a successful clean:
- Take out the oven racks. Clean these separately.
- Remove any baking trays or ovenware.
- Clear out large pieces of food or debris.
- Check the oven is cool before you start.
Once you’ve taken these steps, you’re set to start the actual cleaning with your ammonia mixture. This pre-cleaning routine paves the way for a smoother and safer cleaning experience.
The Cleaning Process
Once you have your space ventilated and your DIY ammonia-based oven cleaner ready, it’s time to dive into the cleaning process. Cleaning your oven with ammonia is straightforward, but it does require a little time and patience for the best results.
Warming the Oven
Before applying your homemade cleaner, start by warming the oven slightly. This helps the ammonia work more effectively. Simply turn on the oven to a low setting for a few minutes, then switch it off. Remember, the oven should be warm, not hot, to ensure the ammonia’s safety and efficiency.
Applying the Ammonia Solution
Next, it’s time to apply your ammonia solution. Take the following steps:
- Before you begin, ensure you have your gloves on to protect your skin.
- Open the bottle of your DIY ammonia cleaner.
- Spray the solution liberally inside the oven, making sure to coat all surfaces.
- For tough spots, apply a little extra solution directly to the area.
- Close the oven door to keep the fumes inside, which helps break down the grime.
Overnight Cleaning Action
The key to this method lies in patience. Let the ammonia solution sit in the oven overnight. This allows time for the ammonia fumes to penetrate and soften the hardened grease and food spills. In the morning, you will find that the grime is much easier to wipe away.
Remember, it’s important to stay clear of the kitchen while the ammonia is at work to avoid inhaling any fumes. In the morning, you’ll be ready for the final steps to achieve a spotless oven.
Post-Cleaning Tips
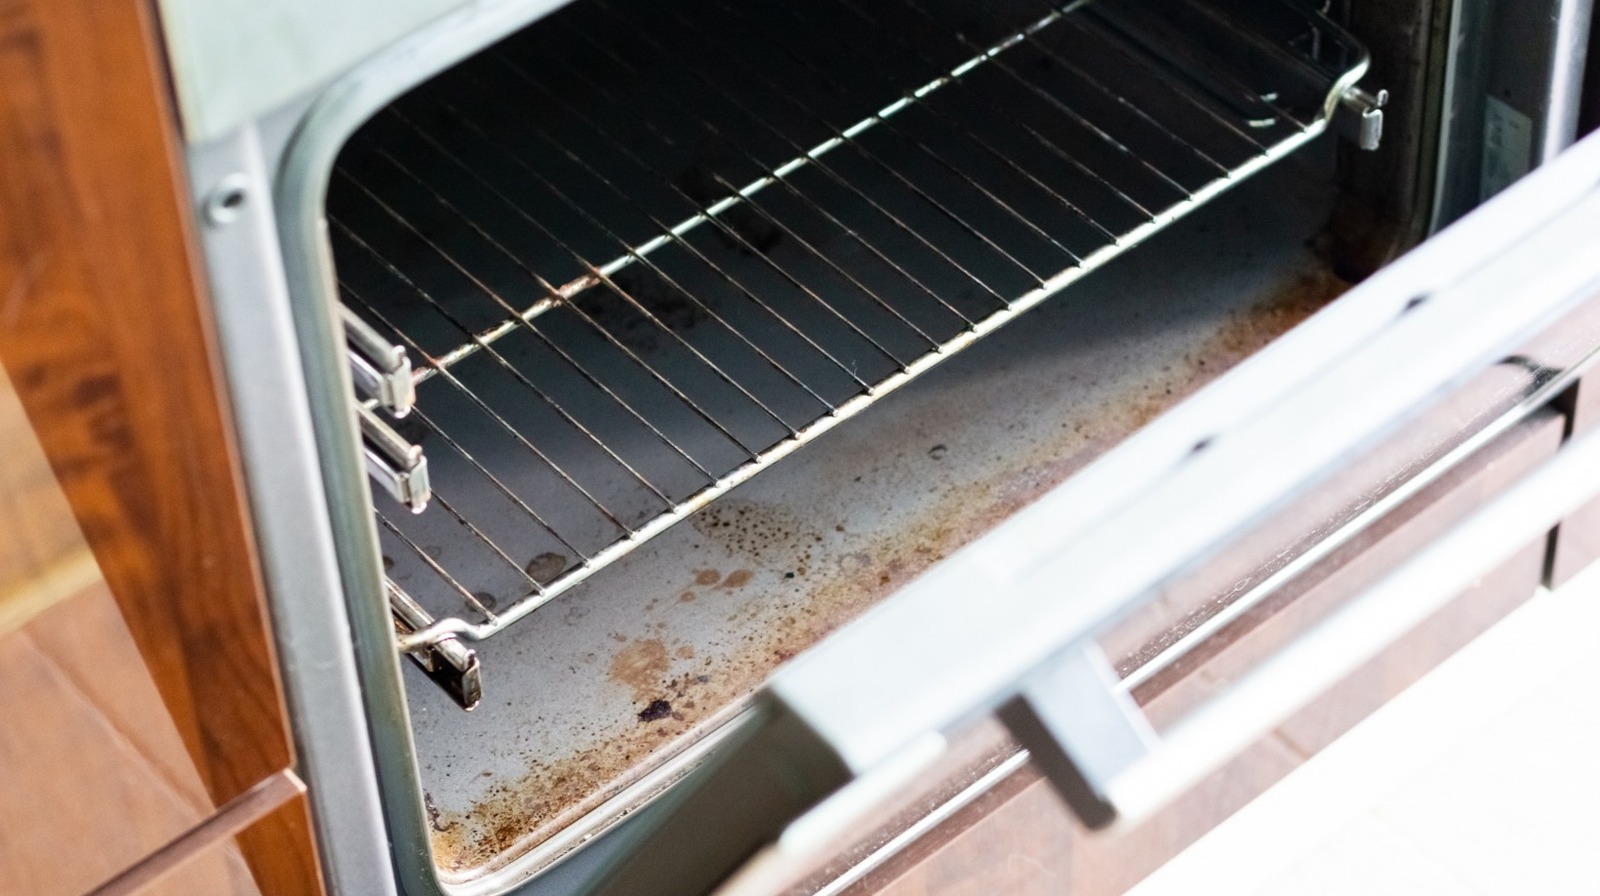
After cleaning with ammonia, you may still find some persistent spots remaining. Here’s how to manage them:
Dealing with Stubborn Residue
Sometimes, despite your efforts, hard-to-remove residue lingers. Here’s what to do:
- Reapply the ammonia solution onto the stubborn spills.
- Allow it to sit for an additional 15 to 30 minutes.
- Use a scrub sponge to tackle the tough areas gently.
- Wipe the surfaces clean with a damp cloth to remove any remaining cleaner.
If an overnight soak didn’t budge the gunk, try using a paste made from baking soda and water for extra scrubbing power.
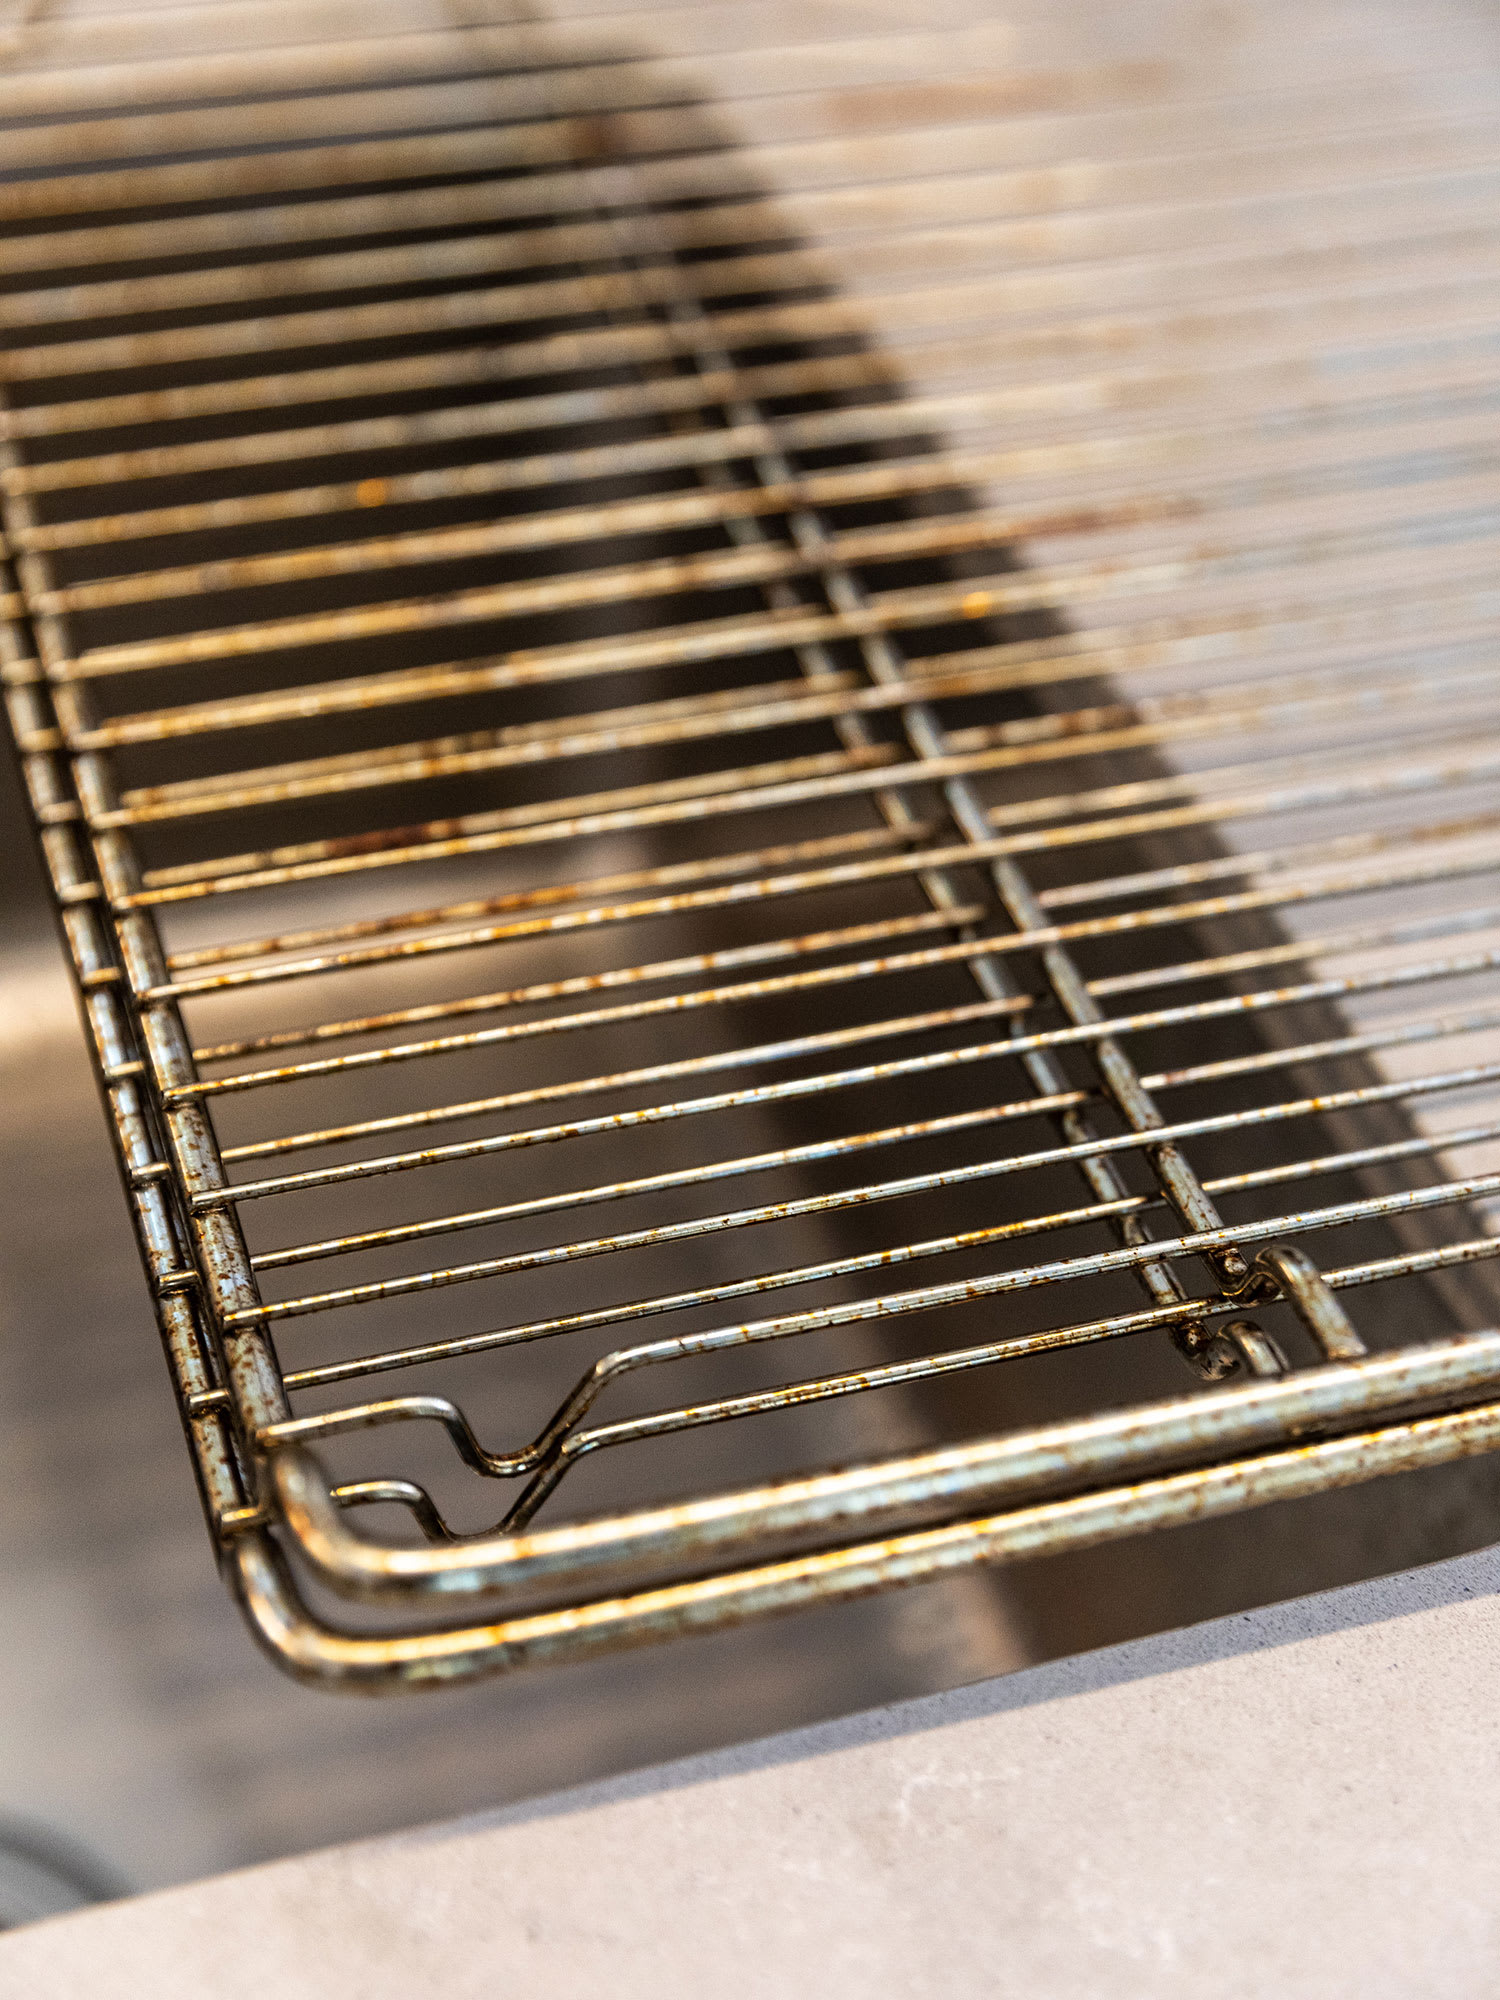
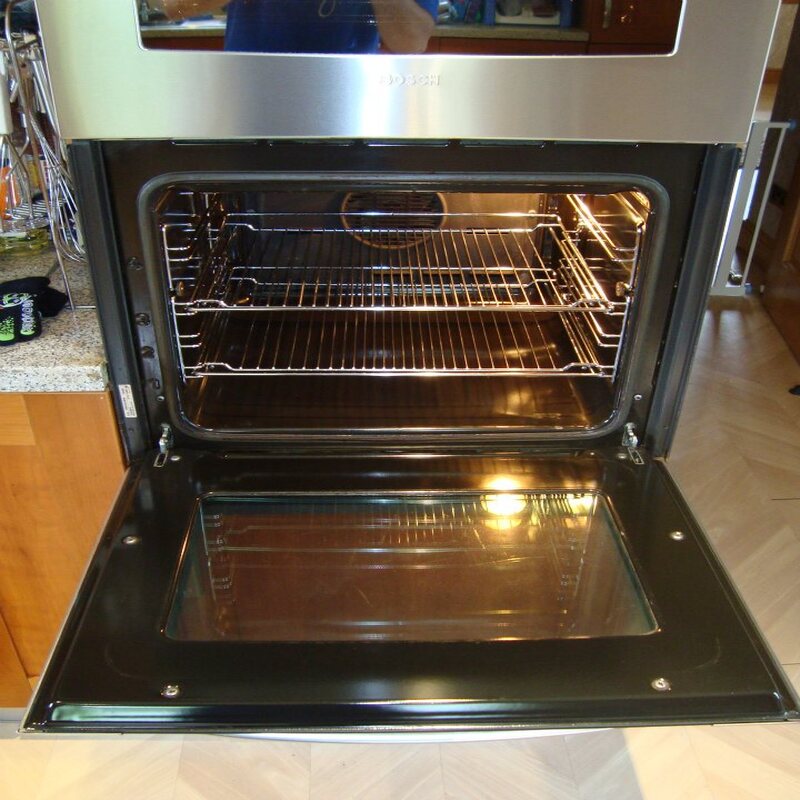
Oven Racks and Glass Door Cleaning
Don’t forget the oven racks and glass door:
- Soak racks in an ammonia solution or use the spray cleaner.
- Let them sit, then scrub off grime with a scouring pad.
- For the glass door, use a diluted ammonia spray.
- Wipe with a soft cloth or paper towel for a streak-free look.
Remember to rinse these parts well with water after cleaning to ensure all ammonia is gone.
Neutralizing Ammonia Odors
To get rid of the ammonia smell:
- Leave the oven door open to air out after cleaning.
- Place a bowl of white vinegar in the oven to absorb odors.
- Heat the oven on a low setting to speed up the vinegar’s odor-absorbing action.
Fresh air and time will eventually eliminate all traces of ammonia scent, leaving your kitchen smelling clean.
Maintaining a Clean Oven
A regular cleaning schedule can keep your oven in top shape and prevent daunting buildup. Make light cleaning a habit, and your oven will always be ready for use.
Regular Light Cleaning
To maintain your clean oven:
- Schedule a light cleaning once a month. This involves a quick wipe-down with a damp cloth.
- Use your ammonia solution for a deeper clean quarterly.
- Remove and soak the racks in an ammonia solution to dissolve grime easily.
- After each use, quickly clean any spills to prevent them from becoming baked-on.
- Keep the oven interior surface gleaming with a soft sponge or cloth.
Regular attention means less effort and time spent on heavy-duty cleaning later.
Tips to Prevent Grease Build-up
To avoid hard grease stains:
- Use oven liners or aluminum foil to catch drips. Replace them as needed.
- Avoid cooking at very high temperatures when unnecessary.
- Cover dishes when possible to limit splatters.
- Clean around the oven, including the stove top and the hood, to manage overall kitchen grease.
- Opt for non-stick bakeware to reduce the potential mess.
By following these practical steps, you can sidestep the worst of the oven cleaning chores. Plus, you equip yourself with an always presentable and efficient oven.