What is Ammonia and How Does it Work?
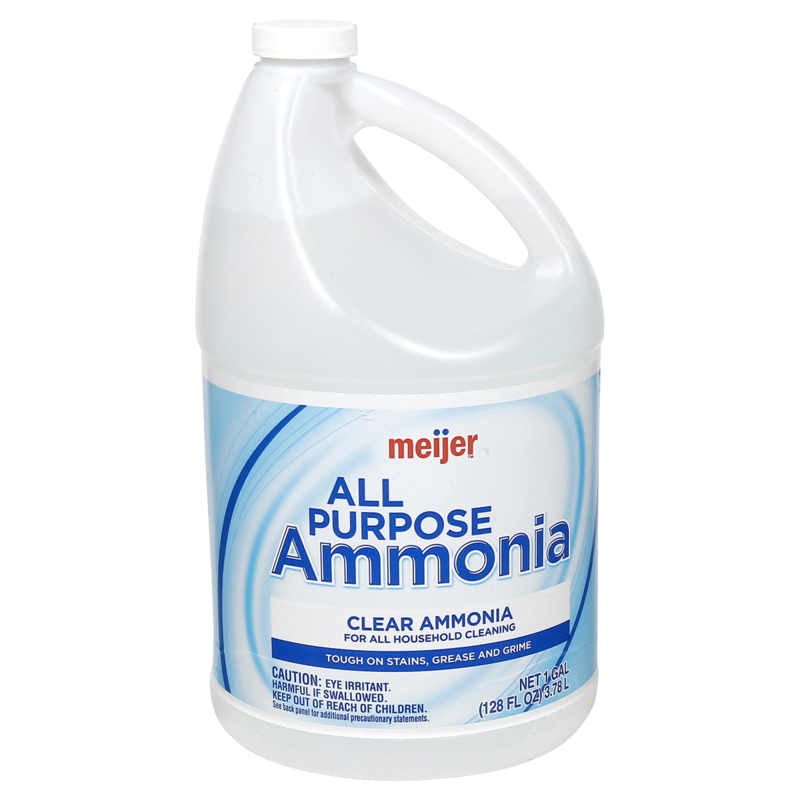
Ammonia, an efficient ally in cleaning, has a simple composition yet powerful effects. It’s a compound of nitrogen and hydrogen. With its pungent smell and alkaline nature, ammonia cuts through grime with ease. Many choose ammonia for its quick action and proven results. How to clean an oven with ammonia?
The Chemical Composition of Ammonia
At its core, ammonia is NH3. This means it has one nitrogen atom and three hydrogen atoms. In its common household form, we see it as a diluted solution. When used in cleaning, its basic nature allows it to react with grease and dirt, breaking them down.
The Cleaning Properties of Ammonia
When learning how to clean an oven with ammonia, it’s key to understand its cleaning properties. Ammonia evaporates quickly, which means it doesn’t leave streaks. It’s great at dissolving tough, baked-on residues. It reacts with fats and oils, making them easier to wipe away. Safe use requires proper ventilation, as its fumes can be strong. With these properties, ammonia can perform a thorough clean that is tough on stains but simple in process.
Preparing to Clean Your Oven with Ammonia
Before diving into how to clean an oven with ammonia, you must prepare properly. Preparation is key in ensuring a safe and effective cleaning process.
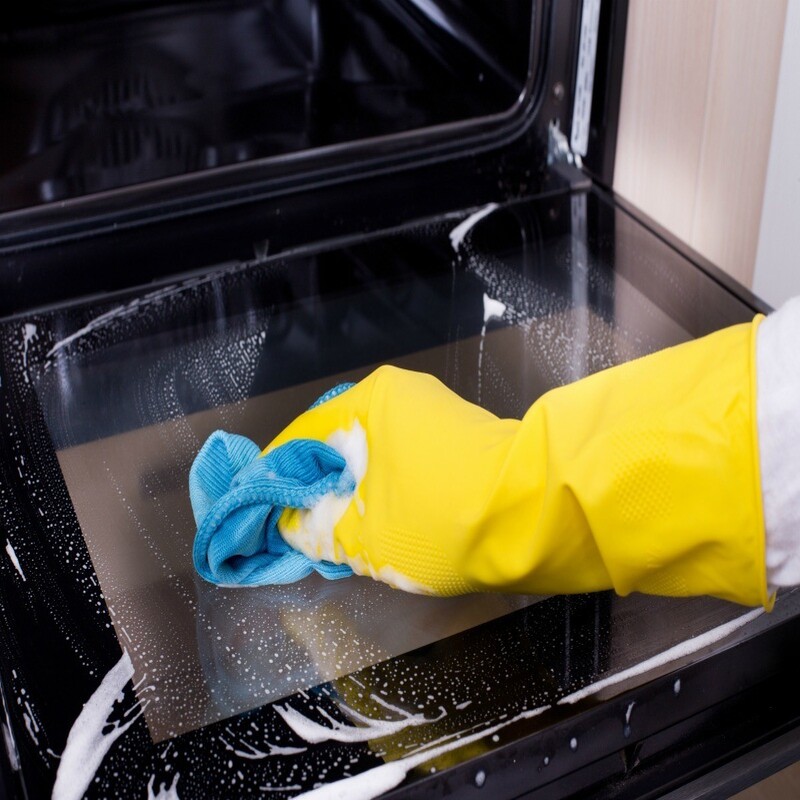
Safety First: Protective Gear and Ventilation
Safety cannot be overlooked when dealing with ammonia. Equip yourself with gloves to shield your skin. Use eye protection to guard against splashes. Always keep your windows open for good airflow. Turn on fans if you have them. These steps help prevent irritation from ammonia fumes.
Knowing how to clean an oven with ammonia means understanding the substance. Ammonia’s power is matched by its potential hazards. Hence, proper ventilation is not a suggestion but a requirement. This ensures that the strong fumes do not get trapped indoors, which can be harmful to inhale. So, ventilate the area well before you start.
Assembling Your Cleaning Tools
Get all necessary tools ready for the task. Choose sponges or scrubbers that can handle tough grime without scratching surfaces. Have on hand a spray bottle for easy application of ammonia. Gather some old towels to protect the surrounding area from drips. Lastly, keep water and mild detergent close for the final cleanup. By gathering these items, you’ll streamline your oven cleaning process.
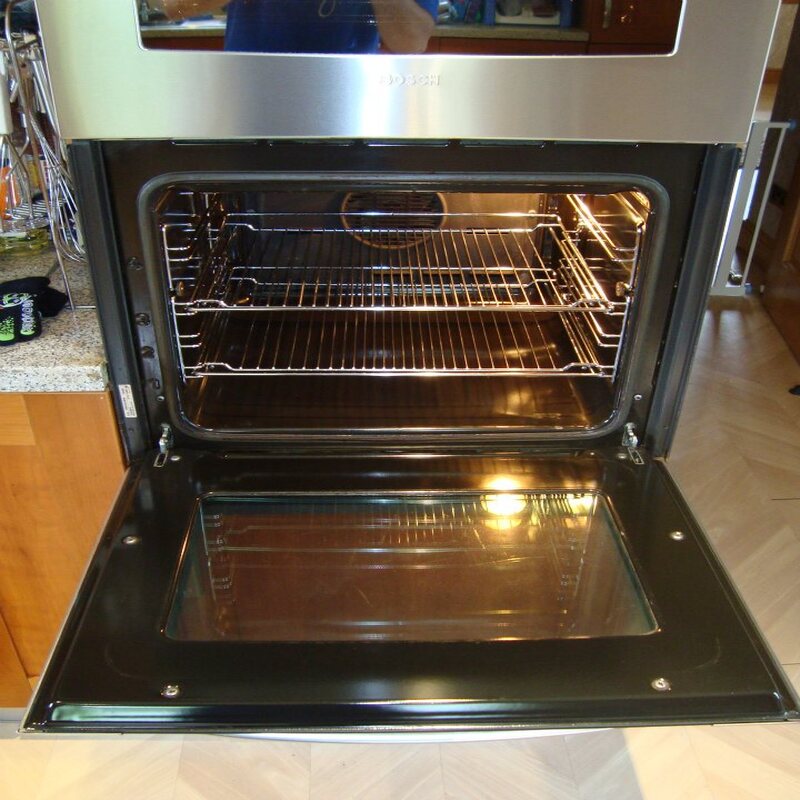
Step-by-Step Guide to Cleaning Your Oven with Ammonia
Following a step-by-step guide ensures a safe and efficient oven cleaning with ammonia. Here’s how to tackle the task.
Heating the Oven: The Initial Step
Start by heating your oven. Aim for a warm, not hot, temperature, about 150 degrees Fahrenheit. This heat helps to soften the grime, making ammonia’s job easier.
Applying Ammonia: Techniques and Tips
Turn off the oven. Place about half a cup of ammonia in a heat-safe bowl on the top shelf. In another bowl, put water on the bottom shelf. This creates steam, boosting the cleaning power. Close the door.
Letting Ammonia Do Its Magic: Wait Time
Leave the oven closed overnight. Ammonia needs time to break down the grease. By morning, the fumes will have worked on the dirt, making it easier to clean.
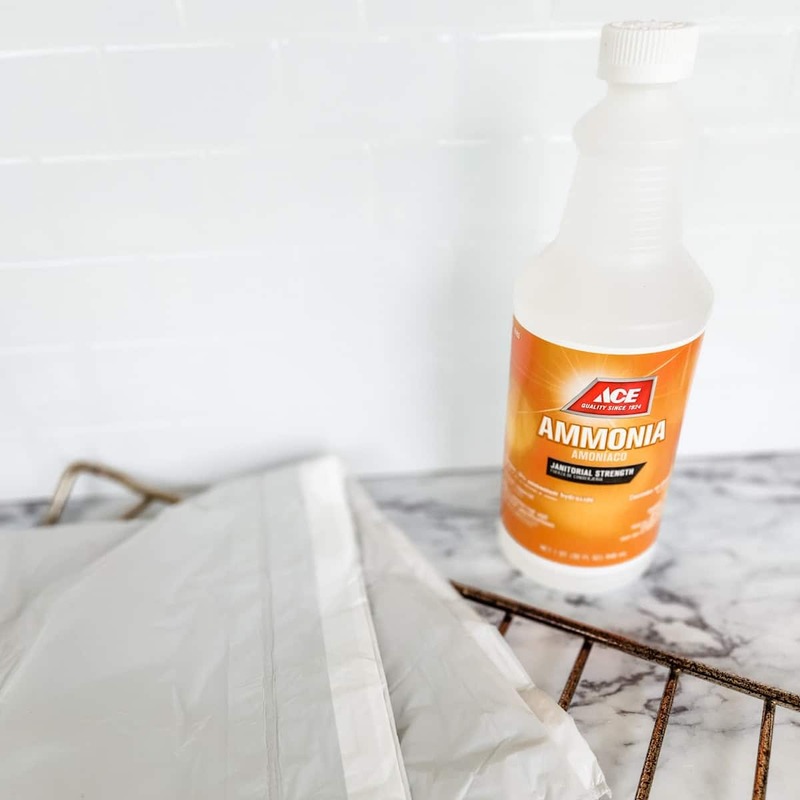
Cleaning Racks and Trays with Ammonia Soak
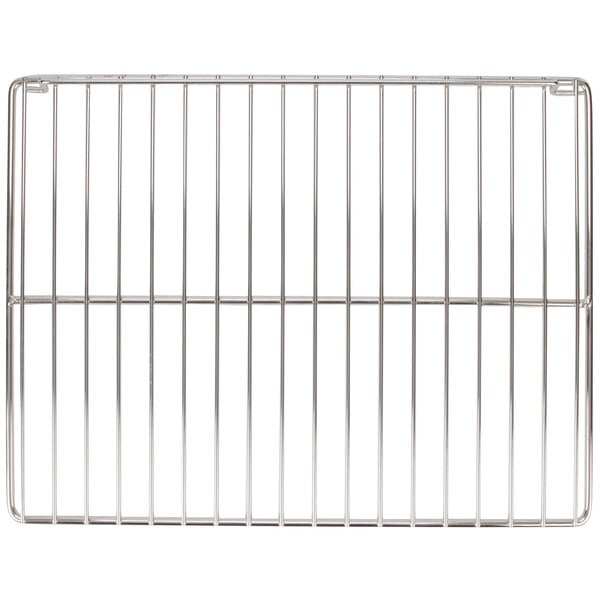
Now that the main oven space is taking care of, don’t forget your oven racks and trays. These parts often harbor the most stubborn greases and burnt food particles. Ammonia can work wonders here as well.
Removing and Soaking Oven Accessories
First, take out the oven racks and trays. Place them in a large enough container where they can lay flat. Fill it with hot water, making sure it covers the accessories. Add a half cup of ammonia to the water. Let them soak for at least a few hours, but overnight is best.
Make sure to wear gloves when removing the oven parts. This not only protects your hands from dirt and grease but also from direct contact with ammonia.
Scrubbing and Rinsing Strategies
After soaking, remove the racks and trays from the solution. Use a non-abrasive scrubber to tackle any remaining gunk. For tough spots, sprinkle some baking soda on the scrubber—it’s a natural abrasive that can boost the cleaning power without scratching surfaces.
When you’re done scrubbing, rinse the racks and trays with clean water. It’s important to thoroughly wash away all traces of ammonia. Make sure they are completely dry before placing them back in the oven to prevent rust.
By following these simple steps—soaking, scrubbing, and rinsing—you can achieve a deep clean for your oven accessories with minimum effort. Remember, patience pays off when using ammonia; it needs time to soften the grime.
After the Ammonia Treatment: Wiping Down and Polishing
After the oven has had time to soak in ammonia, the actual clean-up begins. This final step is crucial for a streak-free, polished oven.
Ensuring All Ammonia Residues are Removed
Remove the bowl of ammonia from your oven with care. Open the windows wide again to air out any lingering fumes. Wipe down all oven surfaces with a damp cloth to remove ammonia residues. Pay special attention to corners and edges where fumes may have settled.
For any stubborn spots, moisten your cloth with a bit of vinegar. The vinegar will neutralize ammonia and help lift any remaining dirt. Keep wiping until you’re sure all ammonia is gone. It’s essential to do this thoroughly to ensure your oven is safe for cooking.
Getting a Sparkling Finish on Your Oven
Once all residues are off, polish your oven’s interior with a dry microfiber cloth. Use circular motions to achieve a shiny finish. The glass door might need extra care—use a mixture of vinegar and water to get it sparkling.
For the external parts, a gentle cleaner can add shine without harming surfaces. Wipe knobs and handles; they’re often the greasiest spots. With patience and effort, your oven will look as good as new.
By following these steps on how to clean an oven with ammonia, you’ve tackled tough stains effectively. Just remember, regular cleaning can keep the oven maintained and reduce the need for heavy-duty cleaning sessions.
Troubleshooting Common Issues When Cleaning with Ammonia
When using ammonia to clean your oven, you may face some challenges. Knowing how to handle these will ensure a successful clean-up.
Handling Stubborn Stains and Residues
Even after an overnight ammonia treatment, some stubborn stains might linger. For these tough areas, repeat the ammonia soak for a few extra hours. You can also make a paste with baking soda and a little water. Apply this paste directly to the stain. Let it sit, then scrub gently. This should lift any remaining grime. Remember to rinse well after this step.
If stains are still sticking around, try a more direct approach. Soak a cloth in ammonia and place it over the stain. Let it sit for an hour, then scrub and rinse. Be sure to wear gloves and ventilate the room when doing this.
What to Do if Odors Persist
Sometimes, a smell can remain even after cleaning. First, air out the oven. Open windows and use fans to help circulate air. If the smell stays, place a bowl of white vinegar in the oven. Leave it there for a few hours. The vinegar will absorb and neutralize odors.
Another way to tackle persistent smells is to heat the oven slightly and turn it off. Then, put in a heat-safe dish with some lemon juice or water and lemon slices. The heat will help release the lemon scent, which can mask and eventually eliminate the ammonia smell.
Persistent odors and stains can be frustrating. But with these tips, you can manage common issues that arise when learning how to clean an oven with ammonia. Remember, safety and patience are your best tools in achieving an oven that looks and smells clean.
Alternative Cleaning Methods and When to Use Them
While ammonia is a strong cleaner, other methods also work well for oven cleaning.
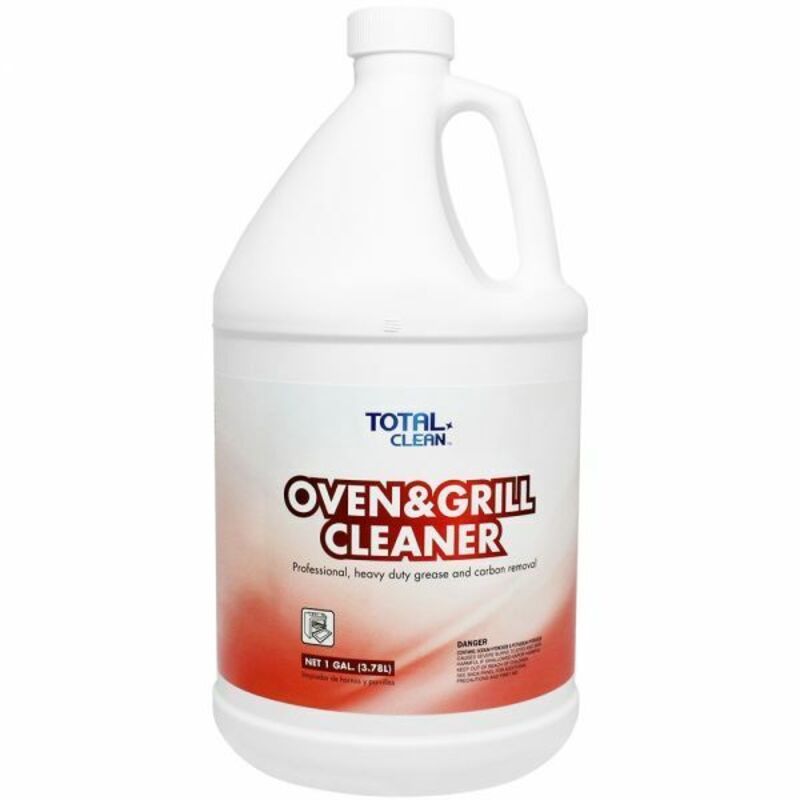
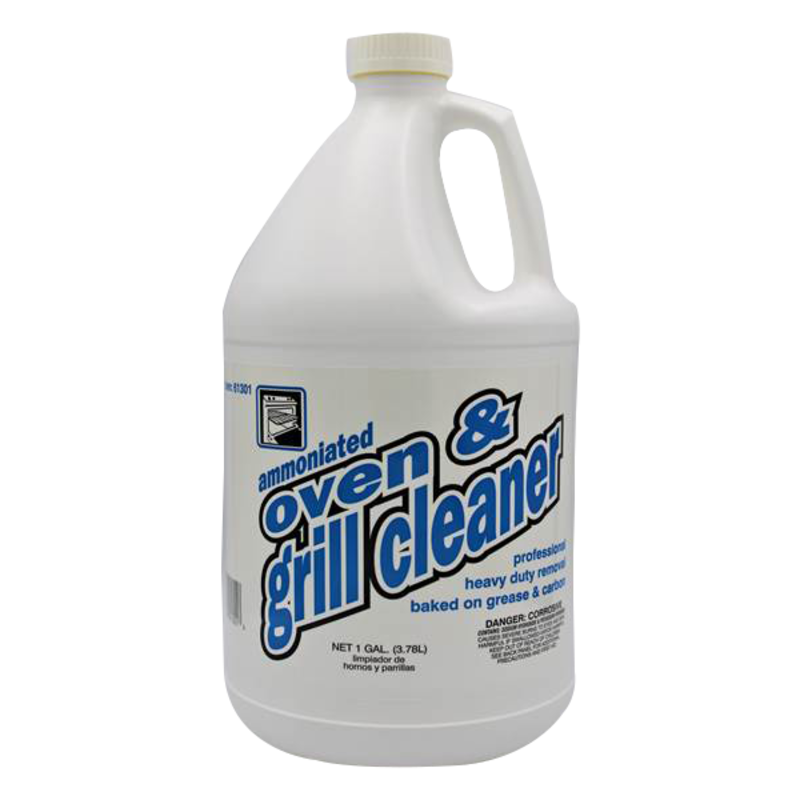
Comparing Ammonia with Other Cleaning Agents
Let’s compare ammonia to other cleaning agents for ovens. Baking soda and vinegar are common choices. They are milder and eco-friendlier. Baking soda lifts grime, and vinegar cuts through grease. Lemon and water mixtures offer a fresh scent and are great for light cleaning. Commercial oven cleaners are effective, but often contain harsh chemicals. Use them when heavy-duty cleaning is needed and follow the directions.
Deciding When Not to Use Ammonia
Ammonia isn’t always the right choice. Avoid it if you are sensitive to strong smells. Don’t use it on aluminum or cast iron; it can cause damage. And don’t mix ammonia with bleach or other cleaners; this can create dangerous fumes. If you need a gentle cleaner or have sensitive skin, try baking soda and vinegar instead.