Introduction to Refrigerator Water Dispenser Safety
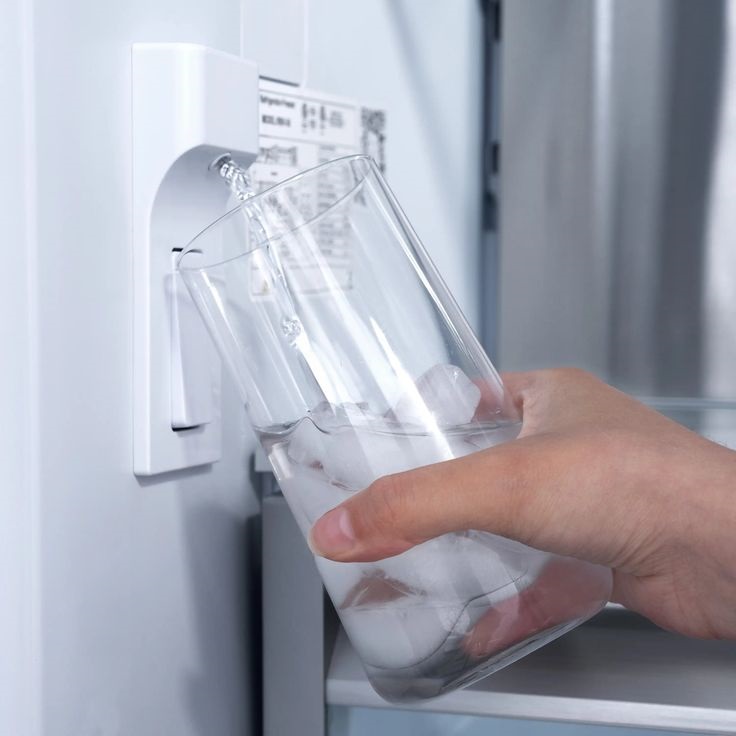
Ensuring safe drinking water is essential for the well-being of every household. Many people trust their refrigerator’s water dispenser to provide clean, purified water. But how safe is this water, really? How to eliminate bacteria in refrigerator water dispenser? Knowing about the safety of your refrigerator water dispenser is crucial. It protects your family from potential health risks.
Most of the modern refrigerators come with built-in water dispensers and filters. These systems are made to block various impurities. They can remove unwanted tastes and smells from water. But there’s more to water purity than taste and smell.
Bacteria can sometimes creep into your fridge water dispenser. Through touch or contamination, these microorganisms might pollute the water you drink. This can happen even with filters in place. The filters mainly improve water’s taste and smell, not its microbiological safety.
The dispenser itself can be a hotspot for bacteria. Touching the dispenser with dirty hands or not cleaning it can add bacteria to your water. You must learn how to maintain and clean your system. This ensures your fridge water dispenser remains a safe source of drinking water.
In this section, we will delve into the workings of refrigerator water dispensers. We will examine their effectiveness. We will look at the risks of bacteria and the importance of filter maintenance. Understanding these aspects is key to a safer kitchen and healthier family.
How Refrigerator Filters Work and Their Effectiveness
Refrigerator filters are common in most households. They promise to give us cleaner, tastier water. But how do they work? Inside these filters, activated carbon acts like a sponge. It absorbs impurities that affect taste and smell, such as chlorine.
The effectiveness of these filters varies. Their job is to capture certain particles and chemicals. But, they do not catch all contaminants. Their ability to purify relies on water contact time with the carbon. In busy homes, contact time is often too short.
Bacteria is a major concern with fridge dispensers. Studies show fridge filters sometimes fail to catch harmful microorganisms. Filters cannot always stop bacteria like salmonella and coliform.
Regular filter maintenance is crucial. Over time, filters collect impurities. If not changed, they can release the contaminants back into the water. Changing filters every six months is a common recommendation.
Even if you change the filter, the dispenser can harbor bacteria. Touching it with unclean hands or not cleaning it can introduce bacteria. No matter how good the filter, it’s vital to maintain the entire dispenser system.
In summary, refrigerator filters help with taste and smell by trapping impurities. Yet, their effectiveness has limits. Regular maintenance and dispenser cleaning are key to clean water. Filters are part of the solution, but not the only step to ensure water safety.
The Impact of Filter Maintenance on Water Quality
Regular filter maintenance is crucial for maintaining the quality of water dispensed from your refrigerator. Neglecting this important aspect can lead to a decrease in water purity and an increase in health risks.
Why Regular Filter Changes Are Necessary
Filters in refrigerators work by trapping contaminants that degrade water taste and smell. Over time, these filters can become clogged with impurities. This reduces their effectiveness and can even lead to the reintroduction of contaminants into the water. Changing the filter approximately every six months is recommended to ensure optimal performance.
Consequences of Neglected Filter Maintenance
When filters are not replaced periodically, it not only compromises the taste and smell of the water but also its overall safety. A clogged filter cannot efficiently remove contaminants. Worse, it can become a breeding ground for bacteria. These bacteria can then be dispensed alongside water, posing serious health risks.
Enhancing Filter Performance
To enhance the performance of your refrigerator’s water filter, ensure regular checks and replacements. Follow the manufacturer’s guidelines on maintenance schedules. Keep track of the last time your filter was changed and remind yourself when it is due to be replaced again. This proactive approach helps in providing your household with cleaner, safer water.
In summary, the maintenance of water filters in your refrigerator has a direct impact on water quality. Regular replacement and careful handling of these filters ensure the removal of harmful contaminants and the safety of the dispensed water. By staying vigilant with filter changes, you can significantly mitigate the risks associated with bacteria in refrigerator water dispensers.
Common Bacteria Found in Refrigerator Water and Health Implications
Having examined the effectiveness of refrigerator filters and maintenance issues, it’s crucial to understand the types of bacteria that can be present in dispenser water and their potential health implications.
Types of Bacteria Commonly Found
In refrigerator water dispensers, certain bacteria are more commonly encountered than others. Among these, coliforms and salmonella stand out as frequent contaminants. Coliform bacteria, often found in the environment, are a sign that other, possibly harmful, bacteria may be present. Salmonella, known for causing foodborne illnesses, can also thrive in the moist, dark environment of a water dispenser.
Other bacteria that might be found include Pseudomonas and various fungi or mold species. These organisms can enter through several ways, such as contaminated hands or food stored in the fridge.
Health Implications of Bacteria in Water
The health risks associated with these bacteria range from mild to severe. Drinking water containing harmful bacteria can lead to gastrointestinal discomfort and illnesses like diarrhea and vomiting. In more severe cases, especially with bacteria like salmonella, the infection can be more serious and even require medical attention.
People with weakened immune systems, such as the elderly, young children, and those with chronic illnesses, are more vulnerable. For them, the presence of bacteria in drinking water can be a significant threat.
By being aware of the types of bacteria that can lurk in your refrigerator’s water dispenser and their possible effects on health, you can take steps to ensure your drinking water is safe. Regular cleaning and timely filter replacement are vital to keeping harmful bacteria at bay.
Cleaning Best Practices for Refrigerator Water Dispensers
Effective cleaning of your refrigerator water dispenser is key to ensuring water safety. Simple steps can prevent bacteria from contaminating your water. Here are some best practices to follow:
- Use the Right Cleaning Agents: Regularly sanitize the dispenser with a solution that kills bacteria and mold. Diluted bleach or vinegar works well. Spray the solution on the dispensing area and let it sit.
- Clean the Dispenser Regularly: Make cleaning a regular part of kitchen maintenance. Weekly cleaning can reduce the risk of bacteria growth.
- Keep Contact Points Sanitary: Wipe the areas touched most often, such as the handle or push-button, with disinfectant wipes. Avoid touching these points with dirty hands.
- Don’t Forget Internal Components: Occasionally dismantle and clean internal components. Refer to the manufacturer’s manual for guidance. Some parts may need careful handling.
- Dry the Dispenser Area: After cleaning, allow the dispenser to air dry. This prevents moisture buildup, which can promote bacteria growth.
- Use Clean Containers: Always fill clean bottles and glasses. Dirty containers can transfer bacteria back into the dispenser.
By keeping your refrigerator water dispenser clean, you help ensure your family drinks safe water. It takes little time and effort, but the health benefits are significant.
Alternatives to Refrigerator Water Filters
While refrigerator filters can reduce certain contaminants, they may not always be enough for pure, safe drinking water. Let’s look at some alternatives that can offer higher levels of purification:
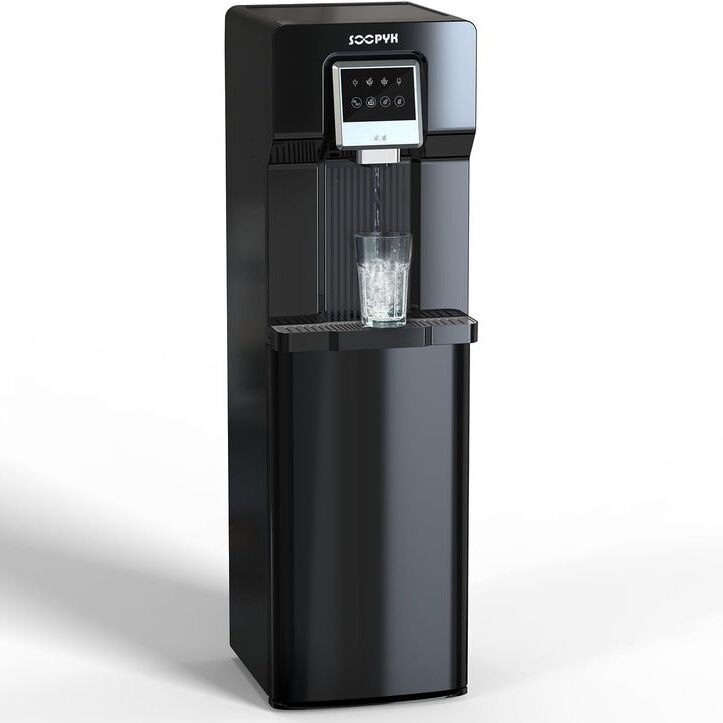
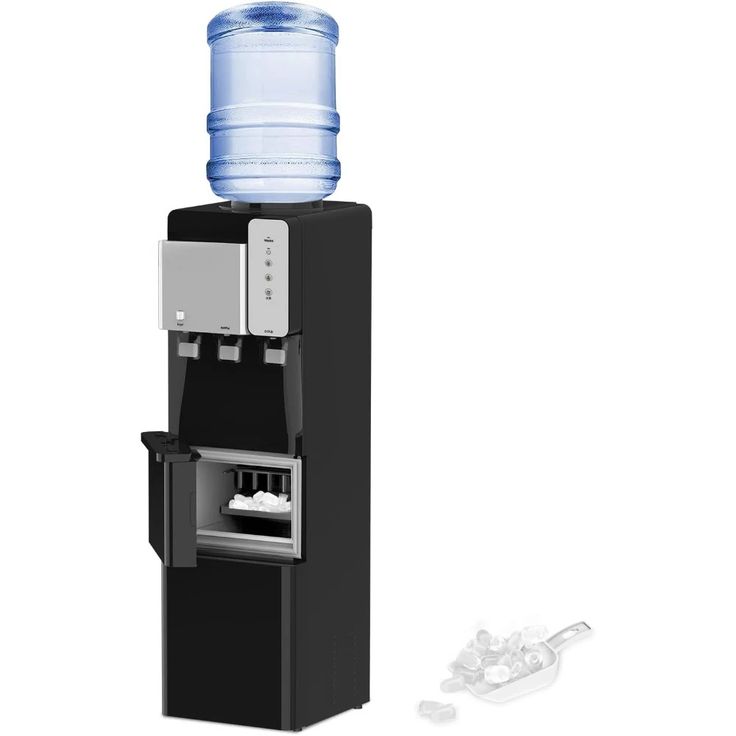
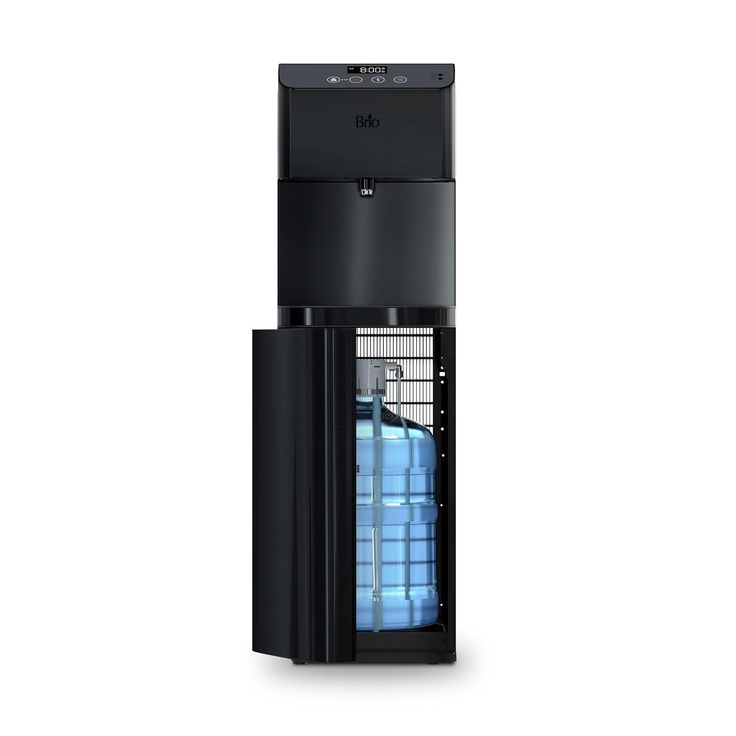
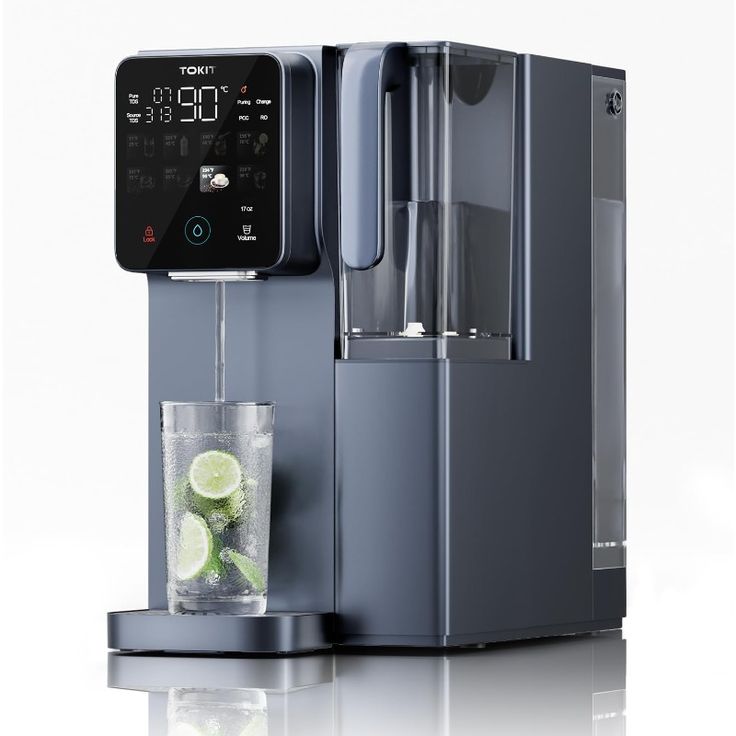
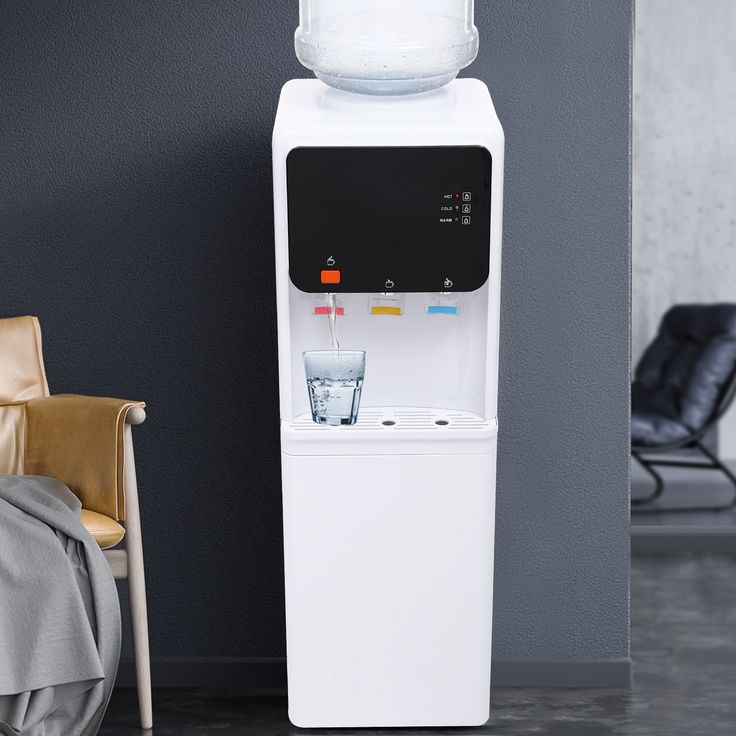
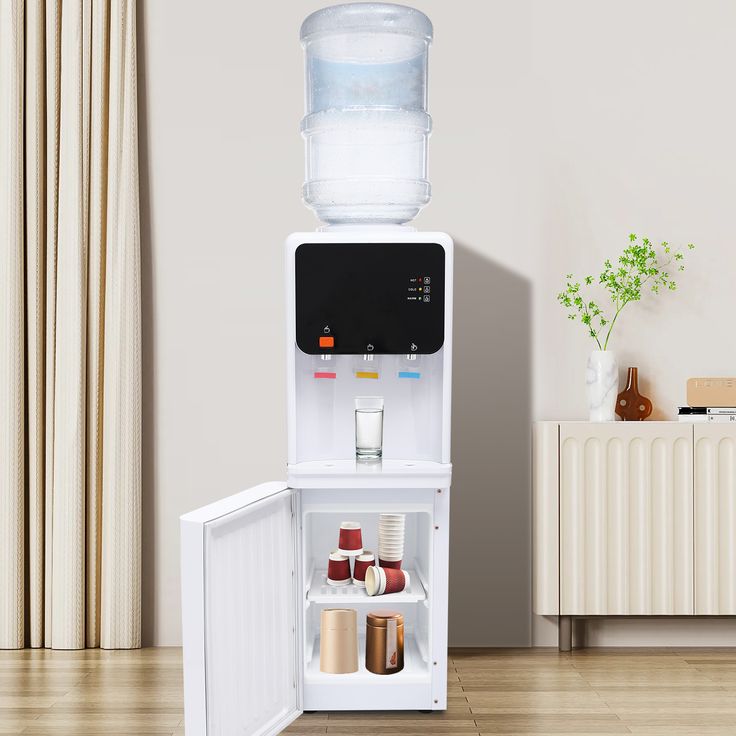
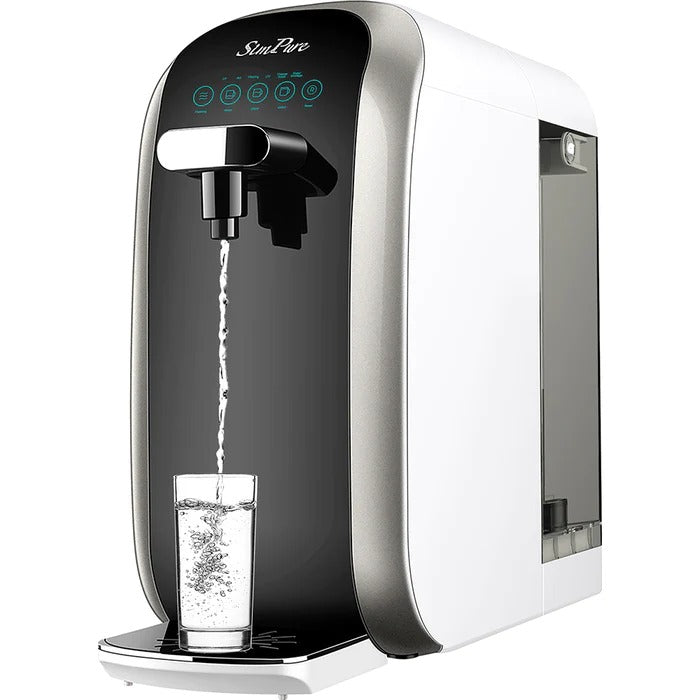
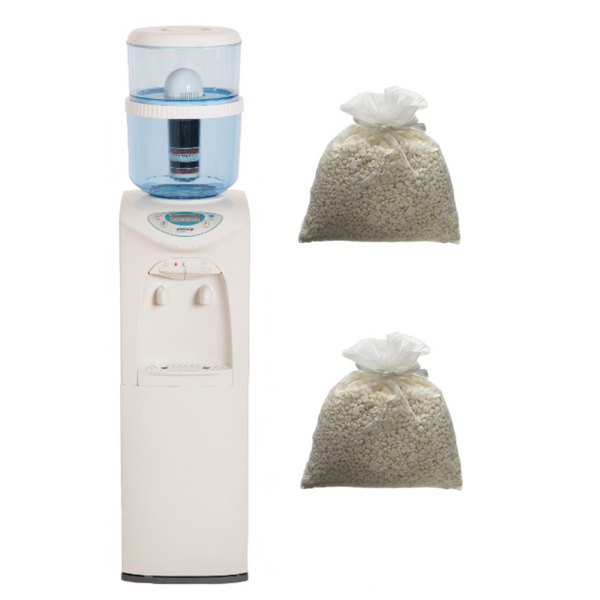
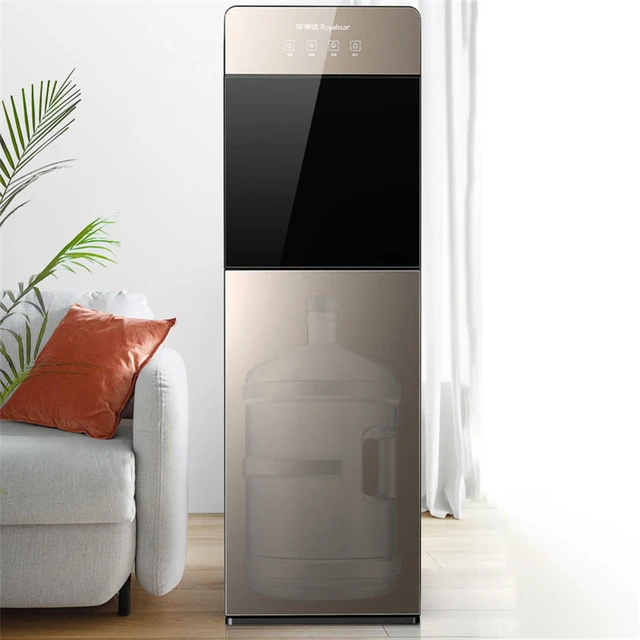
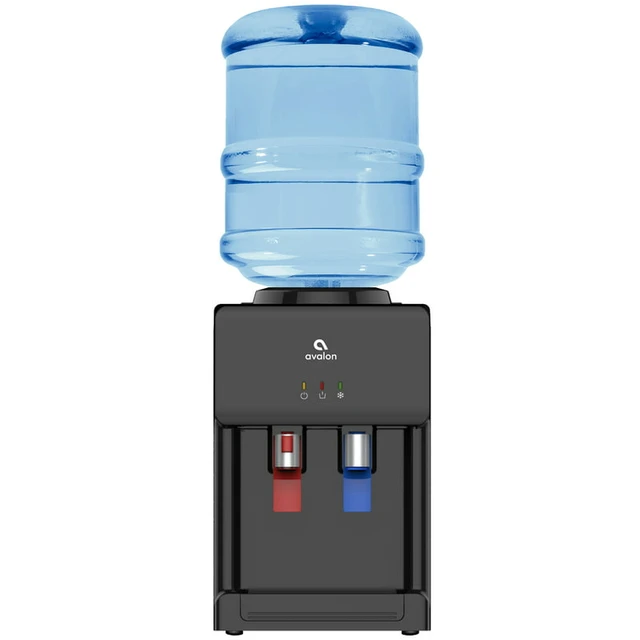
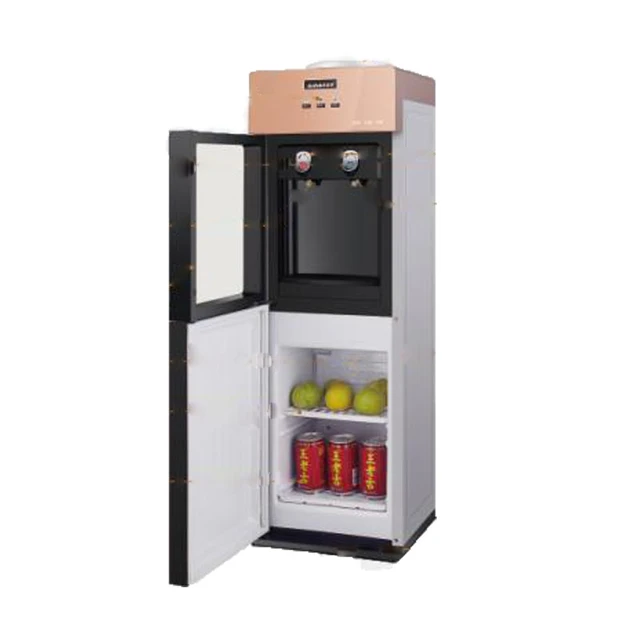
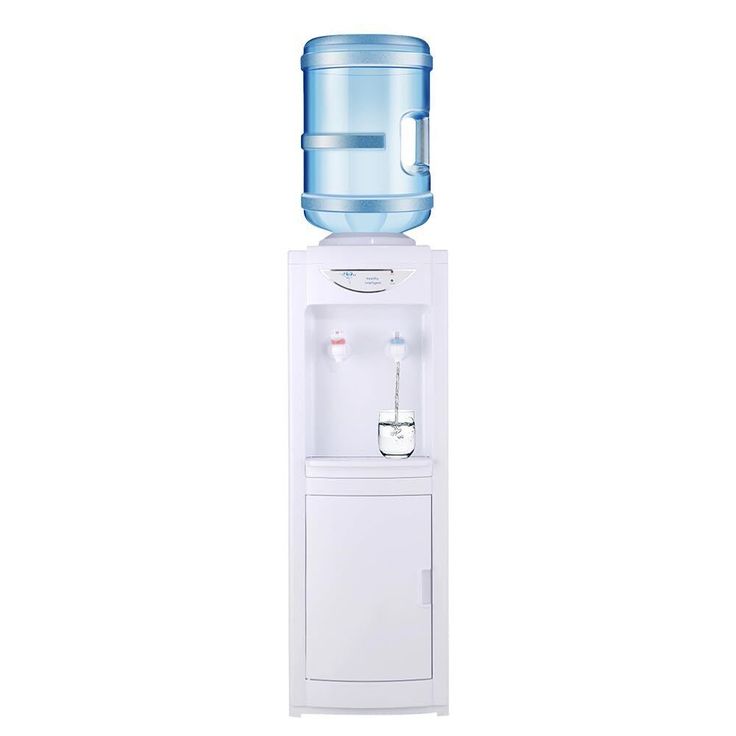
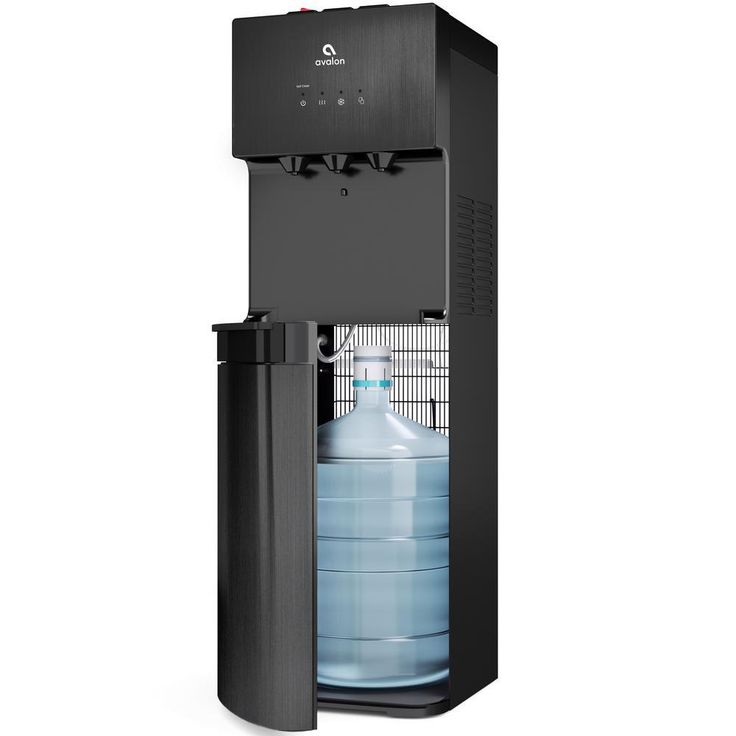
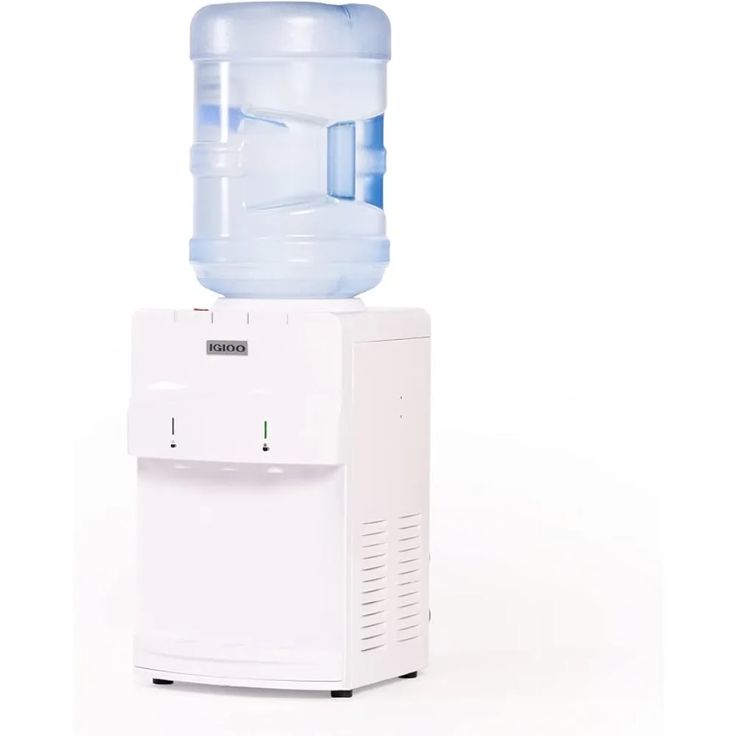
- Bottleless Water Coolers: These systems use advanced technology like reverse osmosis. They remove a broad range of impurities, including bacteria and viruses.
- Under-Sink Water Filters: Install these filters directly to your plumbing. They often have stronger filtration capabilities than fridge filters.
- Whole House Water Filtration Systems: These systems purify all water entering your house. They ensure clean water from every tap.
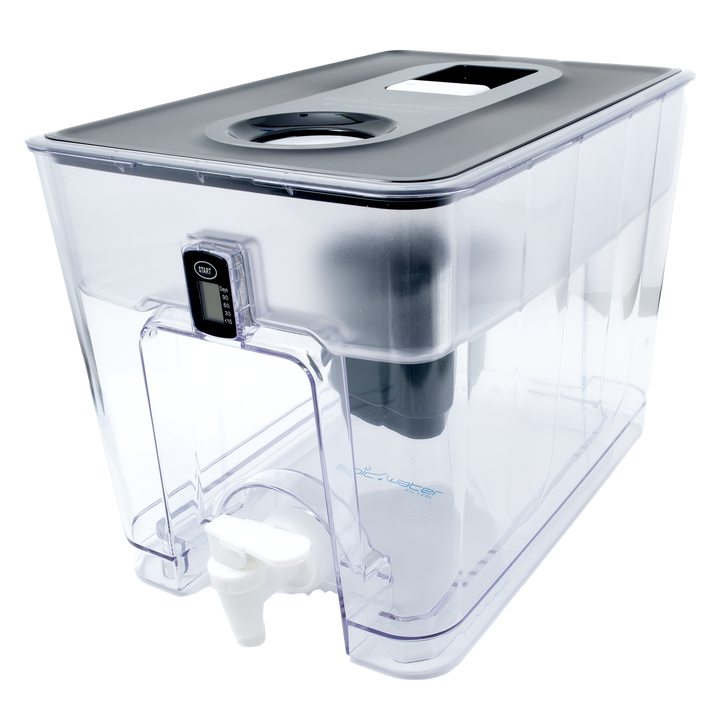
- Pitcher Water Filters: A simple and cost-effective option. Make sure to choose a pitcher with a filter that removes bacteria and other contaminants.
- Faucet-Mounted Filters: These are attached directly to your faucet. They offer an extra layer of filtration, easy to use and replace.
Remember, no matter which alternative you choose, regular maintenance is key. Always replace filters as suggested by the manufacturer to maintain water safety.
Conclusion: Ensuring Safe Drinking Water at Home
Ensuring safe drinking water at home is crucial for health. As we have discussed, refrigerator water dispensers can harbor bacteria if not properly maintained. Remember to regularly change the water filter and clean the dispenser unit. This will help keep your water safe from contaminants including harmful bacteria like coliform and salmonella.
For those seeking higher levels of water purity, consider alternatives. Options such as bottleless water coolers or under-sink filters can provide more comprehensive filtration. These systems often remove a broader range of impurities.
Make sure to assess the specific needs of your household. Choose a water purification solution that meets these needs effectively. Regular maintenance and alertness to the risks can significantly improve water quality. By taking these steps, you can provide safer drinking water for your family and reduce health risks associated with contaminated water.
Staying informed and proactive is key. It ensures that your home remains a place of wellness and safety through clean water.