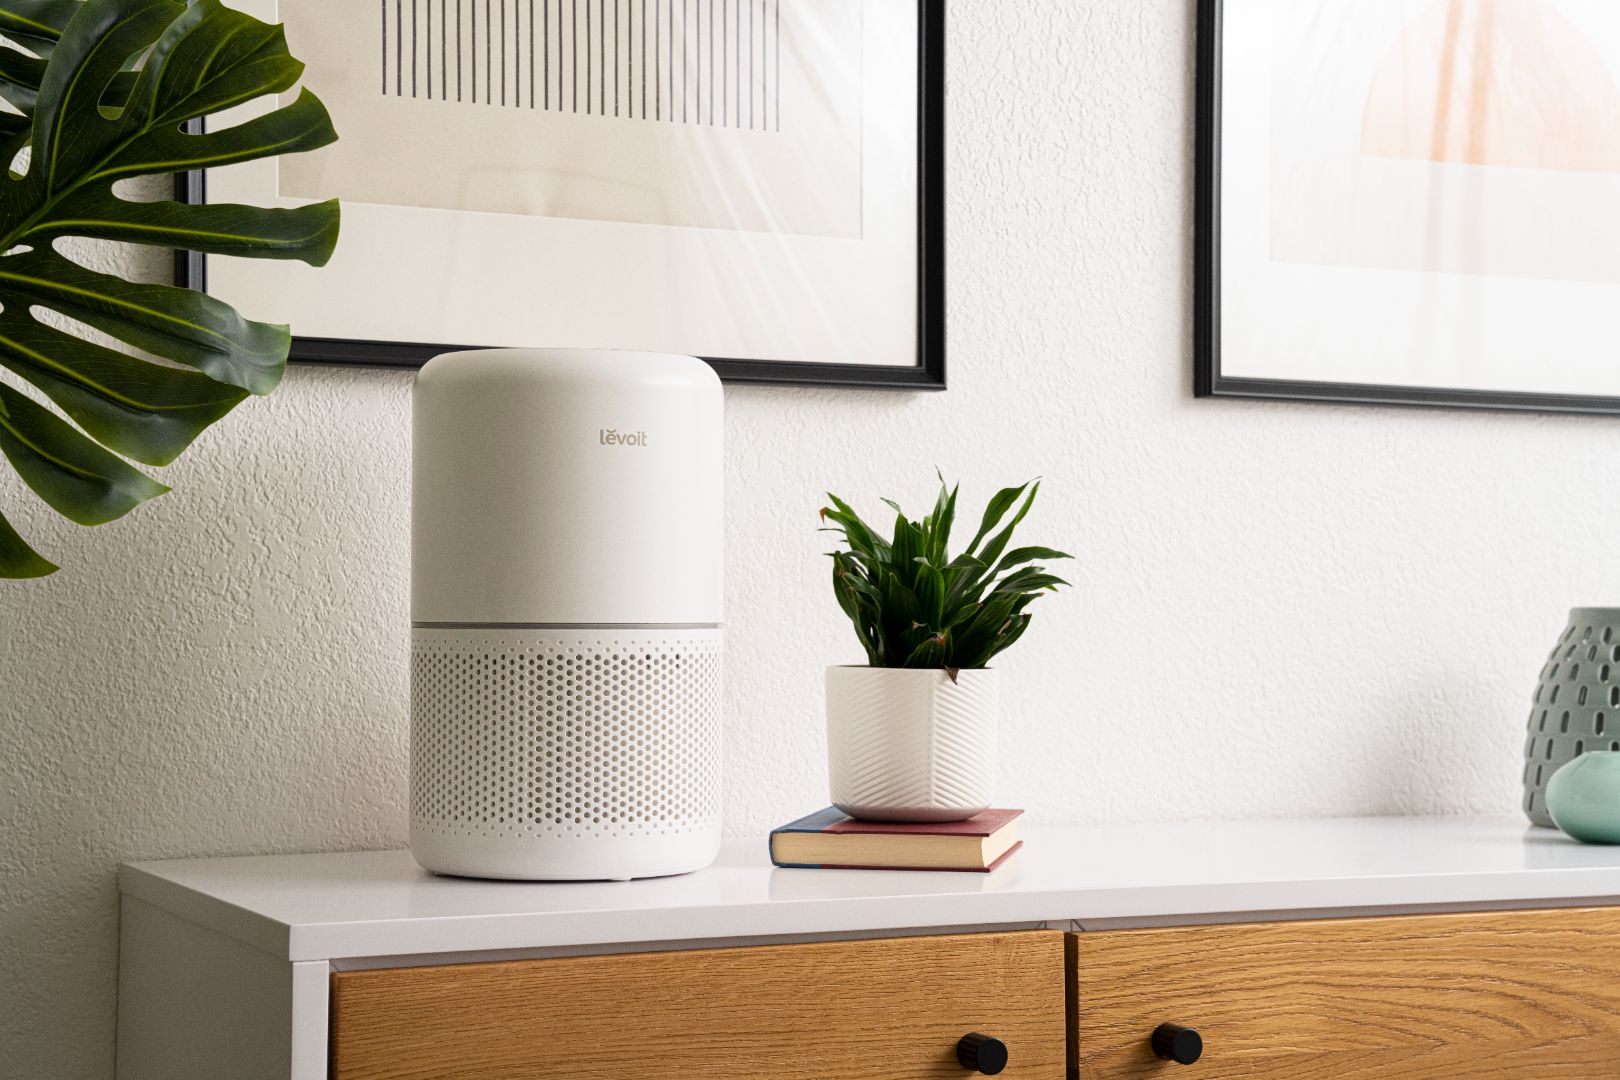
Air purifiers are essential devices for maintaining clean and healthy indoor air quality. They remove contaminants, allergens, and pollutants, ensuring a safer and more comfortable living environment. However, the effectiveness of an air purifier largely depends on the condition of its filters. Consequently, knowing when and how often to change the air purifier filter is crucial for optimal performance. Therefore, understanding the various factors influencing filter replacement can help you make informed decisions and maintain your air purifier’s efficiency. This comprehensive guide explores the importance of replacing air purifier filters, different types of filters, influencing factors, and practical tips for maintenance. By delving into these aspects, you can ensure your air purifier operates at its best.
The Importance of Replacing Air Purifier Filters
Replacing air purifier filters regularly is vital for maintaining the device’s performance and indoor air quality. Understanding the importance of filter replacement helps you prioritize this maintenance task. Therefore, exploring the significance of replacing air purifier filters is crucial.
Ensuring Effective Air Purification
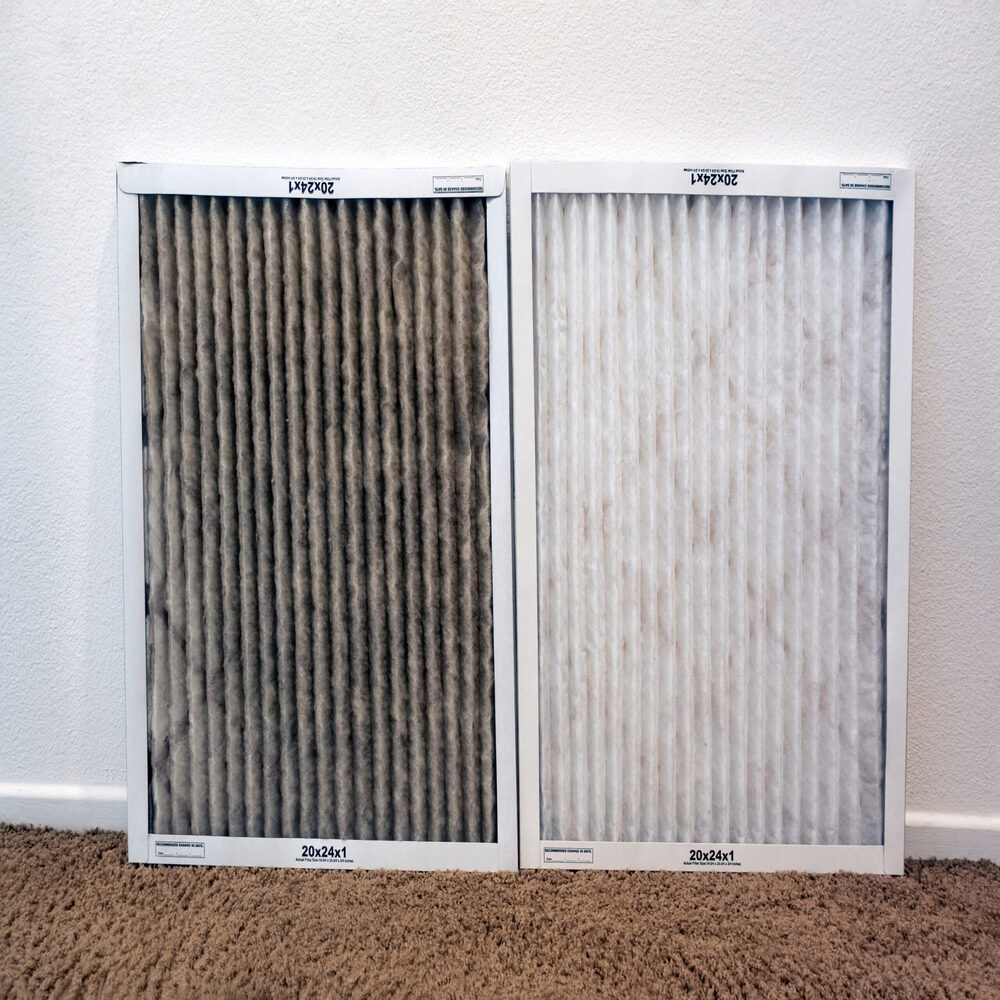
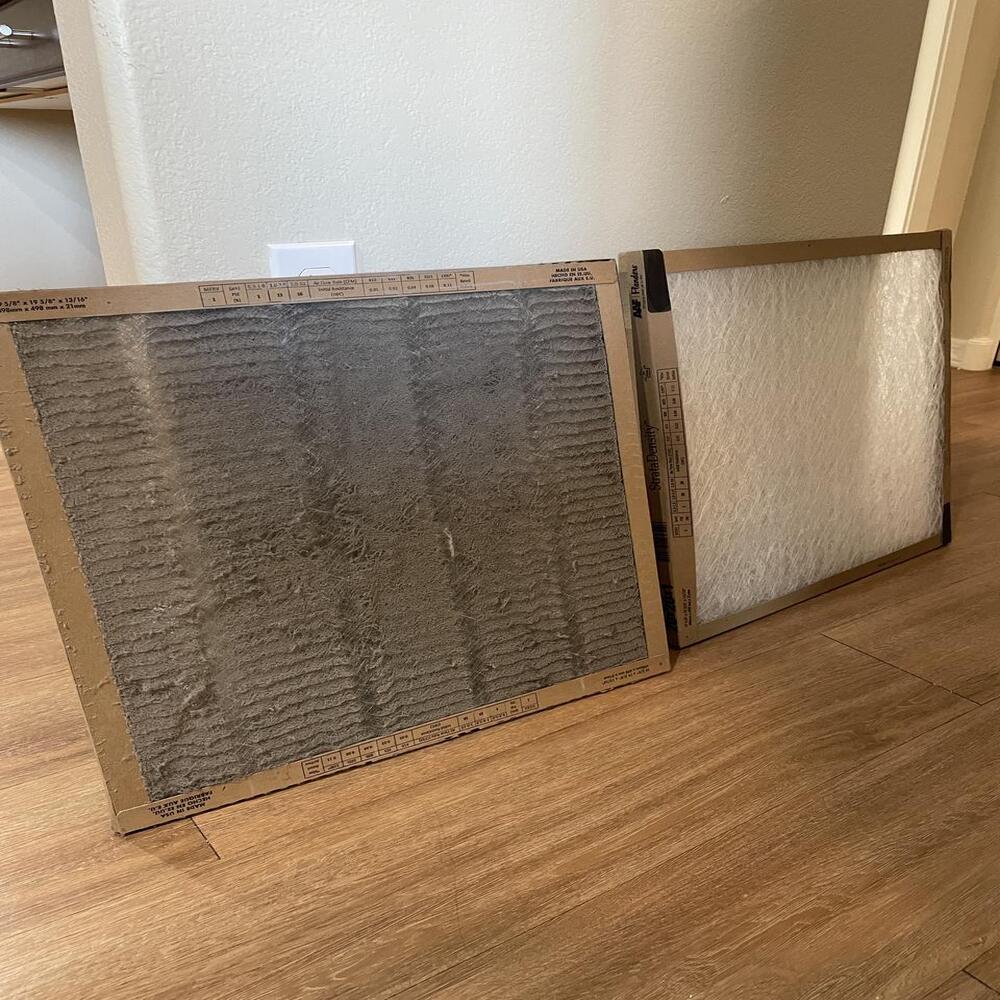
An air purifier’s primary function is to remove contaminants from the air, such as dust, pollen, pet dander, and smoke. Over time, the filters accumulate these particles, reducing their efficiency and ability to capture new pollutants. A clogged or dirty filter can compromise the air purifier’s performance, leading to decreased air quality. Regularly replacing the filters ensures optimal air purification, providing a cleaner and healthier environment. By understanding the importance of effective air purification, you can prioritize timely filter replacement. Therefore, recognizing the value of clean filters is crucial.
Extending the Lifespan of Your Air Purifier
Regular filter replacement not only maintains air quality but also extends the lifespan of your air purifier. A clogged filter forces the device to work harder, straining its components and potentially leading to malfunctions or damage. By keeping the filters clean, the air purifier operates more efficiently, reducing wear and tear on its internal parts. This proactive maintenance helps avoid costly repairs and prolongs the device’s lifespan. By understanding the impact of filter replacement on the device’s longevity, you can ensure better performance and durability. Therefore, recognizing the benefits of regular maintenance is essential.
Types of Air Purifier Filters
Different types of air purifier filters are designed to capture specific pollutants and contaminants. Understanding these various filters helps in determining their replacement frequency. Therefore, exploring the types of air purifier filters is essential.
HEPA Filters
High-Efficiency Particulate Air (HEPA) filters are among the most common and effective filters used in air purifiers. They capture up to 99.97% of particles as small as 0.3 microns, including dust, pollen, mold spores, and pet dander. HEPA filters typically need replacement every 6 to 12 months, depending on usage and environmental factors. However, individual manufacturer recommendations may vary. By understanding the characteristics and maintenance requirements of HEPA filters, you can ensure their optimal performance. Therefore, recognizing the importance of HEPA filter replacement is crucial.
Activated Carbon Filters
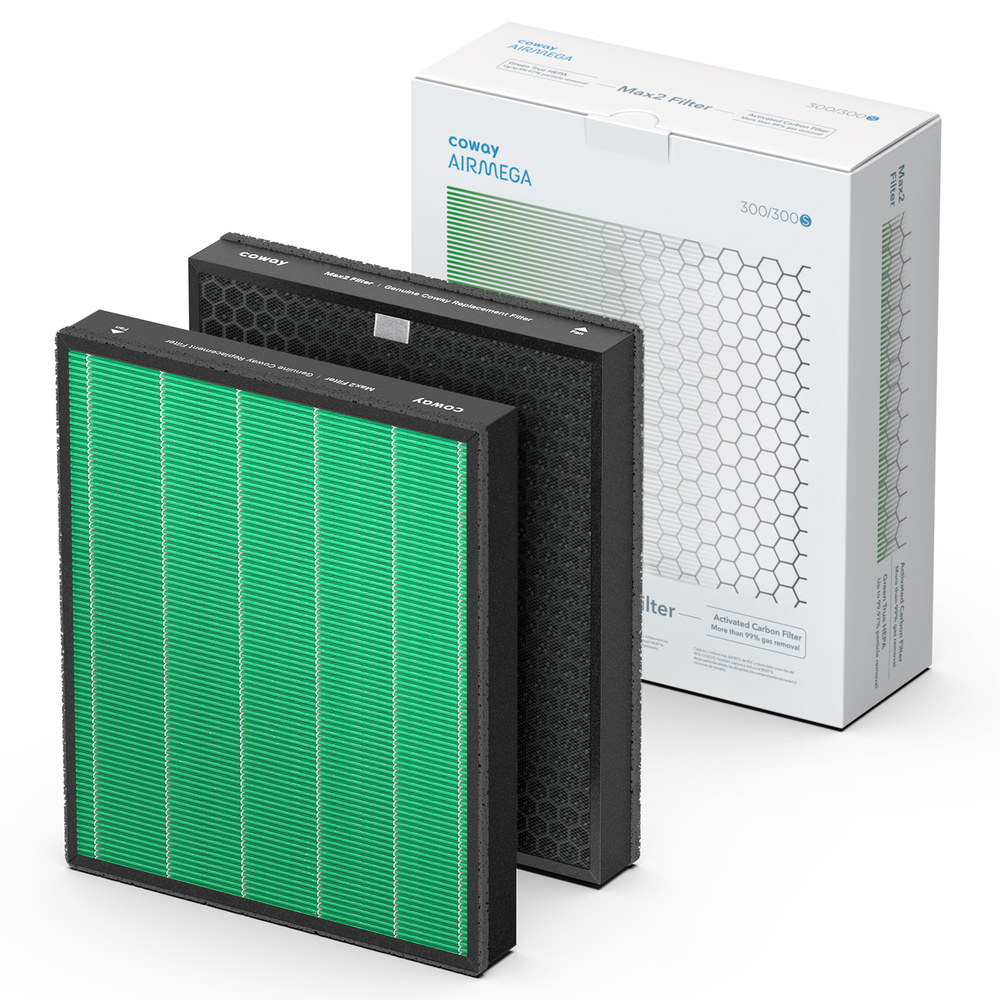
Activated carbon filters are designed to remove odors, gases, and volatile organic compounds (VOCs) from the air. These filters use activated carbon to absorb and neutralize harmful chemicals, making them ideal for homes with smokers or chemical sensitivities. Activated carbon filters generally require replacement every 3 to 6 months, depending on the level of exposure to pollutants. By understanding the function and maintenance of activated carbon filters, you can ensure a fresher and cleaner indoor environment. Therefore, recognizing the necessity of regular carbon filter replacement is essential.
Pre-Filters
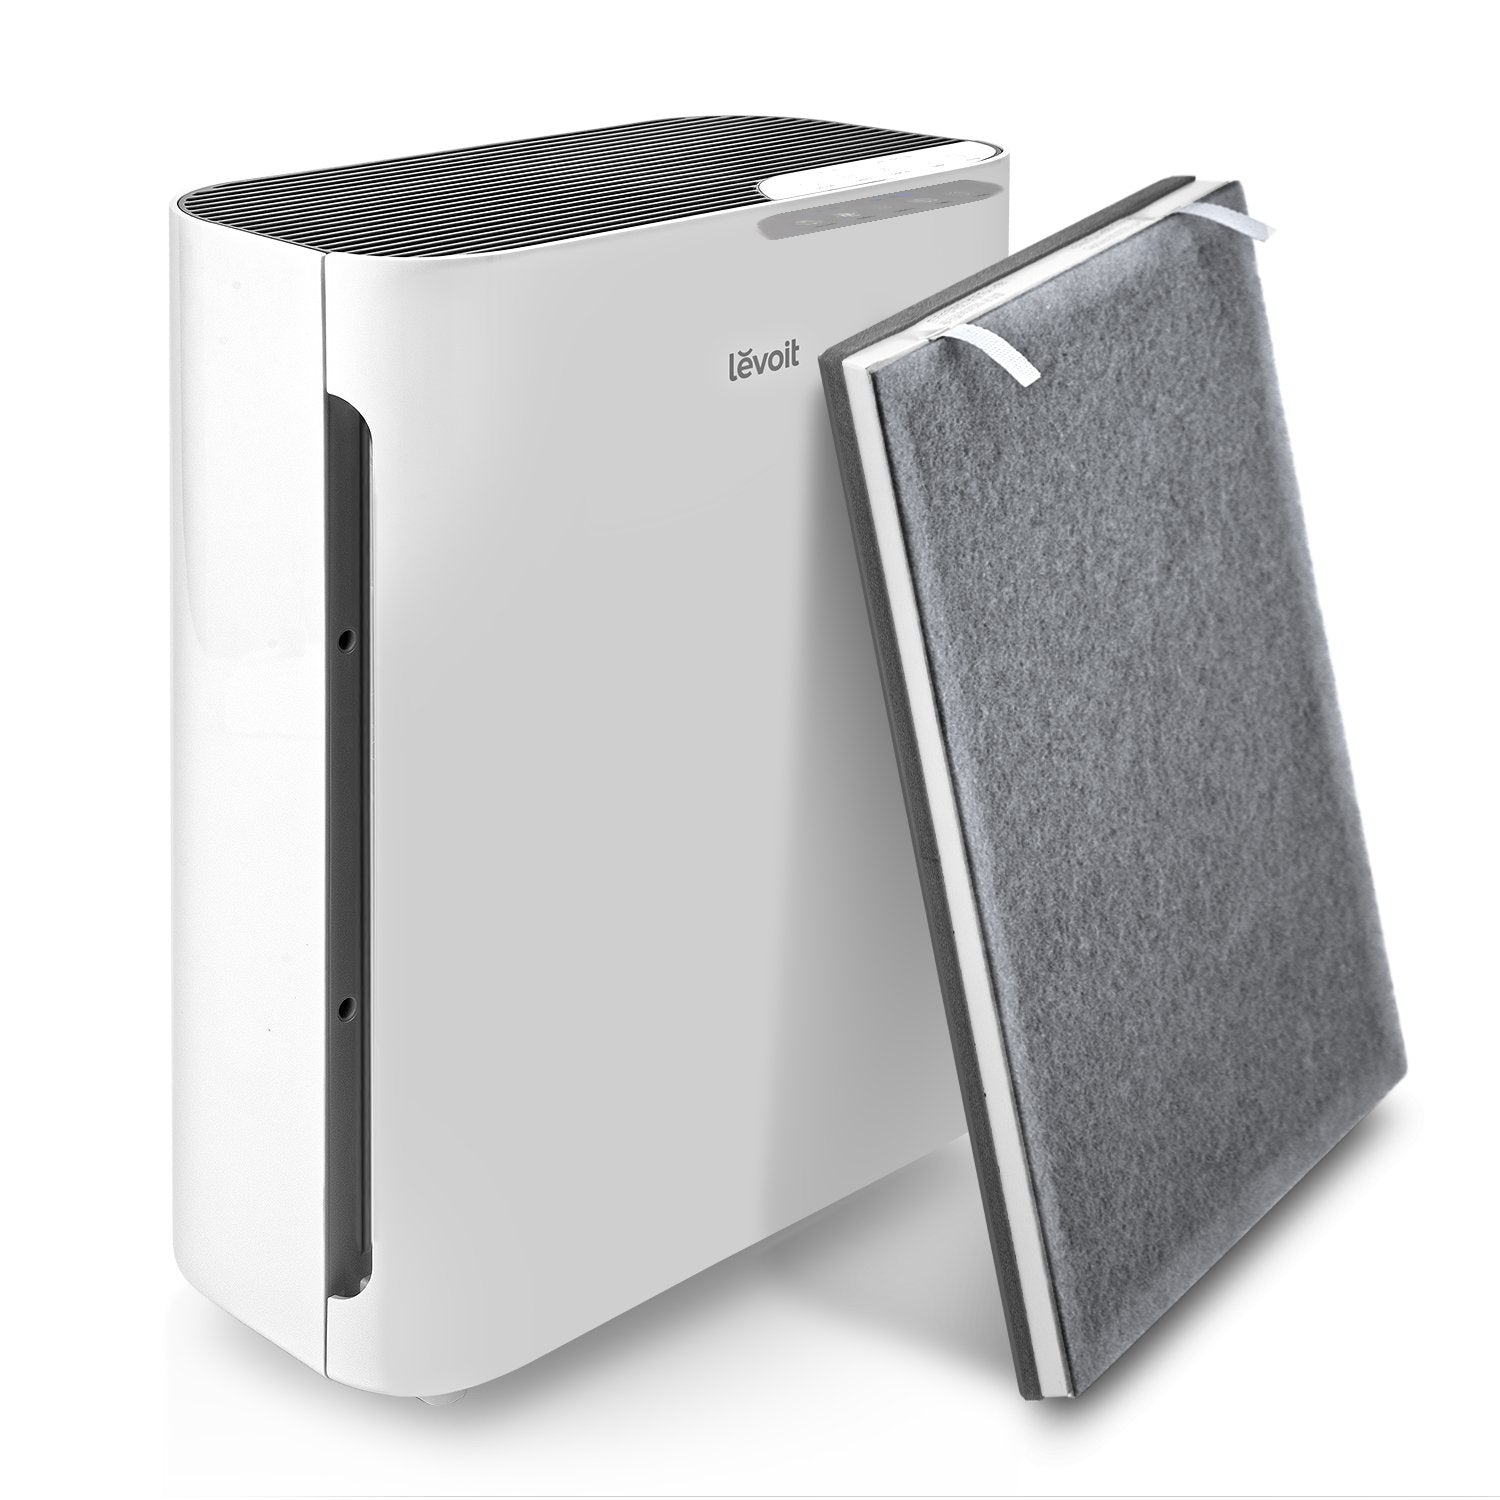
Pre-filters are the first line of defense in many air purifiers. They capture larger particles like dust and hair before the air passes through the primary filters. This helps extend the lifespan of HEPA and activated carbon filters by preventing them from clogging prematurely. Pre-filters are usually washable and reusable, but they should be cleaned or replaced every 1 to 3 months. By understanding the role of pre-filters and their maintenance, you can enhance the efficiency of your air purifier. Therefore, recognizing the importance of pre-filter upkeep is crucial.
Factors Influencing Filter Replacement Frequency
Several factors influence how often you should replace your air purifier filter. Understanding these variables helps you make informed decisions about filter maintenance. Therefore, exploring the influencing factors is essential.
Air Quality and Pollution Levels
The air quality and pollution levels in your environment significantly impact the frequency of filter replacement. In areas with high pollution, frequent exposure to smoke, or heavy pollen, filters can clog more quickly and require more frequent replacement. Conversely, in cleaner environments, filters may last longer. Regularly monitoring the air quality in your home can help you determine the appropriate replacement schedule. By understanding how air quality influences filter life, you can ensure timely replacements. Therefore, recognizing the impact of pollution levels is crucial.
Usage and Operating Hours
The frequency with which you use your air purifier also affects how often you need to replace the filters. Air purifiers running continuously or for extended periods will accumulate particles faster, necessitating more frequent filter changes. If you use the air purifier less frequently or only in specific situations, the filters may last longer. Tracking the operating hours of your air purifier and adjusting the replacement schedule accordingly ensures optimal performance. By understanding the effect of usage on filter life, you can maintain your device more effectively. Therefore, recognizing the importance of monitoring usage is essential.
Health Concerns and Allergies
Individuals with allergies, asthma, or other respiratory conditions may require more frequent filter replacements. Clean air is essential for managing these health conditions, and ensuring the filters are always efficient can significantly impact well-being. In such cases, following a more stringent replacement schedule or checking the filters more frequently is advisable. By understanding the health-related factors influencing filter replacement, you can ensure a healthier living environment. Therefore, recognizing the importance of personal health considerations is crucial.
Practical Tips for Air Purifier Maintenance
Proper maintenance of your air purifier, including regular filter replacement, ensures its effectiveness and longevity. Understanding these maintenance practices helps you keep the device in optimal condition. Therefore, exploring practical tips for air purifier maintenance is essential.
Regular Inspections and Cleaning
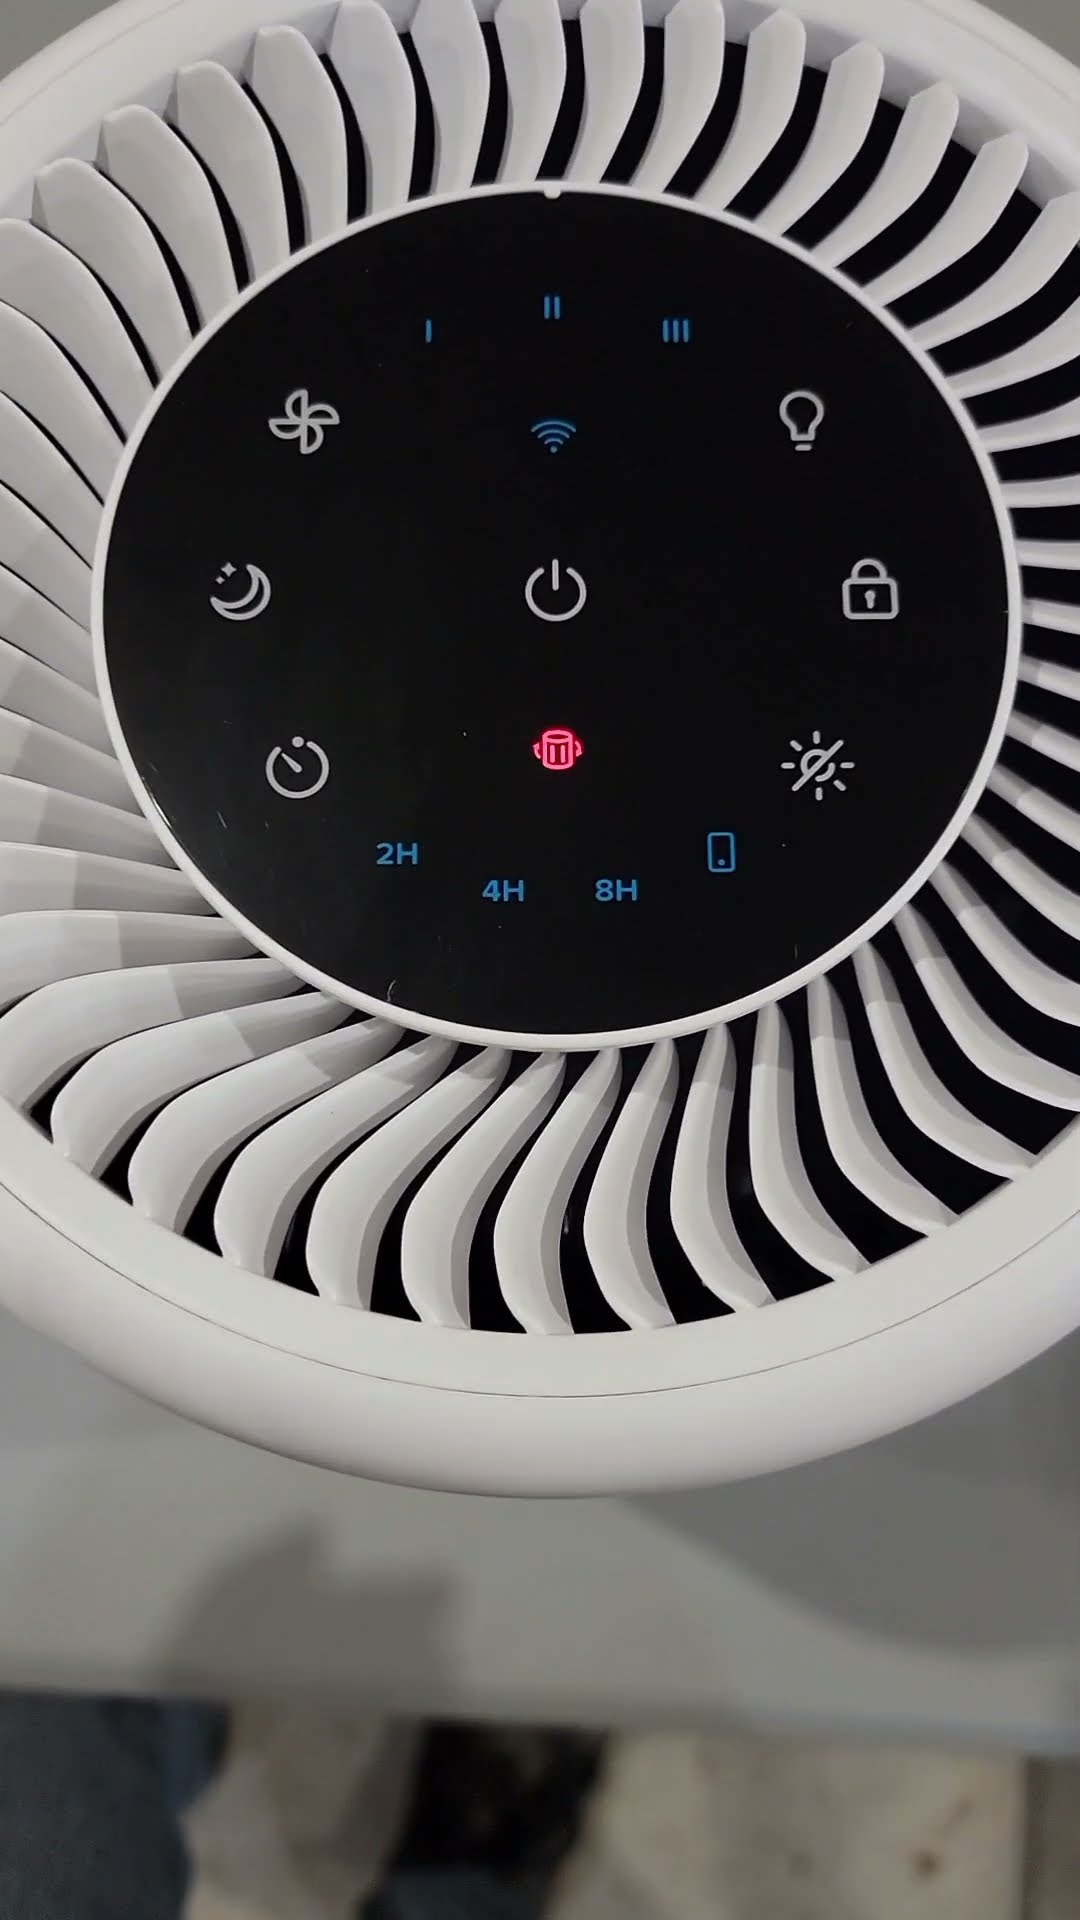
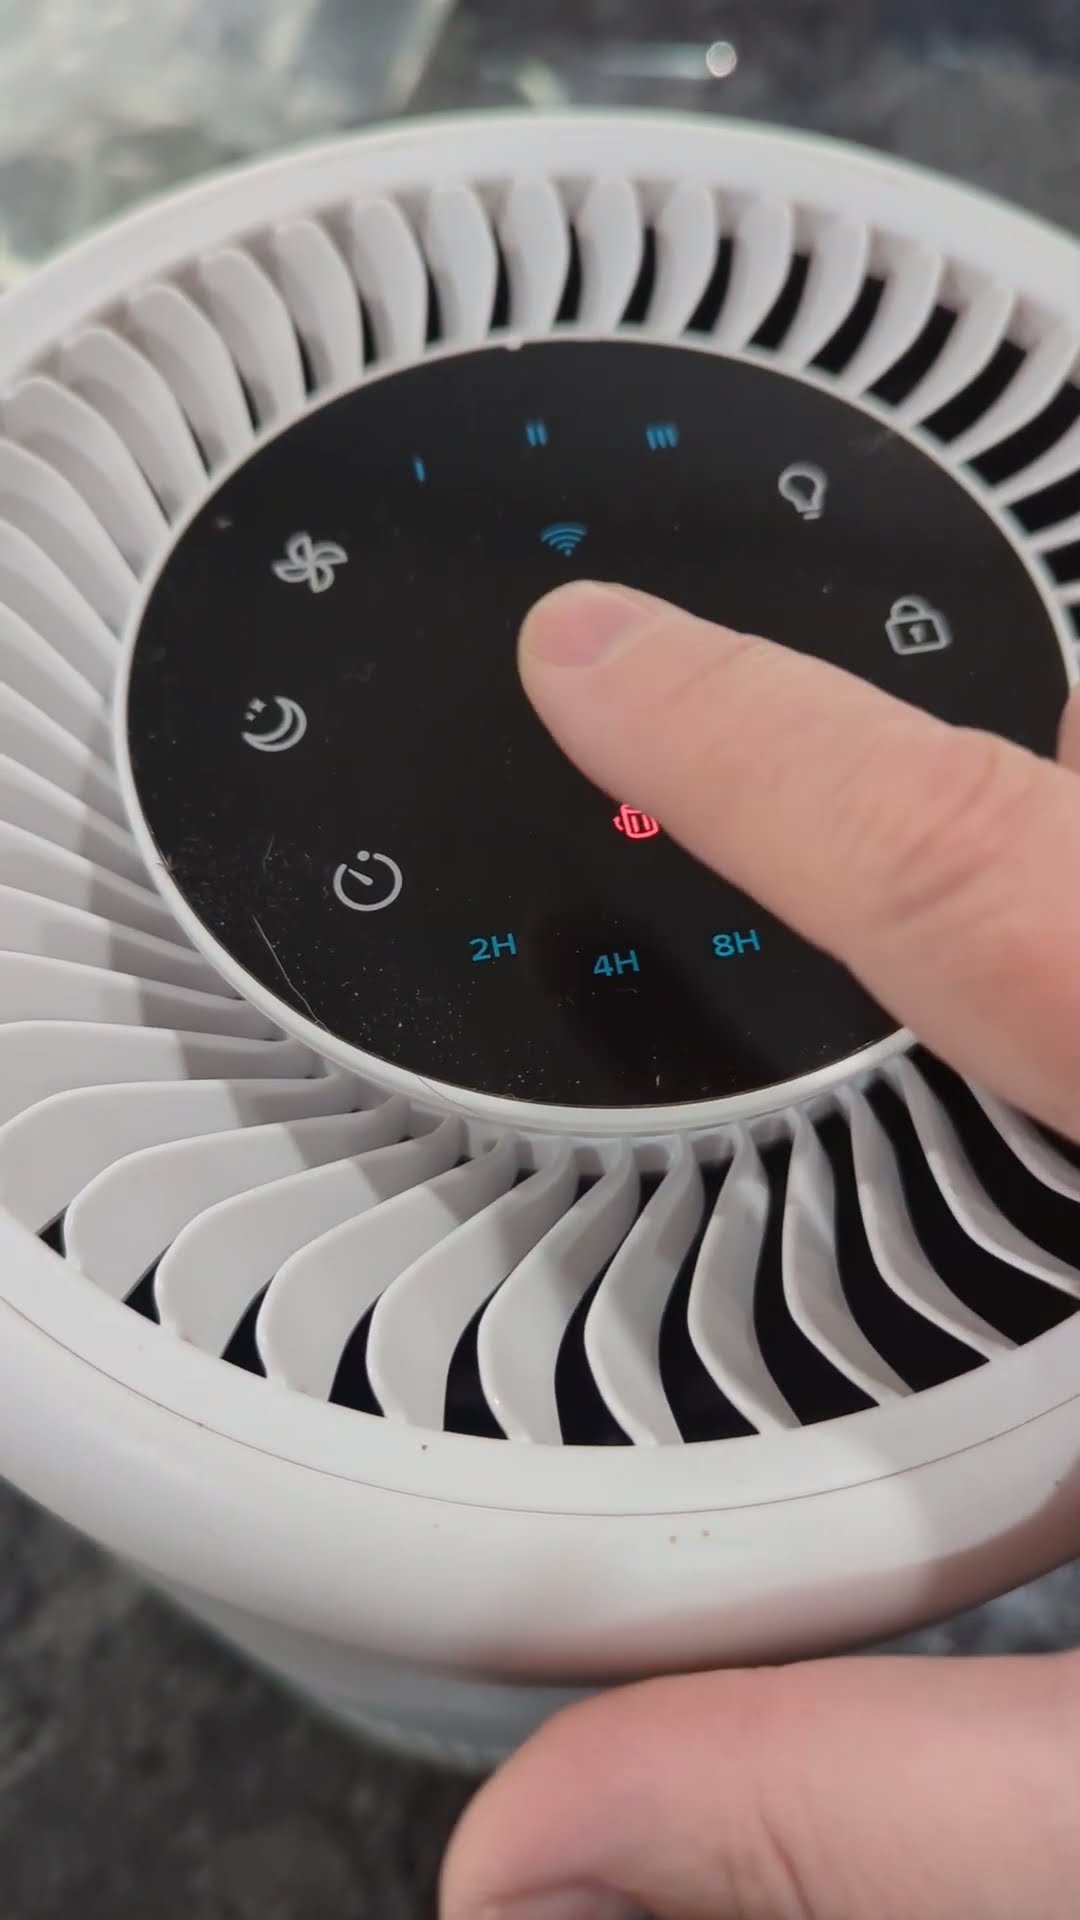
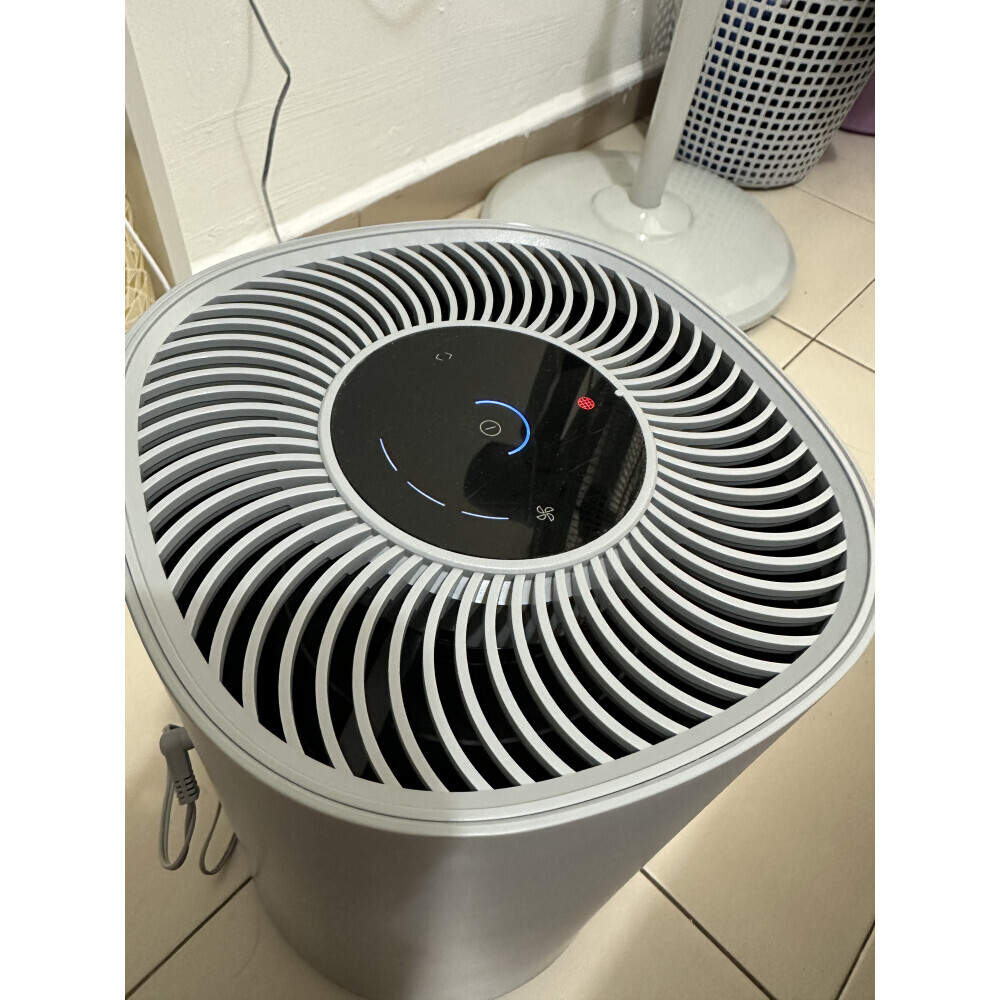
Regular inspections and cleaning are vital for maintaining your air purifier. Check the filters periodically for signs of dirt, dust accumulation, or wear. Some air purifiers have indicator lights or electronic reminders to signal when it’s time to check or replace the filters. Additionally, clean the pre-filters and other components as recommended by the manufacturer. Regular maintenance prevents clogging and ensures the device operates efficiently. By understanding the importance of regular inspections and cleaning, you can keep your air purifier in top shape. Therefore, recognizing the value of proactive maintenance is crucial.
Following Manufacturer Recommendations
Each air purifier model may have specific maintenance requirements and recommended filter replacement schedules. Following the manufacturer’s guidelines ensures you provide the best care for your device. Consult the user manual for detailed instructions on filter replacement, cleaning, and other maintenance tasks. Adhering to these recommendations helps avoid potential issues and maximizes the air purifier’s performance. By understanding the necessity of following manufacturer guidelines, you can ensure proper maintenance. Therefore, recognizing the importance of adherence is essential.
Keeping Spare Filters On Hand
Keeping spare filters on hand ensures you are always prepared for timely replacements. Purchasing filters in advance allows for convenient and immediate replacement when needed, preventing any disruption in air purification. Store the spare filters in a clean, dry place to maintain their quality until use. By understanding the advantages of having spare filters, you can ensure continuous and effective air purification. Therefore, recognizing the value of preparedness is crucial.
Addressing Common Questions About Air Purifier Filters
Understanding common questions about air purifier filters provides additional clarity and guidance. Knowing these answers ensures better preparation and confidence in maintaining your device. Therefore, exploring common questions is essential.
How Do I Know When to Change My Air Purifier Filter?
A common question is how to know when to change an air purifier filter. Besides following the manufacturer’s recommended schedule, there are other indicators to watch for. Decreased airflow, unusual noises, or persistent odors suggest it’s time to inspect and possibly replace the filters. Some air purifiers feature indicators or reminders to assist you. By understanding these signs, you can ensure timely filter replacement. Therefore, recognizing the importance of observational cues is crucial.
Can I Clean and Reuse Air Purifier Filters?
Another common question concerns cleaning and reusing air purifier filters. While pre-filters are often washable and reusable, most HEPA and activated carbon filters are not designed for cleaning and reuse. Attempting to clean these filters can damage them and reduce their effectiveness. Always follow the manufacturer’s instructions for filter maintenance to ensure optimal performance. By understanding the limitations of filter cleaning, you can avoid potential issues and maintain air quality. Therefore, recognizing the necessity of proper filter maintenance is essential.
Addressing Common Misconceptions About Air Purifier Filters
Addressing common misconceptions about air purifier filters provides accurate information and dispels concerns. Clarifying misunderstandings ensures an informed perspective. Therefore, this section explores common misconceptions about air purifier filters.
Misconception: Filters Last Forever
A common misconception is that air purifier filters last forever. All filters have a limited lifespan and require regular replacement to remain effective. Ignoring this maintenance task can result in decreased air quality and inefficient purification. By understanding the finite nature of filter life, you can prioritize timely replacements. Therefore, dispelling this misconception highlights the importance of regular maintenance.
Misconception: Any Filter Will Do
Another misconception is that any filter will suffice for an air purifier. Filters are designed to meet specific standards and requirements, and using the correct type and size is crucial for optimal performance. Using the wrong filter can compromise the device’s effectiveness and potentially cause damage. Always use the recommended filters for your specific air purifier model. By understanding the importance of using proper filters, you can ensure efficient air purification. Therefore, dispelling this misconception emphasizes the need for suitable replacements.
Conclusion: Prioritizing Air Purifier Filter Maintenance
Prioritizing air purifier filter maintenance involves understanding the importance of regular replacements, the types of filters available, and the factors influencing their lifespan. Proper knowledge of these aspects ensures your air purifier operates efficiently and effectively.
Exploring key elements such as the significance of clean filters, various filter types, influencing factors, and practical maintenance tips provides valuable insights. Recognizing the importance of ongoing care, addressing common questions, and dispelling misconceptions enhances overall understanding and execution.
By engaging with these elements, individuals can confidently maintain their air purifiers, ensuring cleaner and healthier indoor air quality. Therefore, whether you are a novice or experienced air purifier user, understanding how to care for your filters offers practical and valuable insights. Embrace the opportunity to maintain a healthier living environment, knowing you have the knowledge and resources for optimal air purification!