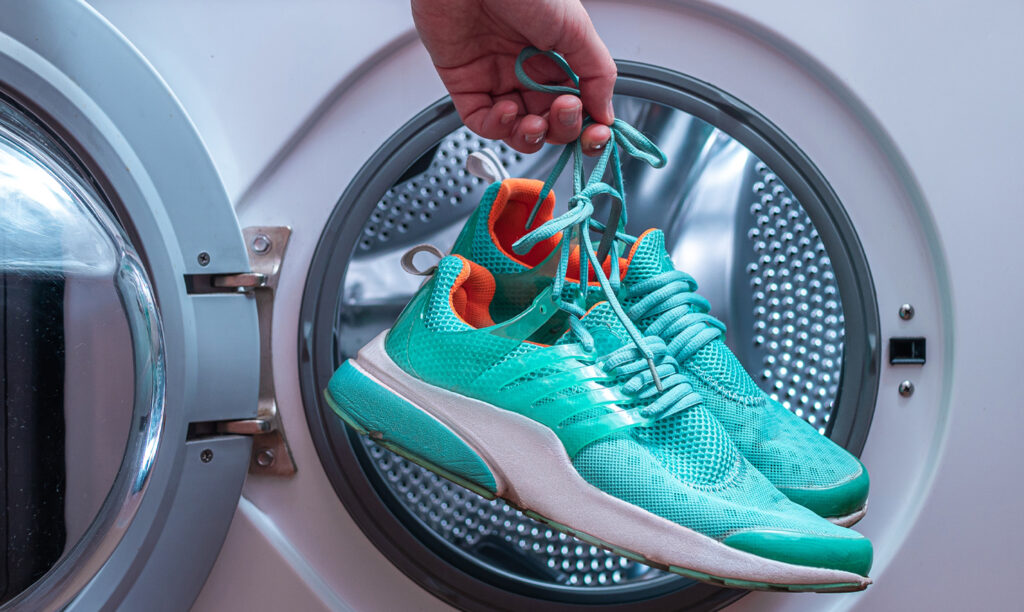
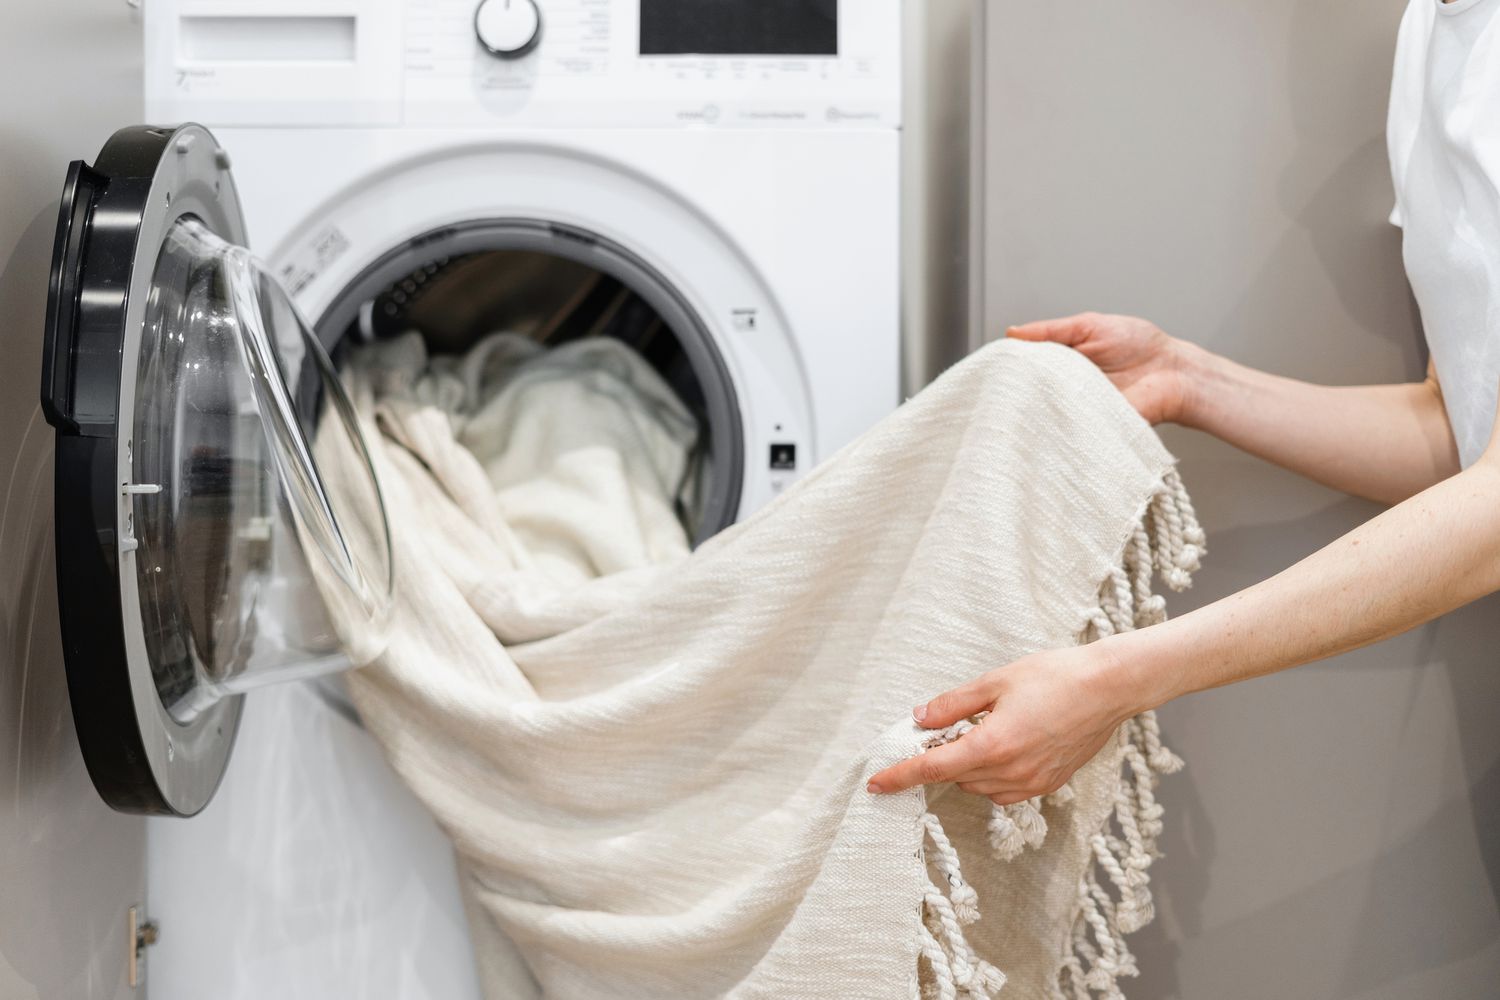
How to wash clothes in washing machine without detergent? Introduction In today’s world, where environmental awareness and personal health concerns are on the rise, many individuals are seeking alternatives to traditional laundry detergents. While these chemical-based products are effective at cleaning clothes, they can also be harsh on delicate fabrics, contribute to skin irritations, and have a negative impact on the environment. Fortunately, there are several effective methods for washing clothes without soap, allowing you to enjoy a cleaner, more natural way to wash clothes without detergent. In this comprehensive guide, we’ll explore the benefits of detergent-free washing, the various techniques and household ingredients you can use, and the steps to achieve sparkling clean clothes without the need for harsh chemicals.
What can i wash clothes with without detergent? The Basics of Washing Without Detergent
Is it ok to wash clothes without detergent? Cleaning clothes generally involves removing dirt, odors, and stains. Detergent is often the go-to solution for most laundry tasks. Yet, various alternative methods exist for cleaning clothes effectively without traditional detergent. we will explore what can i use to wash clothes without detergent.
Natural Cleaning Agents
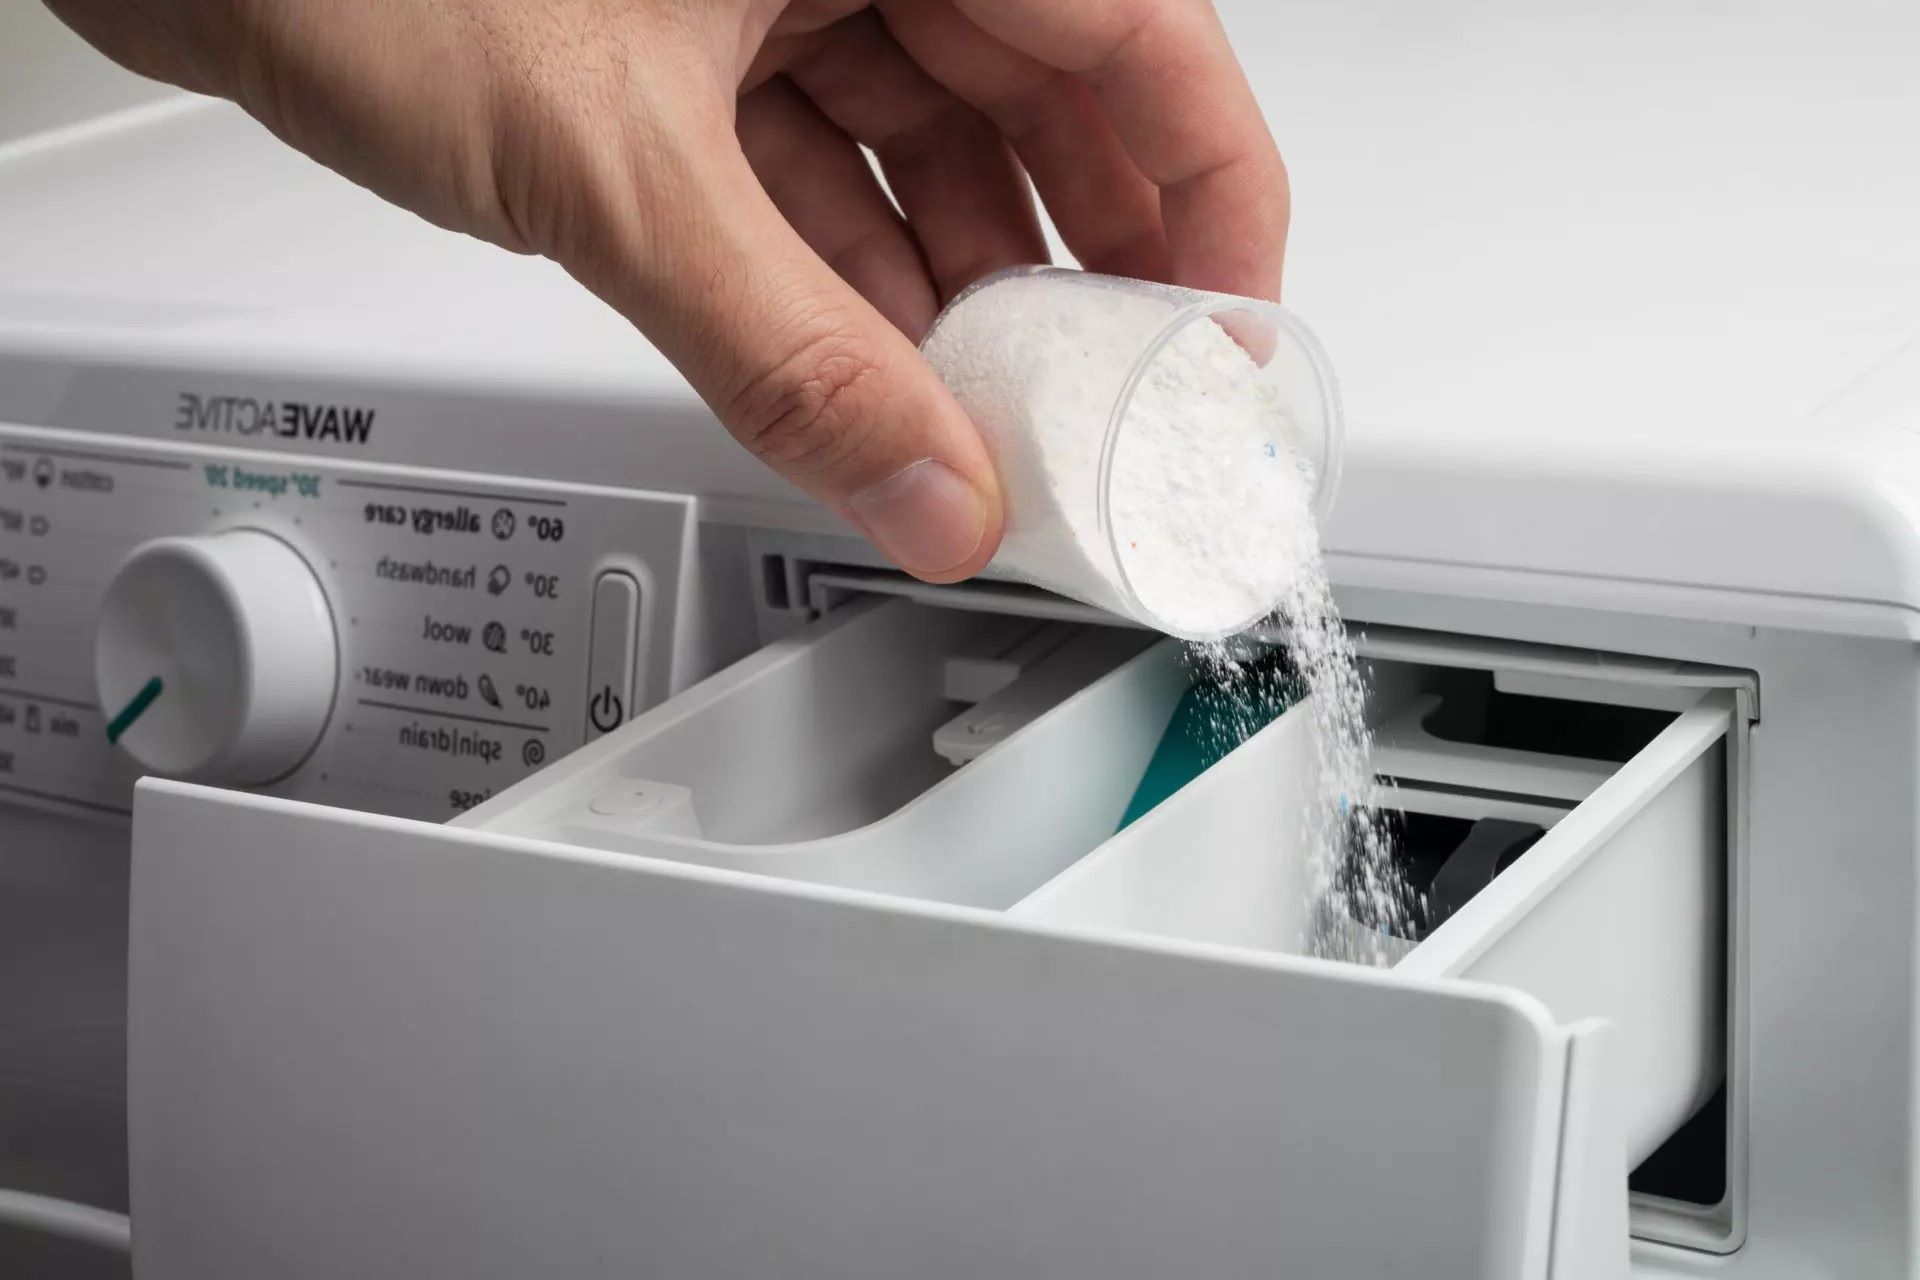
Using natural cleaning agents is one of the best ways to wash clothes no detergent. Baking soda is a common household item with excellent cleaning properties. This inexpensive product works wonders at freshening fabrics and removing odors. When added to a washing machine, baking soda can soften water, enhancing the cleaning process.
White vinegar is another effective cleaning agent. It acts as a natural fabric softener while also deodorizing clothes. Adding vinegar to the rinse cycle can neutralize bad smells. Moreover, vinegar helps break down detergent residues from previous washes, making it beneficial for those aiming for a fresh start.
DIY Alternatives
Besides baking soda and vinegar, you might consider DIY alternatives. One option is using lemon juice, known for its natural bleaching properties. It can effectively remove stains while leaving your clothes smelling fresh. Simply add half a cup of lemon juice in the washing machine for a brightening effect.
Castile soap is another excellent alternative for washed clothes without detergent. This natural soap is biodegradable and safe for most fabrics. It contains no harsh chemicals, making it suitable for delicate items. Mix a few tablespoons of Castile soap with warm water and add it to your machine.
How to do laundry without detergent? The Benefits of Detergent-Free Washing
Is it bad to wash clothes without detergent? On the contrary, there are many benefits for doing laundry without detergent.
Reduced Skin Irritation
Many people suffer from skin sensitivities or allergic reactions to the fragrances, dyes, and other additives found in traditional laundry detergents. By opting for a detergent-free approach, you can minimize the risk of skin irritation and enjoy a more gentle, hypoallergenic clean.
Environmental Sustainability
Conventional laundry detergents often contain a variety of synthetic chemicals that can be harmful to the environment, contaminating water sources and contributing to the accumulation of non-biodegradable waste. Detergent-free washing reduces your environmental footprint and supports more sustainable practices.
Can you wash laundry without detergent? Household Ingredients for Detergent-Free Washing
How to clean clothes without detergent? Baking Soda
Baking soda, or sodium bicarbonate, is a versatile and effective cleaning agent that can be used as an alternative to laundry detergent. When added to the wash cycle, baking soda helps to lift and remove dirt, grease, and odors from clothing, leaving them fresh and clean.
How to wash clothes without laundry detergent? Vinegar
White vinegar is another common household ingredient that can be used for washing without detergent. The acetic acid in vinegar acts as a natural softener and stain remover, helping to brighten and refresh your laundry.
How to wash laundry without detergent? Castile Soap
Castile soap, a plant-based, vegetable-oil-derived soap, is a gentle yet effective option for detergent-free washing. This concentrated, biodegradable soap can be used to create a mild, gentle cleaning solution for your clothes.
How can you wash clothes without detergent? Essential Oils
To add a subtle, natural fragrance to your laundry, you can incorporate a few drops of essential oils, such as lavender or lemon, into your detergent-free washing routine.
Can u wash clothes without detergent? Techniques for Detergent-Free Washing
Can you wash clothes without detergent? Pre-Treating Stains
Before washing your clothes, it’s important to address any visible stains or soiled areas. Treat these spots with a small amount of vinegar, baking soda, or castile soap, gently rubbing the solution into the fabric to help lift the stain.
Can you do laundry without detergent? Choosing the Appropriate Water Temperature
The water temperature you select for your detergent-free wash can have a significant impact on the cleaning results. In general, use warm or hot water for heavily soiled items, and opt for cold water for delicate fabrics or lightly soiled clothes.
Can i do laundry without detergent? Agitation and Rinse Cycles
Ensure that your washing machine is set to the appropriate agitation level and number of rinse cycles to thoroughly clean your clothes without detergent. The increased agitation can help dislodge dirt and grease, while the additional rinse cycles will help remove any residual cleaning agents.
How can i wash my clothes without detergent? Specialized Detergent-Free Washing Techniques
Hand Washing
For particularly delicate items or small loads, consider hand washing your clothes using a gentle, detergent-free solution. This method allows for more control and can be gentler on fabrics.
Front-Loading Machines
Front-loading washing machines are often better suited for detergent-free washing, as they use less water and tend to be more efficient at rinsing away any residual cleaning agents.

Can i wash clothes without detergent? Maintaining Cleaning Effectiveness
Adjusting Quantities
When using household ingredients like baking soda or vinegar as alternatives to laundry detergent, it’s essential to experiment with the appropriate quantities. Start with smaller amounts and gradually increase as needed to achieve the desired level of cleaning.
Incorporating Oxygen-Based Boosters
To enhance the cleaning power of your detergent-free washing routine, consider adding an oxygen-based booster, such as hydrogen peroxide or oxygen bleach. These natural whitening agents can help brighten and sanitize your clothes without the use of harsh chemicals.
Can you wash without detergent? Addressing Specific Laundry Challenges
Dealing with Tough Stains
For particularly stubborn stains, you may need to employ additional techniques, such as pre-treating with a paste made from baking soda and water, or using a small amount of castile soap directly on the affected area.
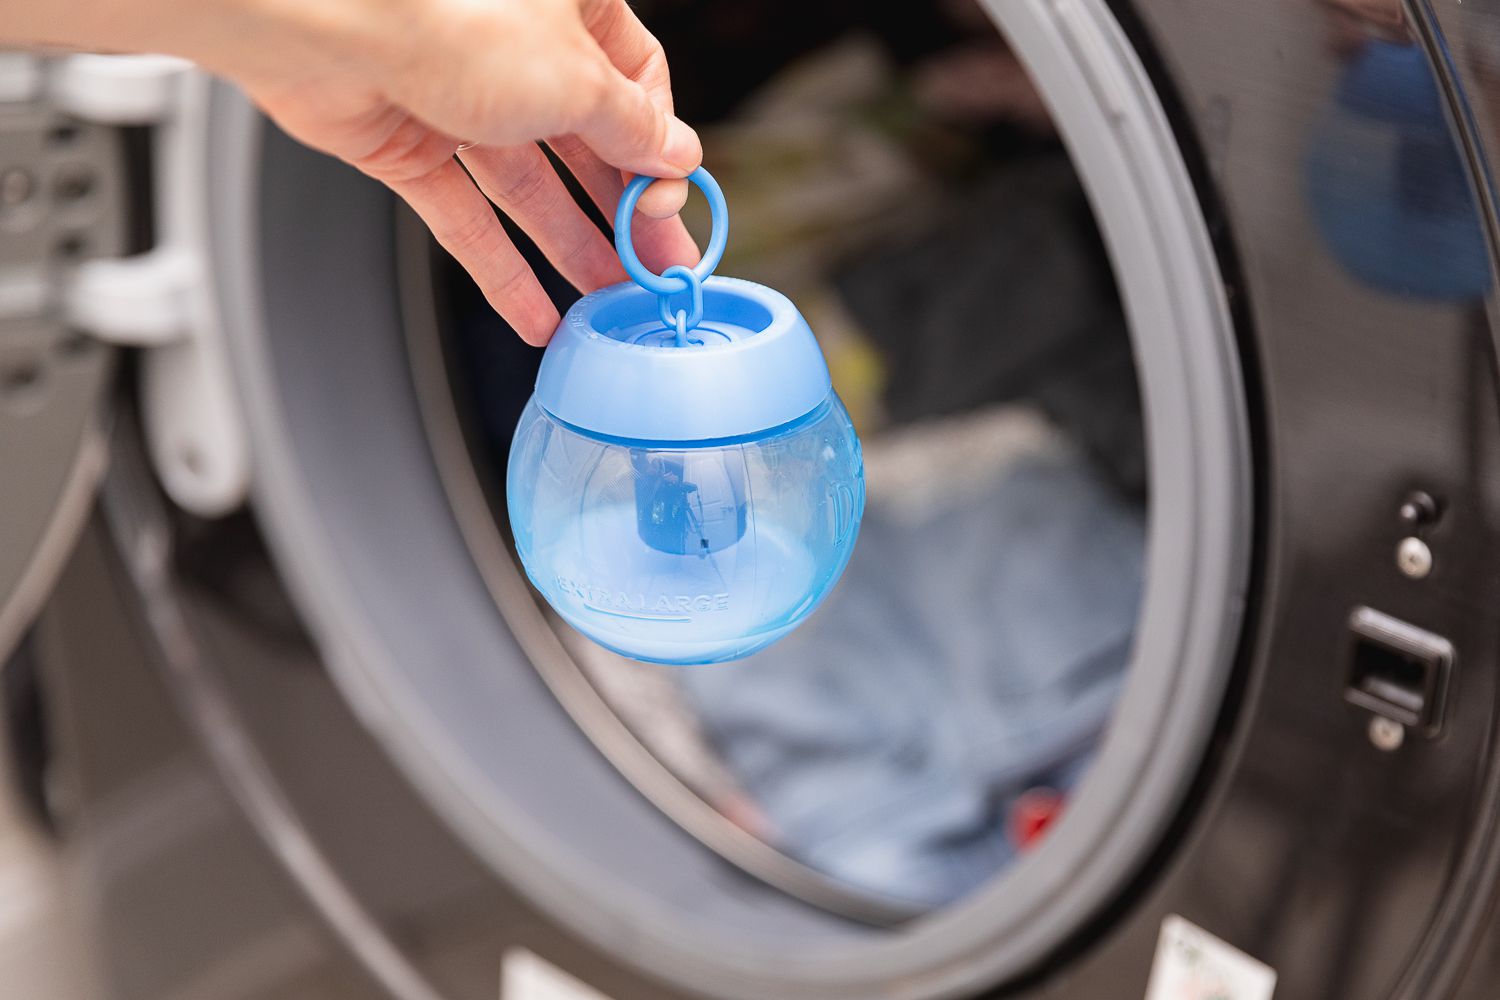
Maintaining Fabric Softness
While traditional fabric softeners are not necessary in a detergent-free washing routine, you can achieve soft, supple clothing by adding a small amount of vinegar to the rinse cycle or incorporating a natural fabric softener, such as wool dryer balls.
How to wash clothes without detergent in washing machine? Transitioning to Detergent-Free Washing
Gradual Approach
If you’re accustomed to using commercial laundry detergents, transitioning to a detergent-free washing routine may require some adjustments. Start by gradually incorporating household ingredients, allowing yourself time to observe the results and make any necessary tweaks to your washing process.
Expectations and Mindset
It’s important to understand that the cleaning results of detergent-free washing may differ from what you’re used to with commercial products. Manage your expectations and focus on the long-term benefits of a more natural, sustainable laundry routine.
How can i wash my clothes without a washing machine?Troubleshooting and Maintenance
Addressing Residue or Buildup
If you notice a residue or buildup on your clothes or washing machine, it may be a sign that you need to adjust your detergent-free washing techniques. Try increasing the amount of rinse cycles, using a higher water temperature, or adding a small amount of vinegar to the final rinse.
Maintaining Washing Machine Cleanliness
Regular cleaning and maintenance of your washing machine is essential, even when using detergent-free methods. Run periodic cleaning cycles using a small amount of baking soda or vinegar to help keep your machine in top condition.
How to wash clothes by hand without detergent?
Washing clothes by hand without detergent can be done effectively using a few simple methods. Here’s a step-by-step guide of how to wash clothes without washing machine:
Materials Needed:
- Water (preferably warm)
- White vinegar or baking soda (optional for odor removal)
- A clean basin or sink
Steps to Wash Clothes by Hand:
- Prepare the Wash Basin:
- Fill a clean basin or sink with warm water. The temperature will vary based on the fabric type—gentler for delicate fabrics and warmer for sturdier ones.
- Dissolve Additives (if using):
- If you’re using white vinegar or baking soda, you can add about 1 cup of white vinegar or 1/2 cup of baking soda to the water. This helps in cleaning and deodorizing.
- Soak the Clothes:
- Submerge the clothes in the water. Allow them to soak for about 10-15 minutes to loosen dirt and odors.
- Agitate Gently:
- After soaking, gently agitate the clothes by swirling them around in the water. For tougher stains, you can gently rub the fabric against itself. Be careful not to be too rough, especially with delicate fabrics.
- Rinse Thoroughly:
- Drain the dirty water and rinse each item under clean, running water until all soap and residue is gone. If you used vinegar or baking soda, ensure you rinse well to avoid any lingering smell.
- Remove Excess Water:
- Press the clothes gently to remove excess water. Avoid wringing, as this can distort the fabric.
-
Dry Properly:
- Hang the clothes to air dry in a well-ventilated area, or lay them flat as appropriate for the fabric type.
Conclusion: Can you wash clothes without laundry detergent?
How to wash your clothes without detergent? Washing clothes without detergent may seem like a daunting task, but it can be a rewarding and eco-friendly alternative that offers numerous benefits. By embracing household ingredients like baking soda, vinegar, and castile soap, you can enjoy a cleaner, gentler laundry experience while reducing your environmental impact. Remember, the transition to detergent-free washing may require some experimentation and adjustments, but the long-term rewards of healthier skin, a cleaner home, and a more sustainable lifestyle make it a worthwhile endeavor. Embark on your detergent-free washing journey with an open mind and a willingness to explore, and unlock the power of natural, effective cleaning for your clothes.