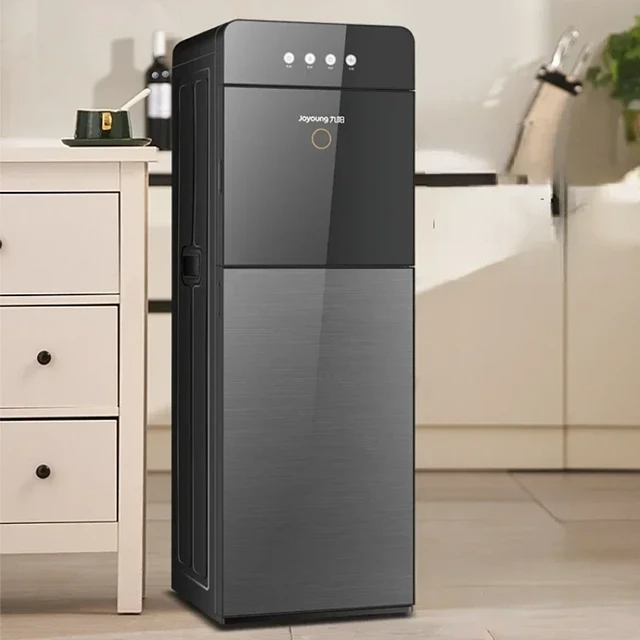
Introduction
Regularly cleaning your water dispenser is crucial for maintaining the quality and safety of the water you consume. Failure to clean your water dispenser can lead to various consequences that can negatively impact your health and the efficiency of the dispenser. In this guide, we will explore the potential risks and consequences of not cleaning your water dispenser. Understanding these risks will emphasize the importance of regular cleaning and maintenance to ensure the delivery of clean and refreshing drinking water.
Understanding the Risks of a Dirty Water Dispenser
Microbial Growth and Contamination
When you don’t clean your water dispenser, bacteria can proliferate inside. The warm, damp environment creates an ideal breeding ground. Bacteria such as E. coli and Salmonella can develop over time. These pathogens pose serious health risks to anyone consuming the water. Consequently, drinking contaminated water can lead to stomach aches, diarrhea, or worse.
Moreover, mold can also grow inside the dispenser. This fungus thrives in moist environments and can produce allergens. Allergens can cause respiratory issues and other health problems. For individuals with weakened immune systems, exposure to mold is especially concerning. Regular cleaning helps to minimize these risks. It ensures that your water remains uncontaminated and safe to drink.
Taste and Odor Issues
In addition to health risks, a dirty water dispenser can affect taste. When bacteria accumulate, they produce byproducts that alter the flavor of the water. As these organisms metabolize, they release compounds that don’t taste pleasant. Consequently, you might find yourself avoiding water altogether.
Furthermore, a build-up of grime and algae can also produce unpleasant odors. These smells can be unappetizing, making it difficult to enjoy fresh water. In an office setting, this can deter employees from drinking enough fluids. Therefore, maintaining a clean water dispenser is essential for preserving taste and smell.
The Health Implications of a Neglected Dispenser
Long-Term Health Risks
Not cleaning your water dispenser regularly can lead to long-term health issues. Drinking contaminated water can cause gastrointestinal diseases. These conditions can lead to chronic health problems. Additionally, vulnerable populations can be particularly susceptible to these risks.
In some cases, infections caused by contaminated water can be severe. Some individuals may require hospitalization for treatment. Thus, the costs associated with health complications far exceed preventative cleaning measures.
Allergic Reactions and Respiratory Issues
As mentioned previously, mold can thrive in uncleaned dispensers. For some individuals, exposure to mold can trigger allergic reactions. Symptoms may include sneezing, coughing, and watery eyes. In more severe cases, mold exposure can cause asthma attacks.
Moreover, prolonged exposure to germs and bacteria can weaken your immune system. This ultimately increases susceptibility to infections. Therefore, maintaining a clean water dispenser is crucial for overall health.
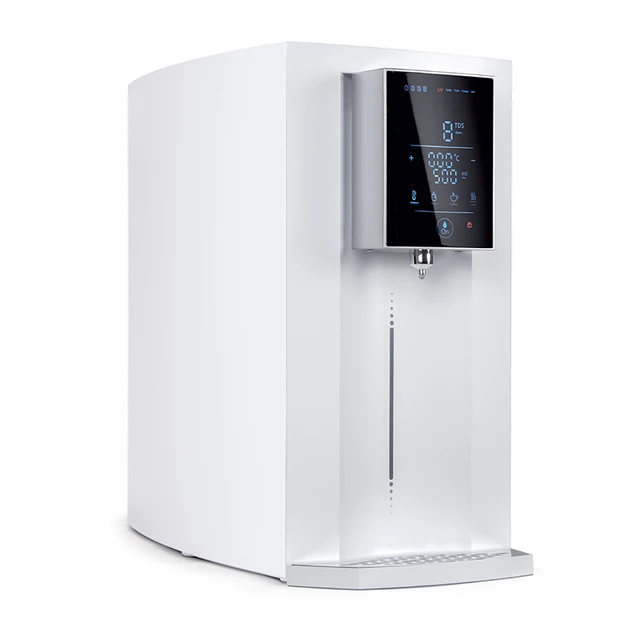
What happens if you don’t clean your water dispenser?
Accumulation of Mineral Deposits
1.1. Impact on Water Purity
When you don’t clean your water dispenser regularly, mineral deposits can accumulate inside the dispenser’s components, such as the water tank or pipes. These deposits can alter the taste, odor, and overall quality of the water you consume.
1.2. Clogging and Reduced Water Flow
As mineral deposits continue to accumulate, they can lead to clogging in the dispenser’s internal components. This can result in reduced water flow and compromised dispenser performance, making it difficult to dispense water efficiently.
1.3. Potential Damage to Dispenser Components
The buildup of mineral deposits can also damage the dispenser’s internal components over time. Excessive deposits can corrode or damage valves, seals, or fittings, leading to leaks and necessitating repairs or replacement of parts.
Bacterial Growth and Contamination
2.1. Stagnant Water
When water sits for prolonged periods without cleaning, it becomes stagnant, providing an environment conducive for bacterial growth. Stagnant water supports the development of various harmful bacteria, such as Legionella, E. coli, or coliform bacteria.
2.2. Risk of Illness
Consuming water from a contaminated dispenser can lead to waterborne illnesses, resulting in symptoms like stomach cramps, diarrhea, nausea, or even more severe health issues in some cases. Vulnerable individuals, such as children, the elderly, and those with weakened immune systems, are particularly susceptible.
2.3. Biofilm Formation
Biofilm, a slimy layer consisting of microorganisms, can form inside the dispenser’s water tank and pipes if not cleaned regularly. This biofilm provides a habitat for bacteria to proliferate and thrive, posing an ongoing risk of contamination.
Mold and Fungus Growth
3.1. Moist Environment
Can water dispensers get mold? Of course it will. Water dispensers provide a moist environment, especially in areas where water accumulates, such as drip trays or tubing components. Failure to clean these areas regularly can lead to mold and fungus growth in these damp environments.
3.2. Adverse Health Effects
Exposure to mold and fungus in the dispenser can lead to respiratory issues, allergies, or asthma symptoms in individuals who are sensitive to these allergens. Continued exposure without remediation can worsen these health conditions over time.
3.3. Unpleasant Odor and Taste
Mold and fungus growth in the dispenser can also impart an unpleasant odor and taste to the water. Consuming water with an unpleasant odor or taste is not only unpleasant but also an indication of potential contamination.
Inadequate Filtration and Reduced Water Quality
4.1. Filter Inefficiency
Water dispensers equipped with filters require regular cleaning and maintenance. Failure to clean the dispenser can lead to clogged or inefficient filters. Inadequate filtration can result in reduced water quality, as contaminants are not effectively removed from the water.
4.2. Contaminant Buildup
The accumulation of contaminants in a poorly maintained water dispenser can result in compromised water quality. These contaminants may include sediment, chlorine, heavy metals, or organic compounds, which can have adverse health effects when consumed.
4.3. Unreliable Water Safety
Without regular cleaning and maintenance, the water dispenser’s ability to provide reliable safety measures, such as proper filtration or effective disinfection, may be compromised. This leaves you at a higher risk of consuming water with potentially harmful contaminants.
Equipment Malfunction and Reduced Lifespan
5.1. Reduced Dispenser Performance
A water dispenser that is not cleaned regularly is more prone to equipment malfunction. Over time, the accumulated debris, mineral deposits, or mold growth can affect the dispenser’s internal mechanisms, resulting in reduced performance or complete breakdown.
5.2. Leaks and Damage
Lack of cleaning may contribute to corrosion or damage within the dispenser, particularly in areas where water accumulates. This can lead to leaks, sudden malfunctions, or water damage to surrounding surfaces.
5.3. Decreased Lifespan
Neglecting regular cleaning and maintenance can significantly shorten the lifespan of your water dispenser. Mineral deposits, bacterial growth, mold, or equipment malfunctions, left unaddressed, can lead to irreparable damage, necessitating the need for premature replacement of the dispenser.
Making Cleaning Easy
Use Effective Tools and Supplies
To streamline the cleaning process, use effective tools and supplies. An old toothbrush can help scrub hard-to-reach nooks. Microfiber cloths are excellent for wiping down surfaces without leaving lint.
Additionally, consider using biodegradable cleaning solutions. By choosing eco-friendly options, you can maintain cleanliness responsibly. This benefits both your health and the environment.
Involve Everyone in the Cleaning Process
In a shared space such as an office, encourage involvement from everyone. Designate different individuals for cleaning tasks. This not only distributes the workload but fosters a culture of hygiene.
Provide guidelines on how to clean the dispenser effectively. Organize monthly cleaning days where everyone contributes. Establishing a routine can also promote accountability. When everyone participates, maintaining cleanliness becomes a collective effort.
Recognizing the Signs of a Problem
Visual Indicators
It’s essential to recognize visual signs that indicate a problem. Cloudy water or a strange odor may signify contamination. If you notice mold growing in or around the dispenser, immediate cleaning is necessary.
Also, assess the surrounding area. If you find spills or puddles beneath the dispenser, it could indicate a leak. Such leaks not only cause additional issues but may also contaminate the water supply. Being observant helps in identifying potential problems early on.
Changes in Water Quality
Pay attention to any changes in the water quality itself. Altered taste or smell can indicate a deeper issue within the dispenser. If the water appears discolored, this should be addressed immediately.
Furthermore, listen for unusual noises. If the dispenser is working harder than normal, it may be a sign of clogs. Addressing these issues promptly helps maintain water quality.
Conclusion
The consequences of not cleaning your water dispenser can be detrimental to your health, affect the water quality, and lead to equipment malfunctions. The accumulation of mineral deposits, bacterial growth, mold and fungus, and reduced filtration efficiency undermine the dispenser’s ability to deliver clean and refreshing water. Regular cleaning and maintenance are essential to prevent these risks and ensure the continuous supply of clean and safe drinking water. Incorporate a cleaning schedule, follow manufacturer guidelines, and maintain good hygiene practices to safeguard your health and the longevity of your water dispenser.